An easy DIY Quote Sign anyone can make!
Hey Everyone! This last month was a busy one for us. We joined a challenge with some other bloggers to makeover a room using only $100 as our budget! If you missed the makeover go the entire series here:
Week 1 / Week 2 / Week 3 / Week 4
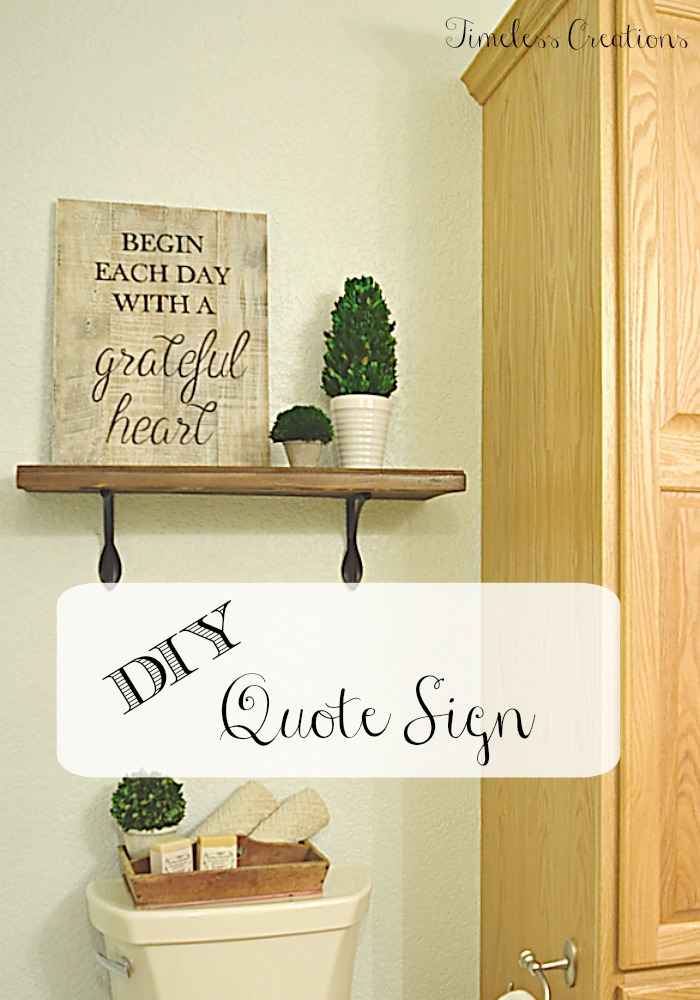
Because the budget was so low for a total room makeover, we really had to get creative with everything we did. We shopped Vicki’s house for decor and found a stash of extra wood we decided to make a pretty DIY sign using a favorite quote of Vicki’s.
Now that the bathroom is finished we can show you how we created this sign so you can make your own! Or if you would rather just have us make one for you, you can always contact us on Facebook or email at timelesscreationsmn@gmail.com.
For your convenience in locating products we have used, this article contains affiliate links. If you make a purchase after clicking, we will earn a small commission at no additional cost to you. See our full disclosure here.
To begin we found our board in the garage, and cut it into fourths. The board we found was a small 1 x 4 and was only about 5 feet long. It was leftover from something else, but you can use whatever kind of board you have, or want. Normally we use pine, because the softness of the board is great when doing your letters.
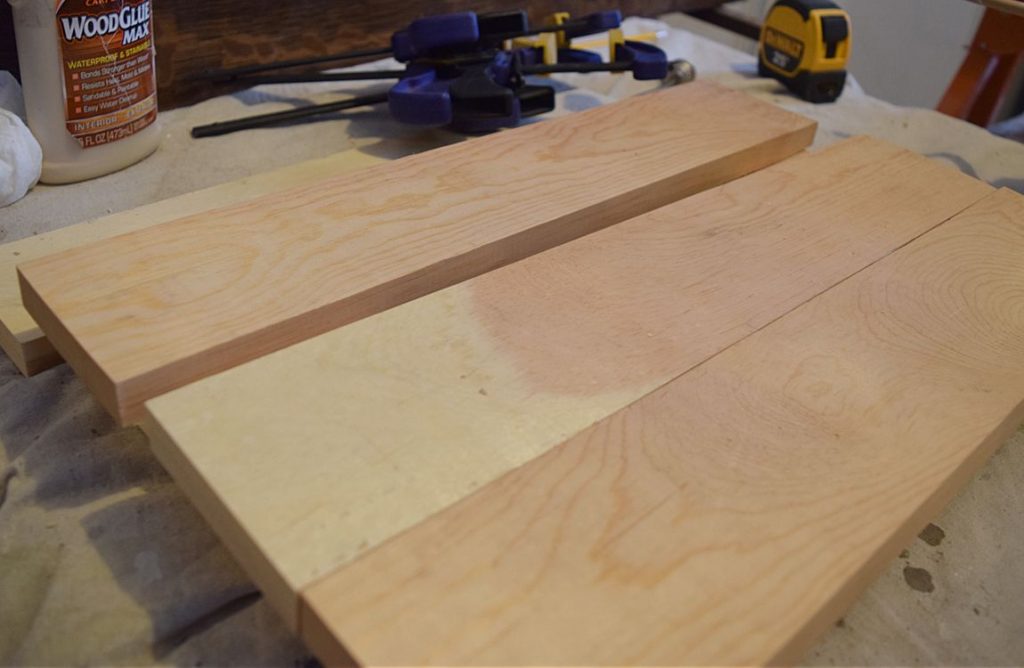
After cutting the board down, we glued the pieces together using this glue, and clamps. Follow the directions on the back of the glue for dry time. Keep it clamped the entire time. Make sure to wipe off any glue that seeps through the seams with a damp paper towel or the stain won’t take in those spots.
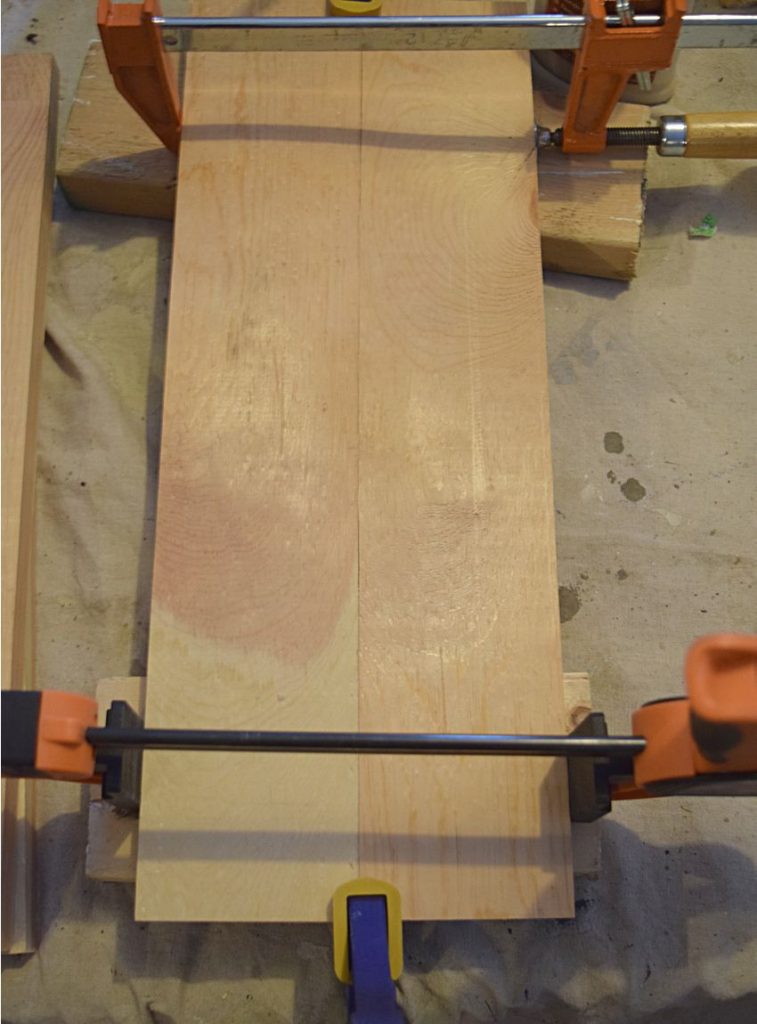
Once the boards are completely dry, stain comes next! We like to use pre-stain before the actual stain to even out the boards.
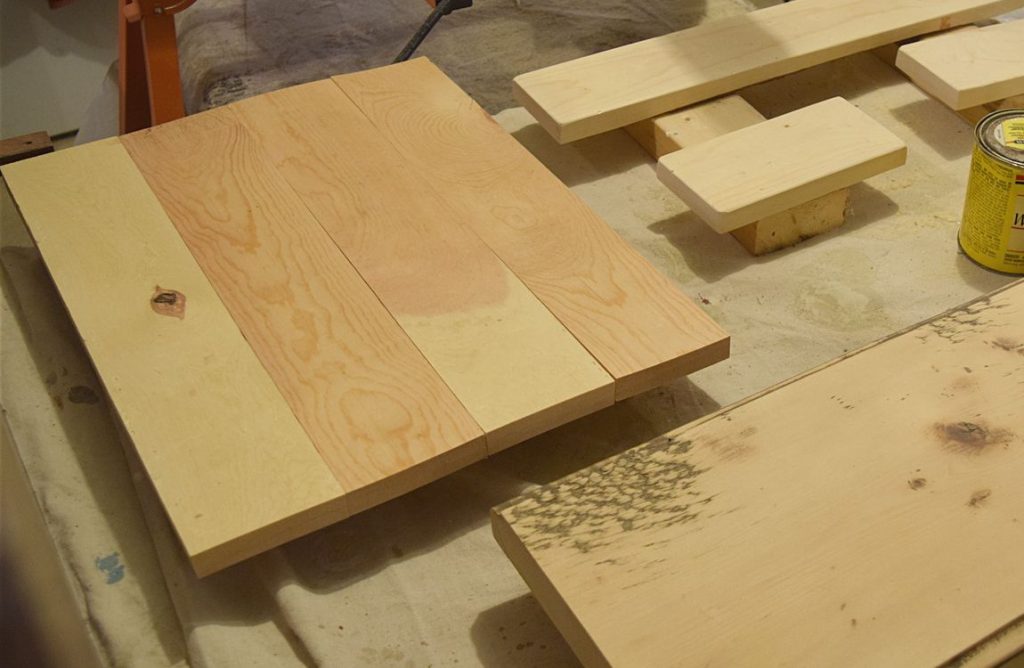
Apply it right before the stain and after about 5 minutes of soaking in, wipe any excess and you can begin the stain. This is the color stain we used. We have found it’s easiest to use this applicator for stain so you don’t have to worry about clean up – you can just throw it away! (P.S. Stain is smelly! Make sure to have plenty of air ventilation.)
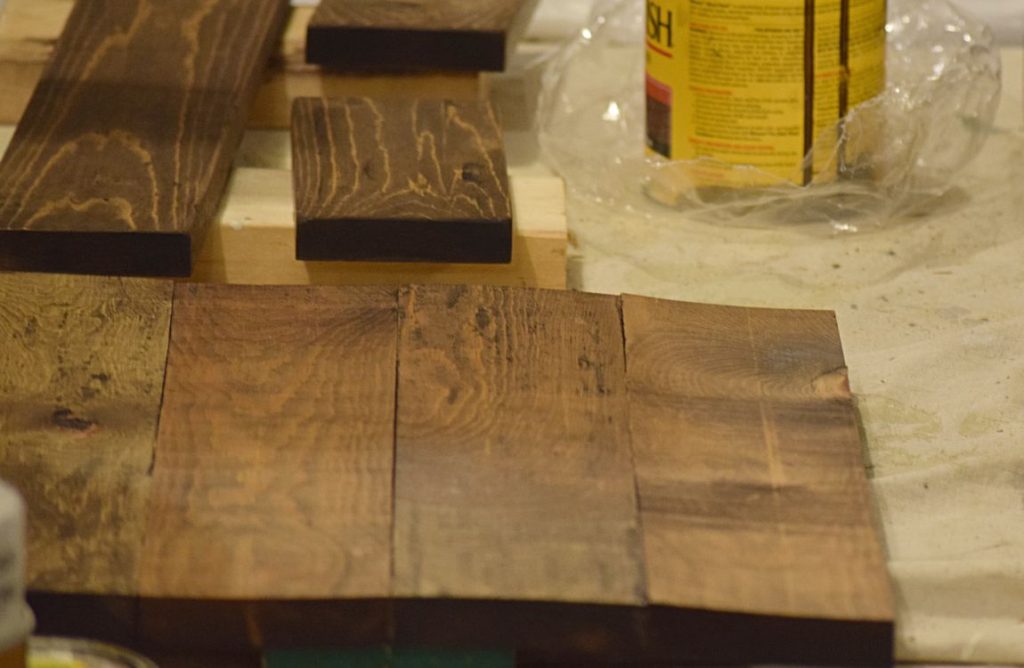
Let the stain dry overnight. Once dry, we decided to add a little something special to this sign. Because we were going to place it on Vicki’s DIY stained shelf; we decided it needed something more than just the stain, or they would blend too much together. So Vicki had the brilliant idea to dry-brush a white paint over the top of the board.
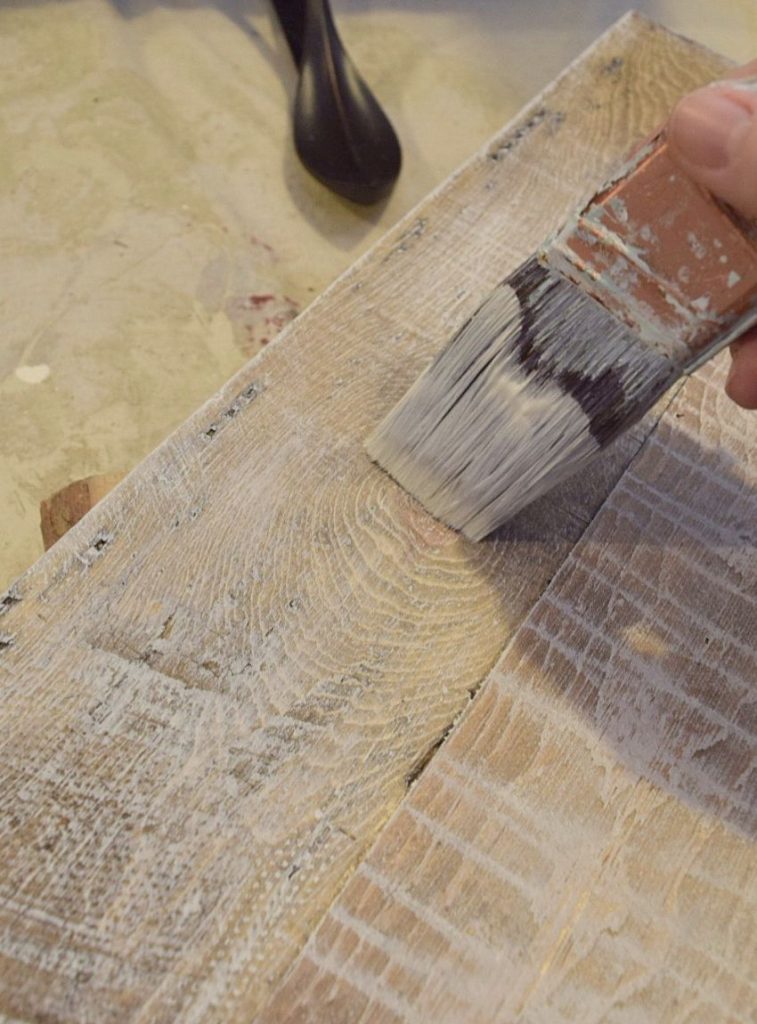
No worries, dry brushing is extremely easy! All you do is dip the tips of your brush in the paint, wipe off any excess into the can, then take a paper plate and wipe even more off. With what is left, you can then brush it on. (For more on ‘Dry Brushing’ go here.)
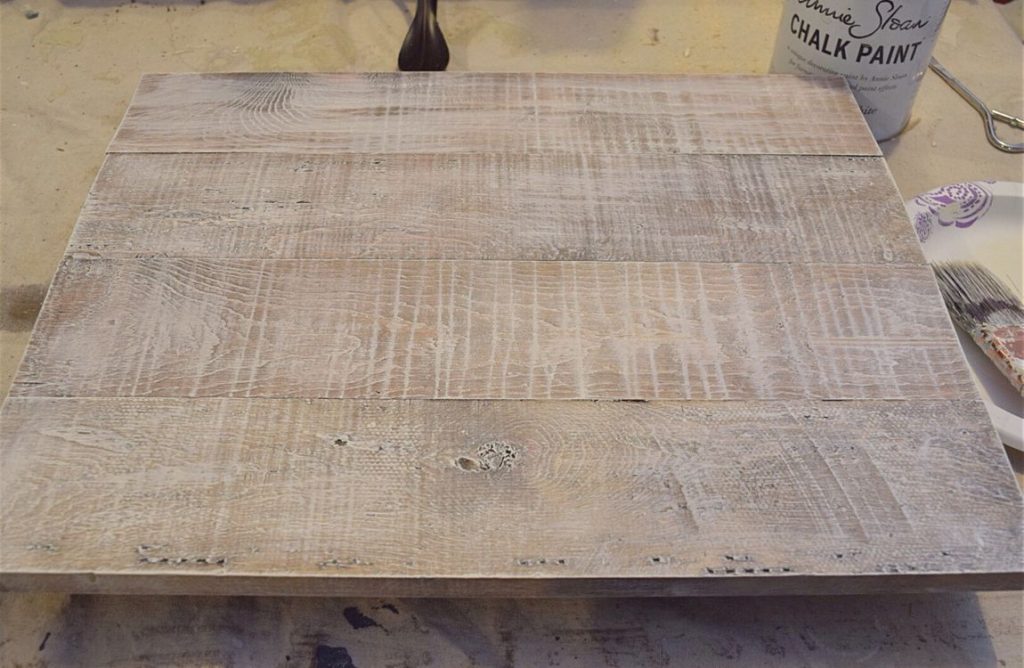
When the paint is dry is when you can then start your lettering. I just printed off the letters from the computer and pieced the pages together.
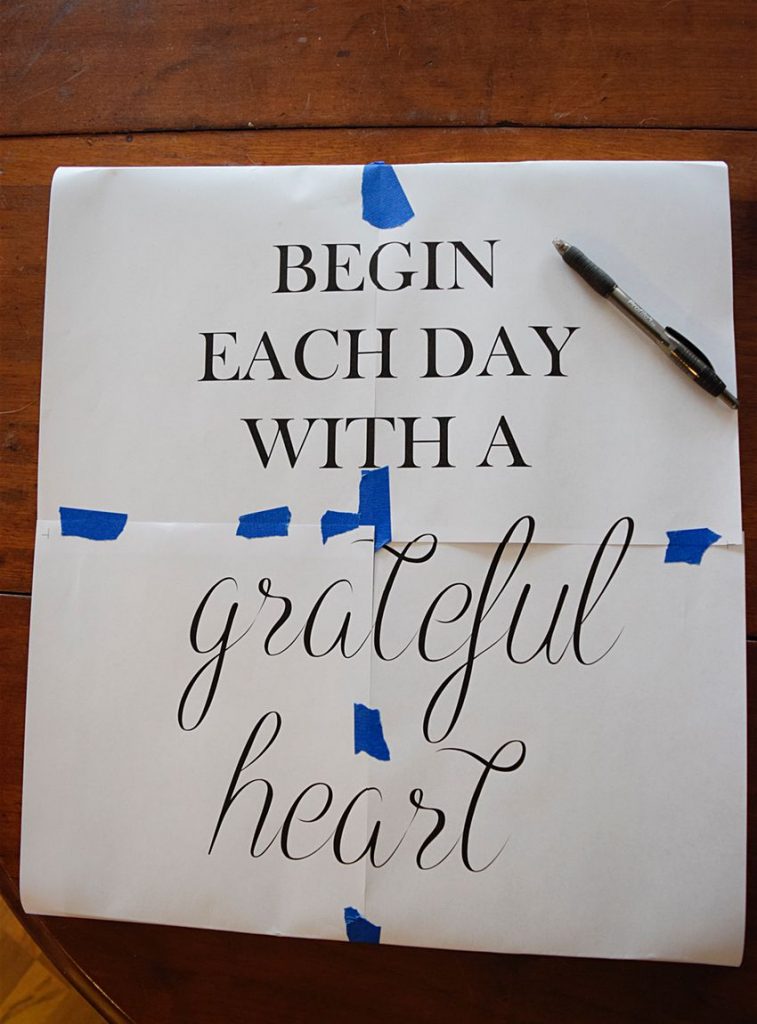
Since this board had a dark stain and a lot going on with the dry brushing, I decided to pencil the back of the lettering so it would show up better.
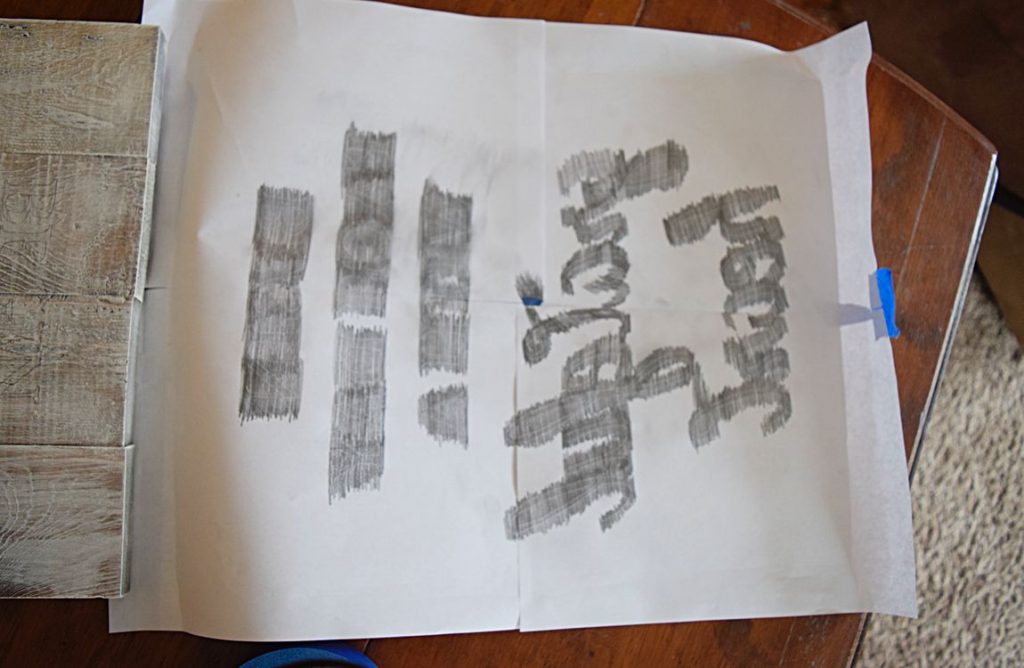
Next, line up your quote where you want it on the board. Then you just take a ball-point pen and trace over the edges of your letters. This gives you the perfect lettering with your favorite fonts!
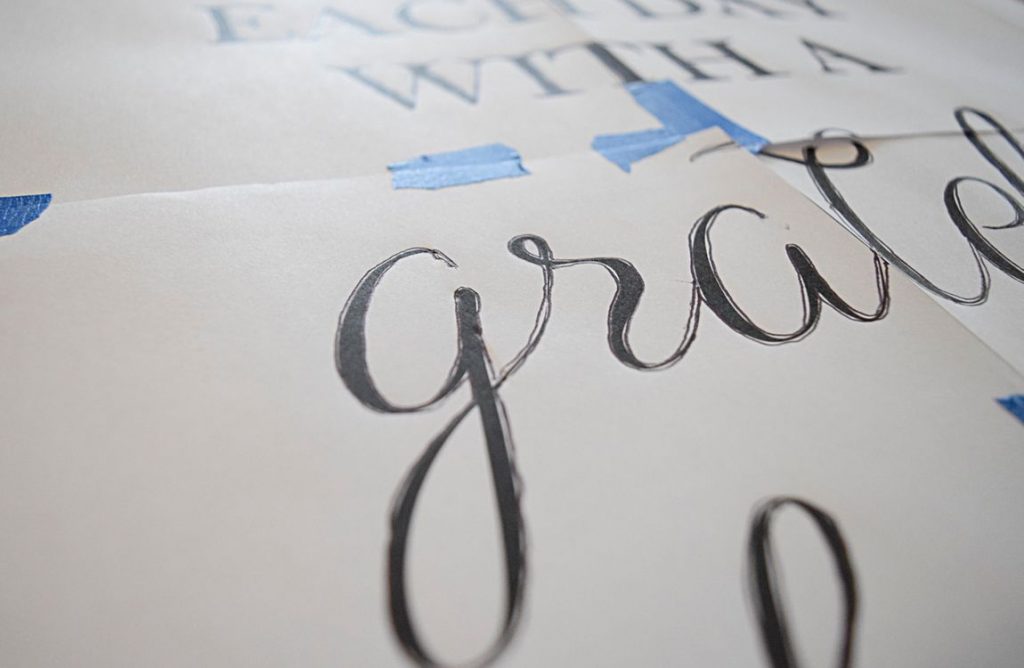
TIP: I like to tape the edges of my lettering pages to the board so they don’t move on me while tracing.
Lifting up the pages after you trace everything will show you the marks from the lead of the pencil and will be super easy to paint!
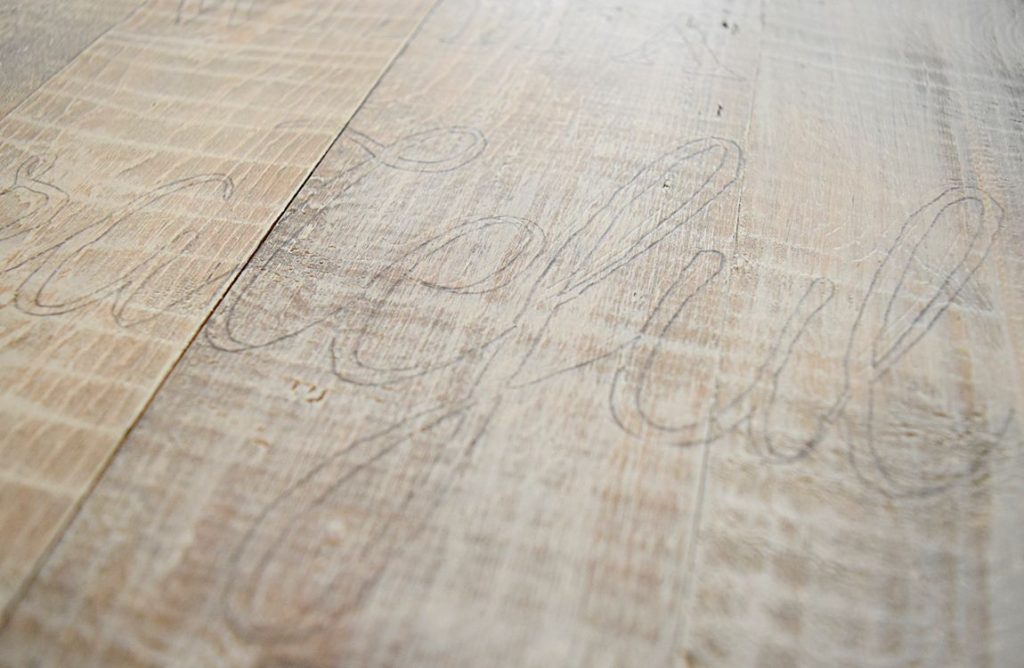
Take your paint (we use this paint) and a small paintbrush (we use this set). Next trace and fill all those letters for your quote!
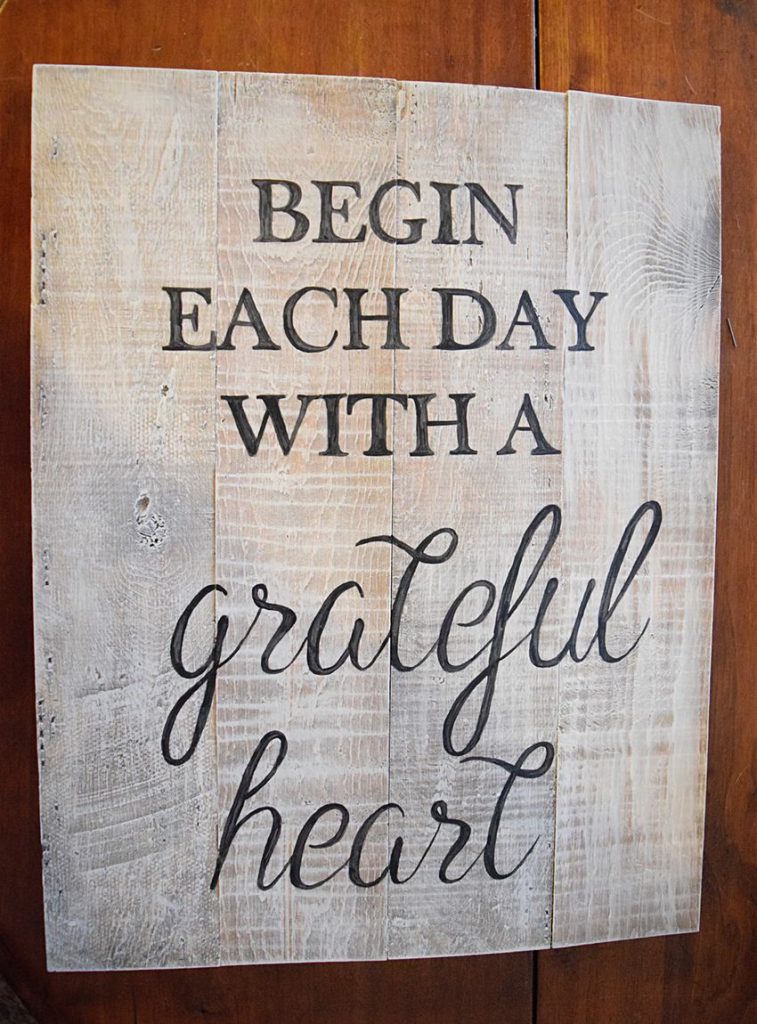
And your done! It’s seriously that easy. No cutting machine or stencils needed. This way you can customize your very own DIY quote sign any way you want to!
And here is the plaque in all its pretty glory in Vicki’s restyled bathroom.
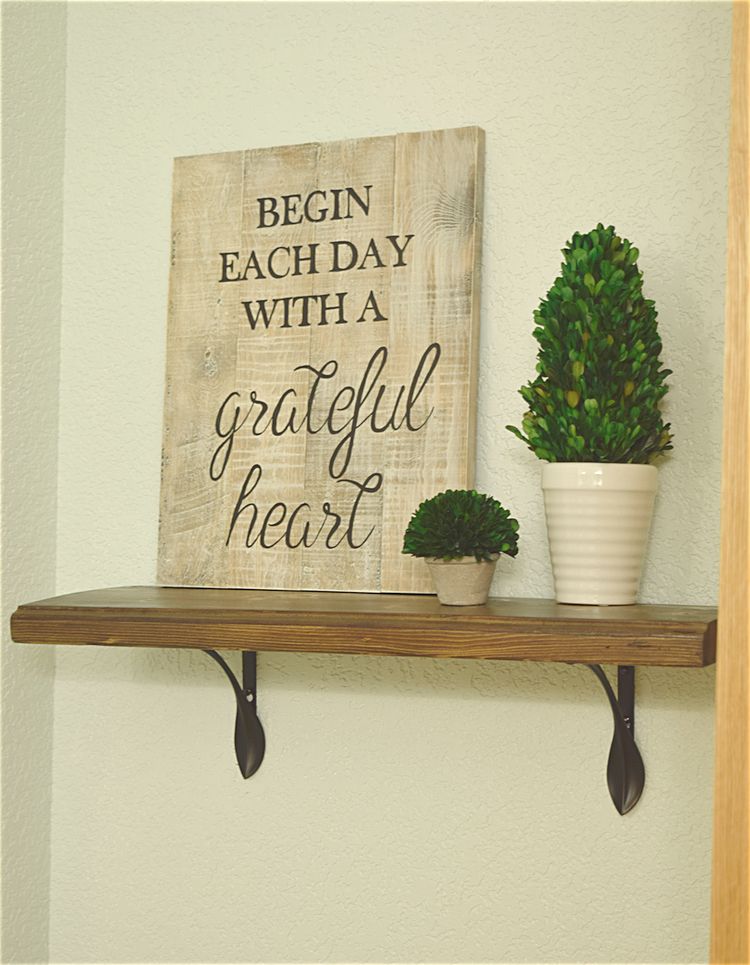






It looks so beautiful!
Thank you 🙂
This DIY Quote sign is such a great idea. I love how you can use the method to get the font you want on a sign. Thank you for linking up with us at the #HomeMattersParty – hope to see you back again this week.
Thank you Nicole!
Your DIY Quote Sign is great! Thanks for sharing your tutorial with us at Snickerdoodle. I’ll be featuring this at tomorrow’s party. Hope to see you there!
Oh neat! Thanks so much for featuring it Beverly! We will definitely be there tomorrow!
What a great makeover. I love the sign and the quote. It perfectly hits the spot for the week I had. Thanks for sharing at Monday Social.
Thank you Katie, we love it too!
Thanks for sharing your tutorial for making your stenciled sign. Your directions are clear and easy to follow.
Judith
Thank you so much Judith!
What a lovely sign! And I love the quote you chose. I have the same quote on a wooden sign in my bathroom. Reflecting on it is a great way to kick-off each morning.
Just wanted to stop by to let you know that I’m featuring your DIY project at this week’s link party. https://www.thelifeofjenniferdawn.com/2017/02/handmade-gifts-for-any-occasion-and.html
Yay! Thanks so much for featuring our sign! That is the exact reason why we chose that one. Perfect to for inspiration!