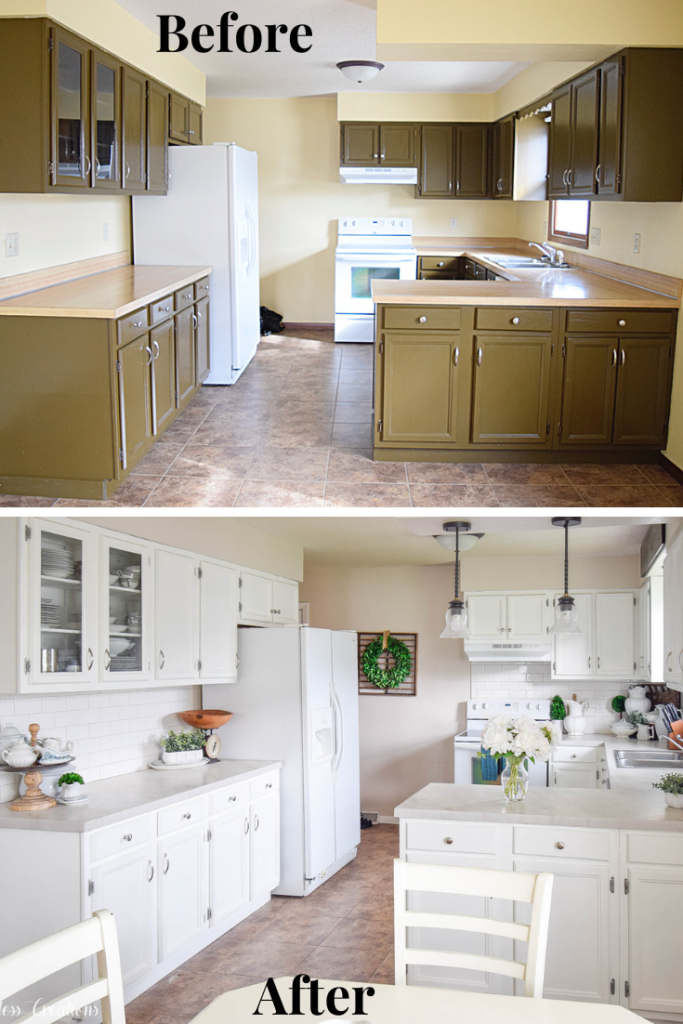
The key to great coverage for painting any of your projects is in the prep. But especially if you are taking up the seemingly daunting task of painting your cabinets. Follow these steps to ensure an easier coat of paint with great adhesion. Painting a kitchen is a bit of work, but is so gratifying once finished! To create a whole new space with just paint and a few supplies is amazing! Follow our steps below when painting any kind of cabinet in your home.
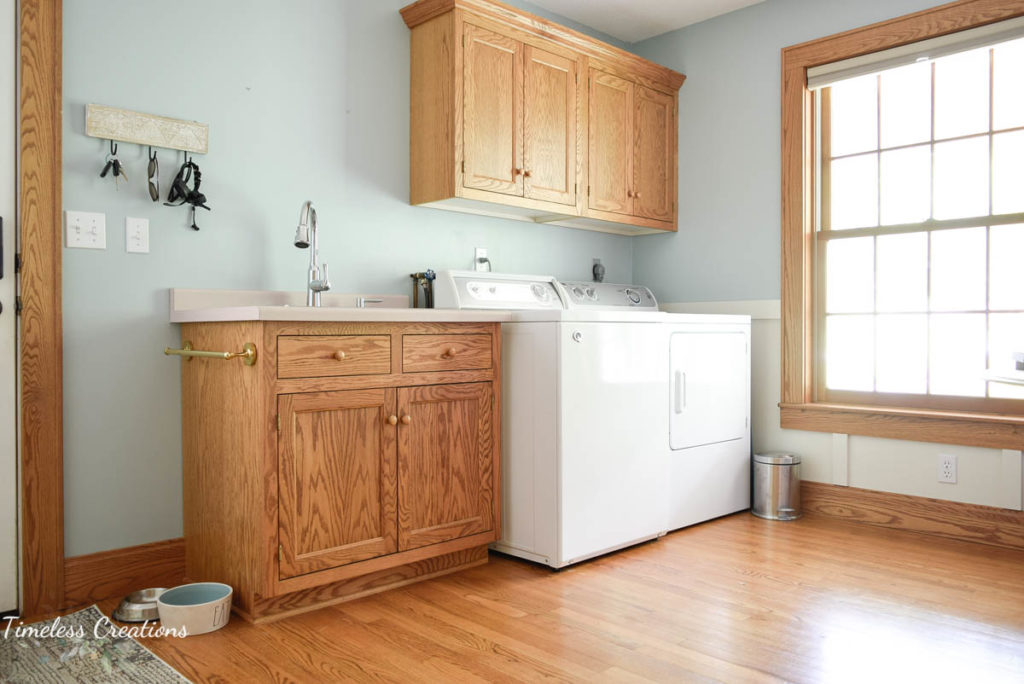
-Step 1: LABEL your cabinets. We always label cabinet doors and drawers to make sure we know where they go. You may forget which door or drawer goes where, and they don’t always fit nicely in different spots. We put painters tape with a number on each door or drawer and then the corresponding number in the door cavity.
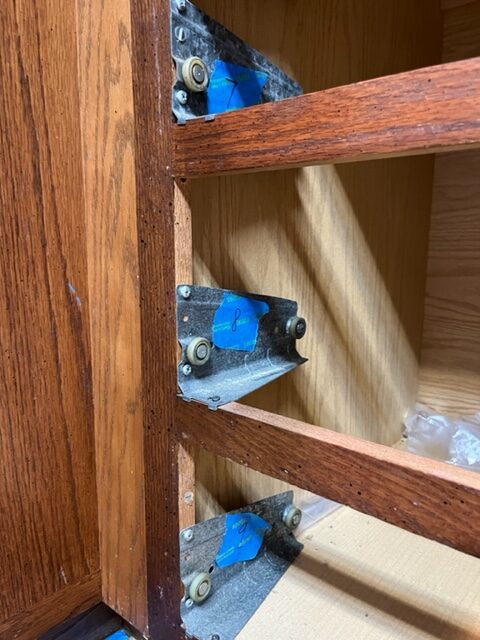
Step 2: Remove all doors and drawers from their cavities and remove all hardware. Set them up on covered tables or in the garage. We highly recommend labeling the hinges as well when you remove those. We used painters tape to keep each screw with it’s hinge. Then added them to a sandwich baggy that was again, numbered the same as it’s corresponding door.
Step 3: Wipe down all outside of cupboards with Fusion TSP Alternative. This includes all door fronts, drawer fronts and the frame of the cupboards. Any surface that will be painted. Make sure any sticky reside is gone. If you have extremely dirty or greasy cabinets use Fusion Odorless Solvent on a rag and scrub until clean. For especially grimy cupboards a putty knife to scrape the grime off after wetting down with odorless solvent may be necessary! We seriously had to do this for one project. If you use the odorless solvent we recommend wiping a second time with your TSP rag.
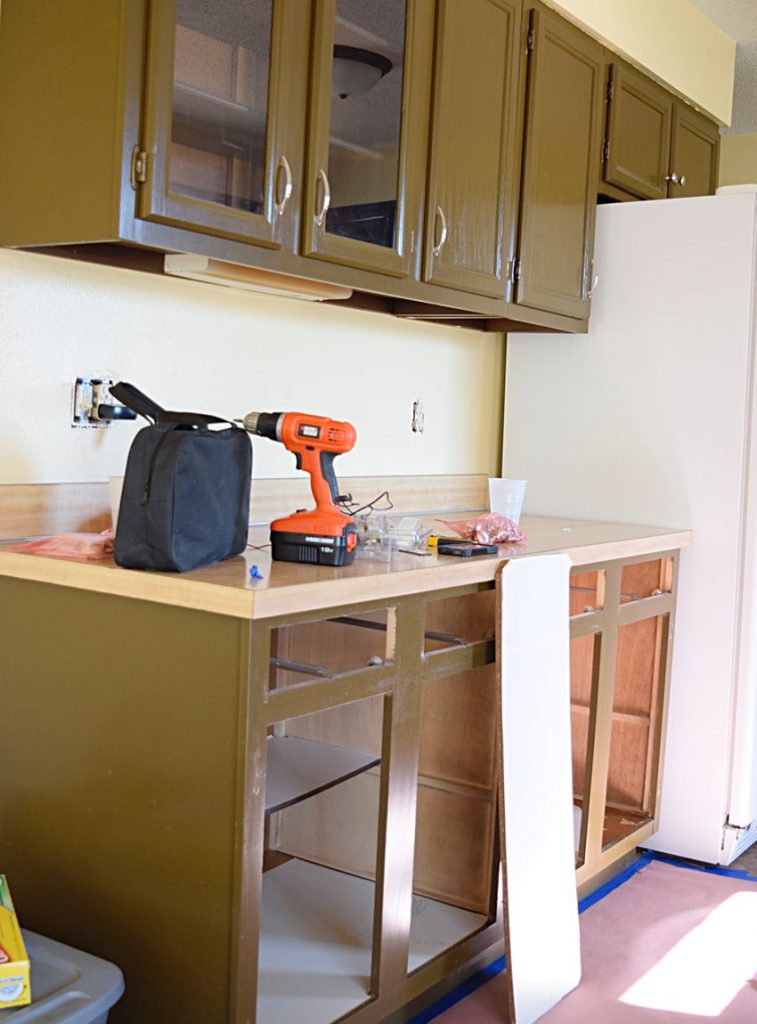
-Step 4: Lightly sand all exterior cupboards, drawer fronts, and door fronts(any surface that will be painted) Use a medium grit sand paper. About 220 is good. Your surface does not need to be rough and do not try to get any paint off, just lightly sand over surface. Wipe down once again after sanding.
»NOTE: I have read other articles that use a liquid sandpaper/deglosser and I don’t particularly like it. Some do have harsh chemicals in them and I felt like it left a residue. I would use sand paper any day. «
-Step 5: This step is optional but we highly recommend it for kitchen cabinets that get very heavy use. Prime – if you are using Fusion paint you can use their corresponding primer called Ultra Grip. OR you can use a regular water-based primer you get at the hardware store. We prefer water based primer as it is easier to clean up. We typically use BIN Zinsser primer. I did not prime when painting my laundry cabinets as they are not as highly used as my kitchen cabinets. BUT when I do my kitchen I will be priming. Primer always looks terribly streaky, so don’t give us. Just make sure it is a thin coat so you don’t get texture. This step is personal preference.
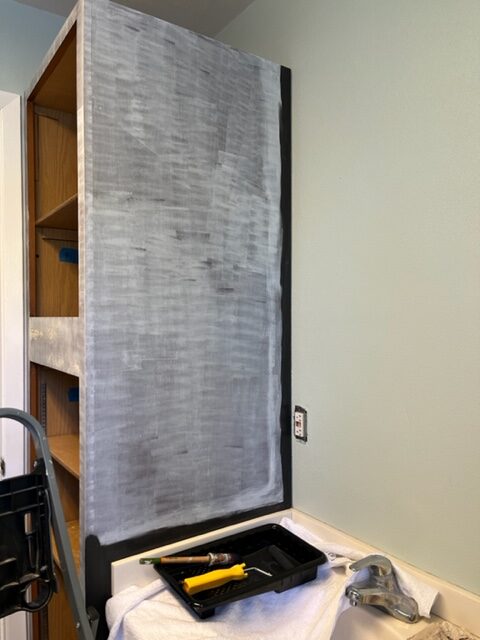
Note: If you have laminate cabinets this step is NOT optional. You HAVE to prime for best adhesion over laminate.
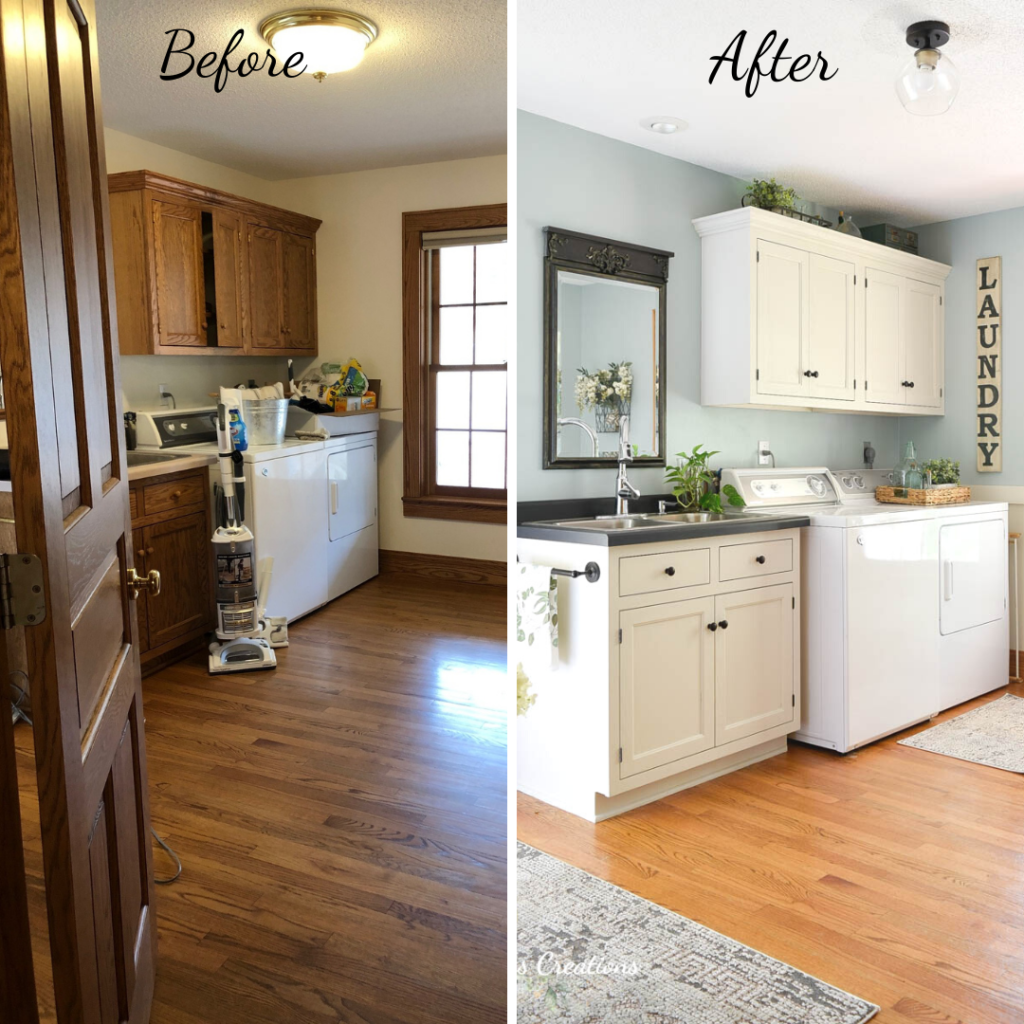
Then you can paint! We highly recommend using Fusion Mineral Paint as it is a simple and easy formula to use, has a built in topcoat for added durability and has absolutely beautiful colors! We have painted many bathroom vanities, Kristen’s laundry cabinets as well as cabinets at our store with this paint and it’s been wonderful.
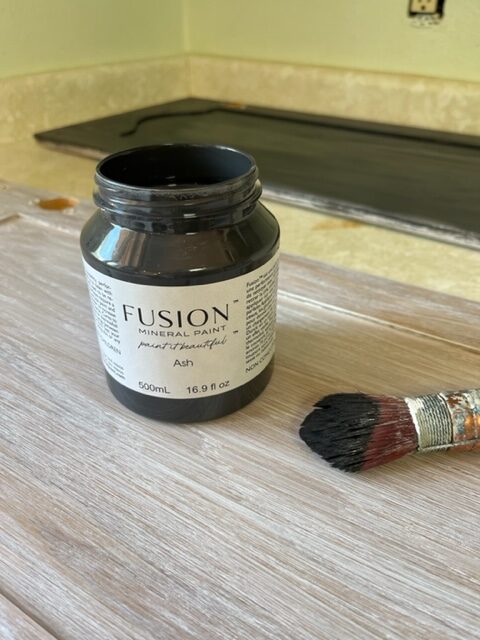
We also recommend a good brush. We typically use a mixture of different brushes. I like the Zibra 2″ angled brush for trimming and Vicki and I both prefer the Staalmeester “Pointed Sash” for any detailed work on the doors. If you have large flat areas a good mini roller would be great as well!
If you prefer a bit of a sheen over the paint or wanted added durability over heavy use kitchen cabinets we would recommend using a water based sealer over the paint as well. We typically use Varathane Polyurethane. You can use either a Matte sheen or Satin (a little shinier). Usually 3 coats of the Varathane is plenty. You may be able to get away with 2 if you make sure to cover well.


Leave a Reply