A kitchen is one of the most utilized places in a person’s home. Even when entertaining, guests tend to congregate in the kitchen! (At least that is the case for us) It makes sense then that you would want to make your kitchen as stylish and fabulous as the rest of your house.
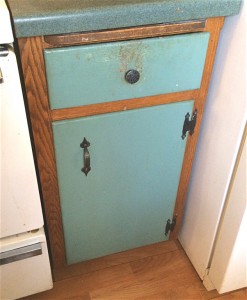
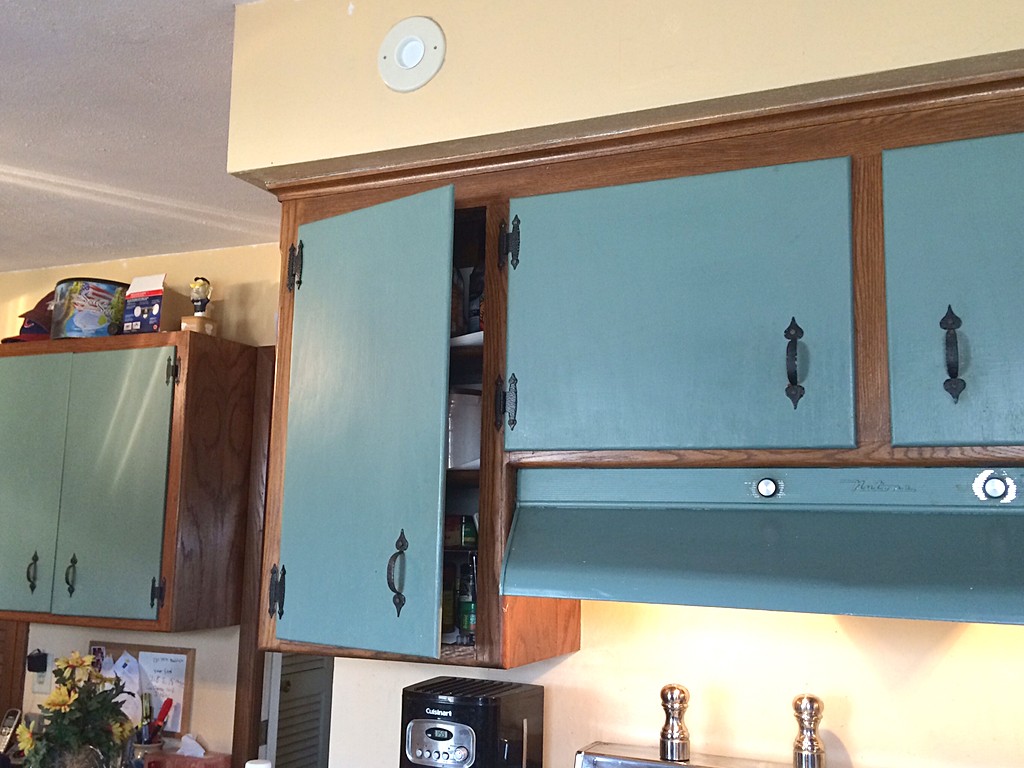
My mother-in-law had some cabinets that were the original wood frame but had green painted doors and drawers. 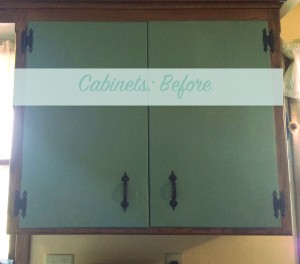 (how strange!)
For your convenience in locating products we have used this article contains affiliate links. All products are items we use ourselves and have formed our own opinions on. For our full disclosure go to our “Disclosures” page.
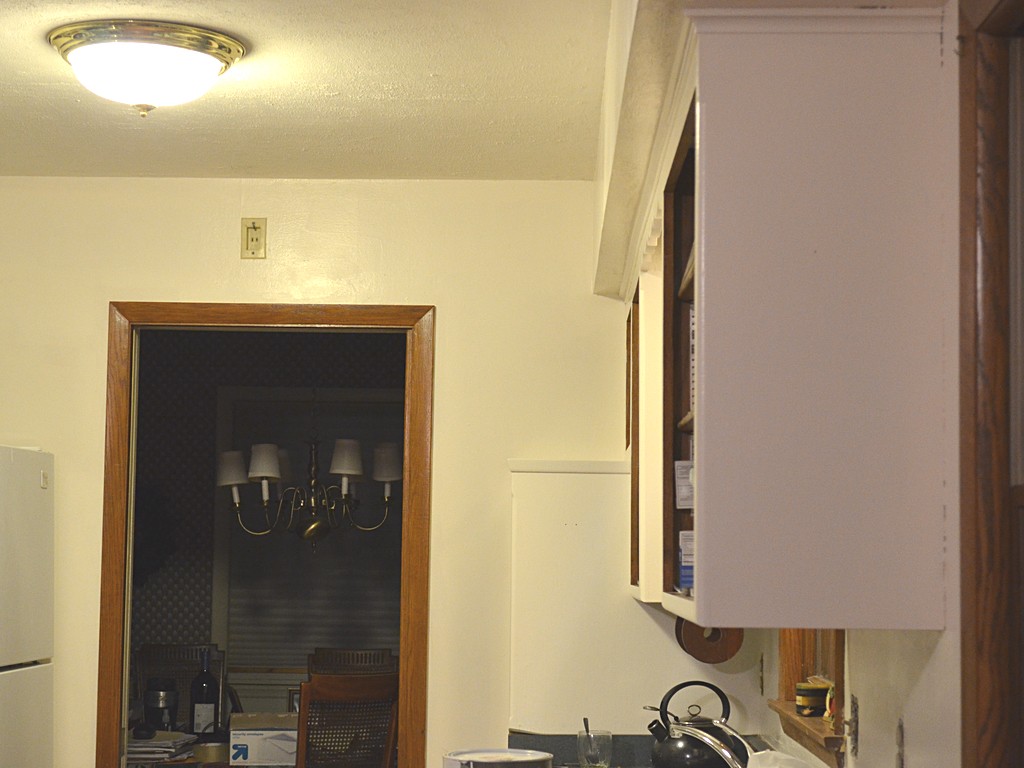
So when we heard she was wanting a change, we offered up our services and said we would love to help her out! Because we lived about 3 hours away, we gave her a prep list to start on before we got there to make it go faster. (To see our “How To Prep for Painting Your Cabinets” checklist click here)
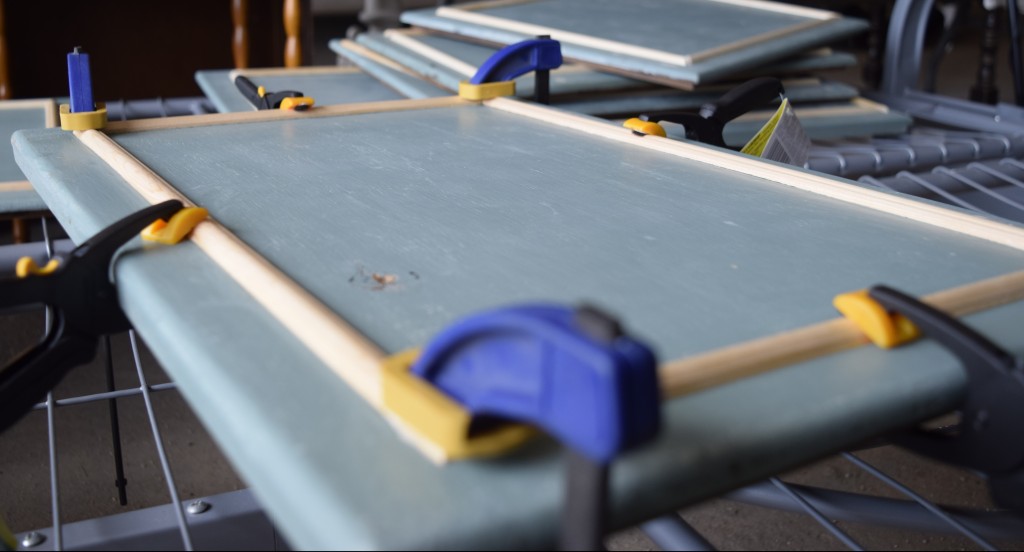
We decided that adding molding to the cabinet doors would give the flat front a more stylish look. We also took a look at the room as a whole and agreed the light yellow walls needed to be revitalized along with the cupboards. Since the room only had one set of windows that faced northwest we thought a very light color would brighten the entire room.
We agreed that while we were painting the cabinets it would be easy to just paint the entire room and if they wanted that done in the same color it would go much faster. I know what your thinking, a monotone kitchen…what? But because we had already decided the cabinets would be glazed we knew they would definitely stand out from the walls. This way the job would be done more efficiently!
After the entire room makeover was agreed upon by both parties we went to get supplies. Here is what we used:
- “Ballet White” by Behr (get in a Satin or Eggshell sheen)
- Rust-oleum “Java Brown” glaze
- Latex gloves (To wear while glazing)
- Minwax Polycrylic (We did get a Semi-gloss sheen for this, but you may use whatever sheen you wish)
- Wood Putty (only if you are filling in holes)
- Painting supplies which include: Paintbrushes, (our favorite is Purdy 1.5 angled brush) roller handles and rollers, paint tray and liners, and possibly an extender pole for the roller and/or stepladder. Drop cloths for spills are also recommended, an old sheet works great!
Note: If you have experience painting or are pretty careful you don’t have to waste time putting painters tape on trim, just carry a damp rag with you in case of accidents!
Next, we finished the prep work by sanding down the outside of the cabinets more, wiped them down and made sure all the handles and hinges were taken off. (Don’t forget to remove all faceplates from switches and outlets if you are painting the walls as well.)
Note: For this kitchen we were changing the style of the hinges as well as different handles. We ended up needing to put wood putty in all of the holes from the hinges on the cabinet frame and the door, as well as one hole where the handles go because they were different lengths.
We did not buy primer because we purchased the “paint-and-primer-in-1” from Behr, but that is your choice, but do one or the other. Start painting by taking your brush and trimming everywhere the roller won’t be able to reach or go over.
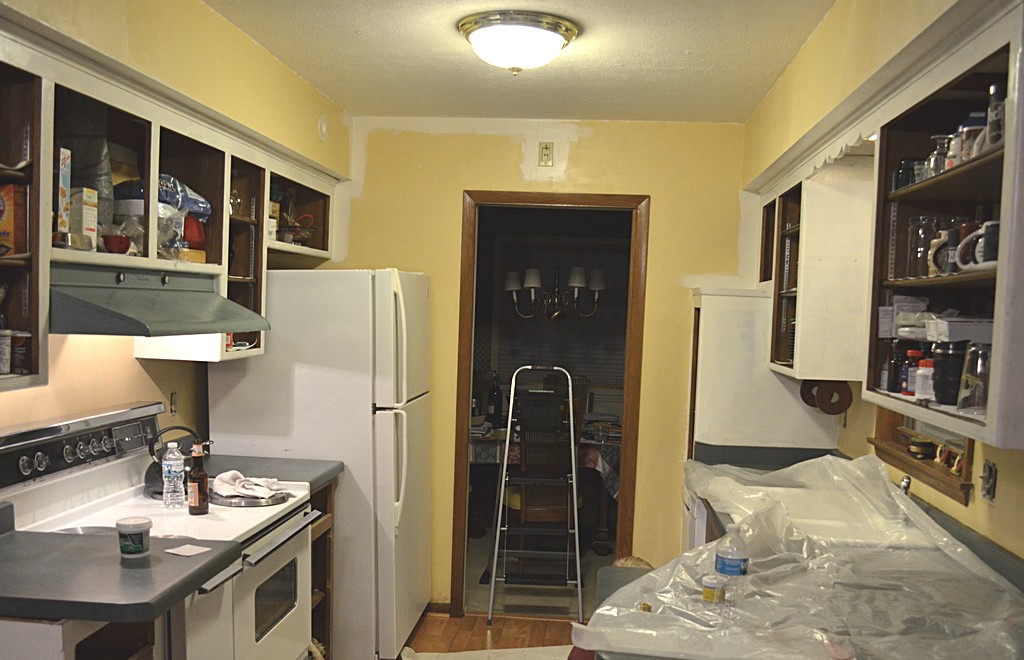
(This includes all edges and corners, baseline and ceiling line)Work in sections the entire time, trim and then roll so your rolling while your trim paint is still wet. Otherwise if the trim paint dries too much it becomes sticky when rolling over it and can leave a weird pattern. The cabinets required 3 coats and the walls only took 2 coats.
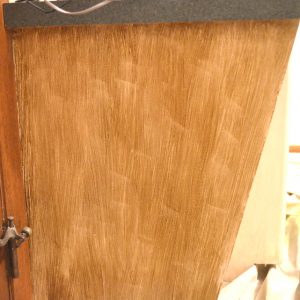
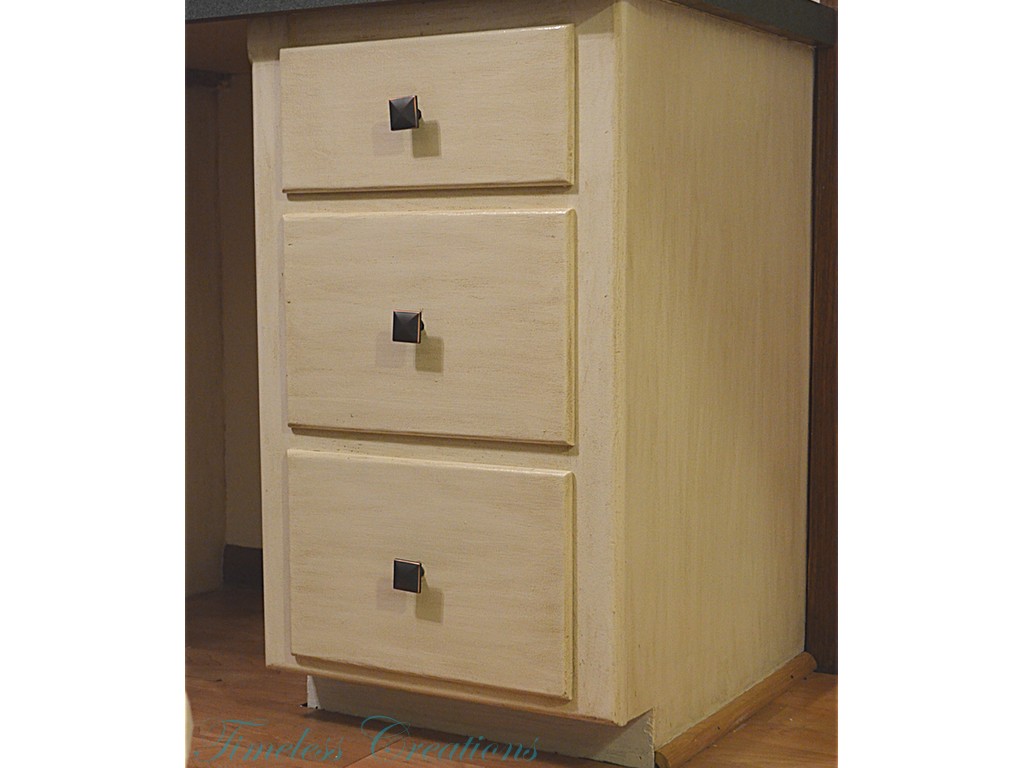
Once all the coats were applied (allowing for adequate dry time in between) the next step was to glaze over all the cabinet frames and drawers. We used a different brush to apply all of the glaze and then wiped it off with a clean, dry cotton rag. (Old t-shirts work great!) Work in sections for this as well.
I would recommend trying out your glaze beforehand to get a feel for how long you must wait before wiping the glaze off. It just depends on how dark you would like the look.
Note: Originally we tried one person brushes and one person wipes, however, that was taking too long so we decided each person would brush and then wipe their own section. But do what works for you!
Drying time for the glaze is about 8 hours, we glazed in the afternoon and let it dry overnight while we relaxed 🙂
After the glaze you are ready for your sealant! We used polycrylic and applied 2 coats on all of the cabinets. (Dry time between coats of poly is 2 hours.)
And there you have it, your cabinets are done! Oh no..wait…the doors!
For this project we took all of the 20 doors home with us so we could add molding to the front. We knew it would take us longer to add the molding and we didn’t travel with our miter saw so taking them home was the best bet!
Click here for a full tutorial on adding molding to your cabinets.
After the cabinets were done, my in-laws ordered new countertop to complete the look.
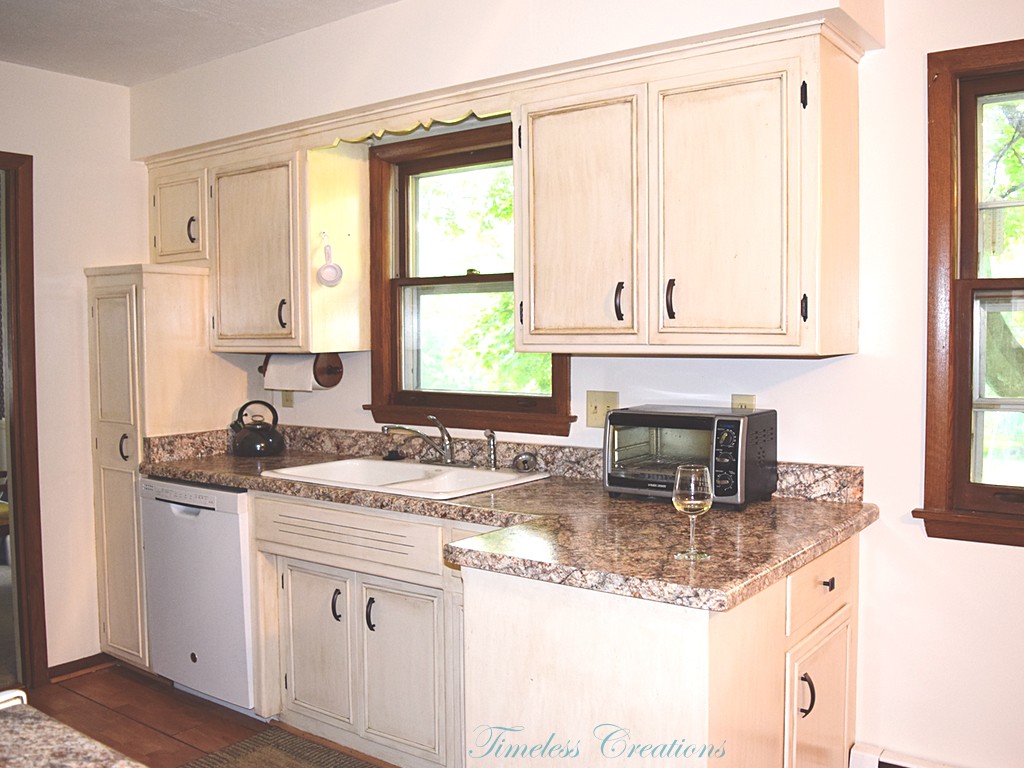
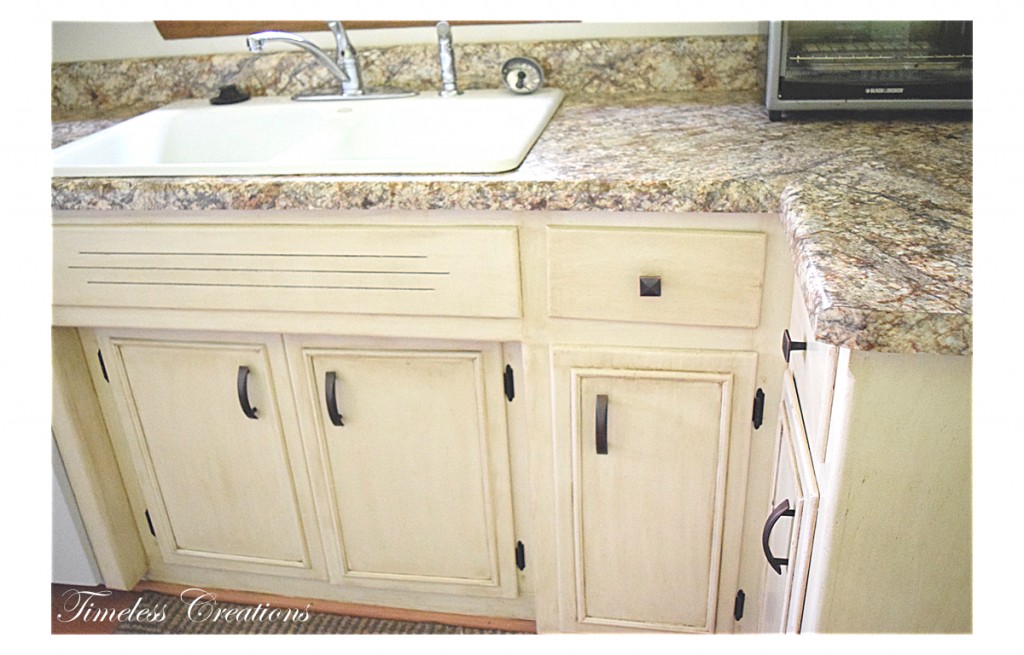
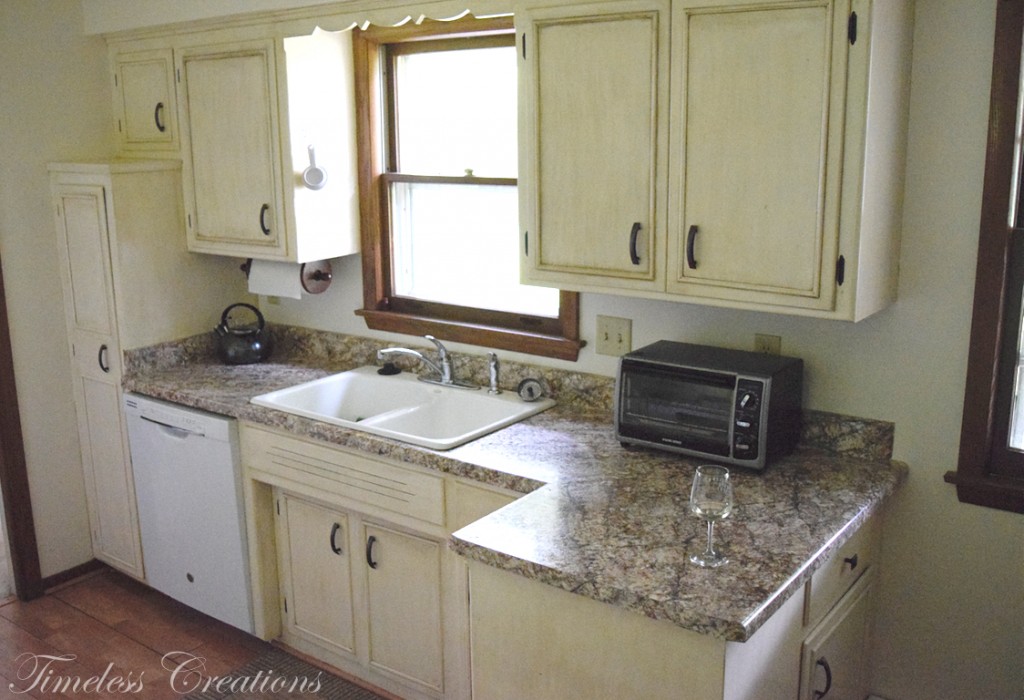
Look at the kitchen after everything was done!
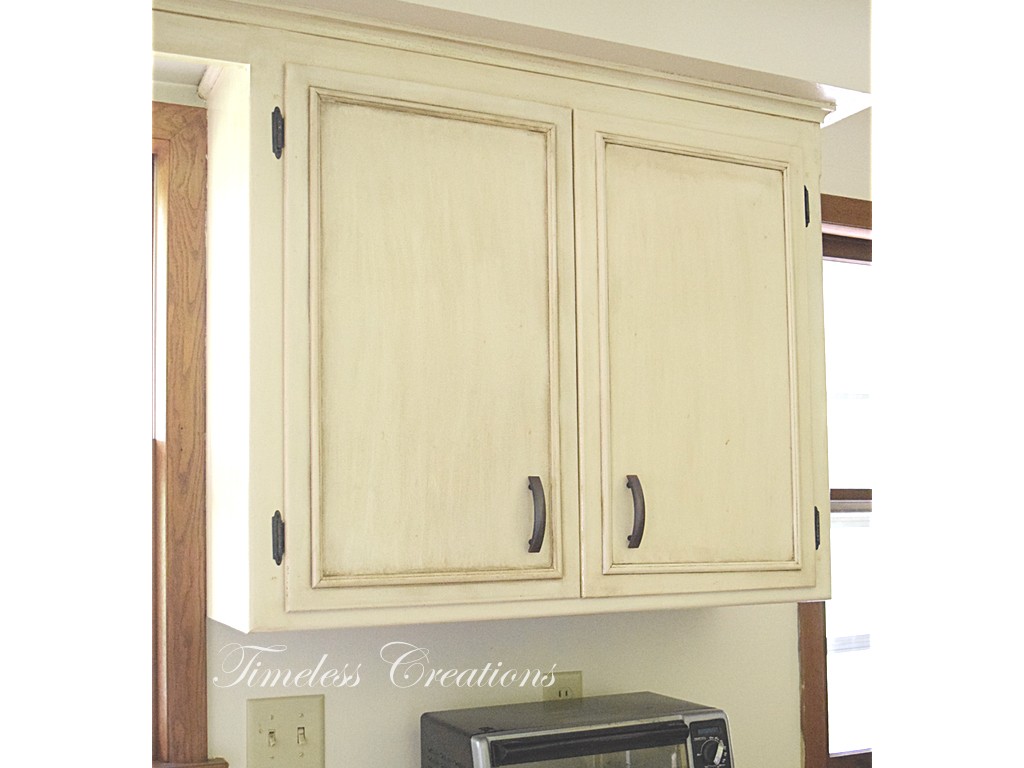
This stylish update changed the entire feel of this kitchen, by adding the molding and the new countertop it brought the space into modern times!
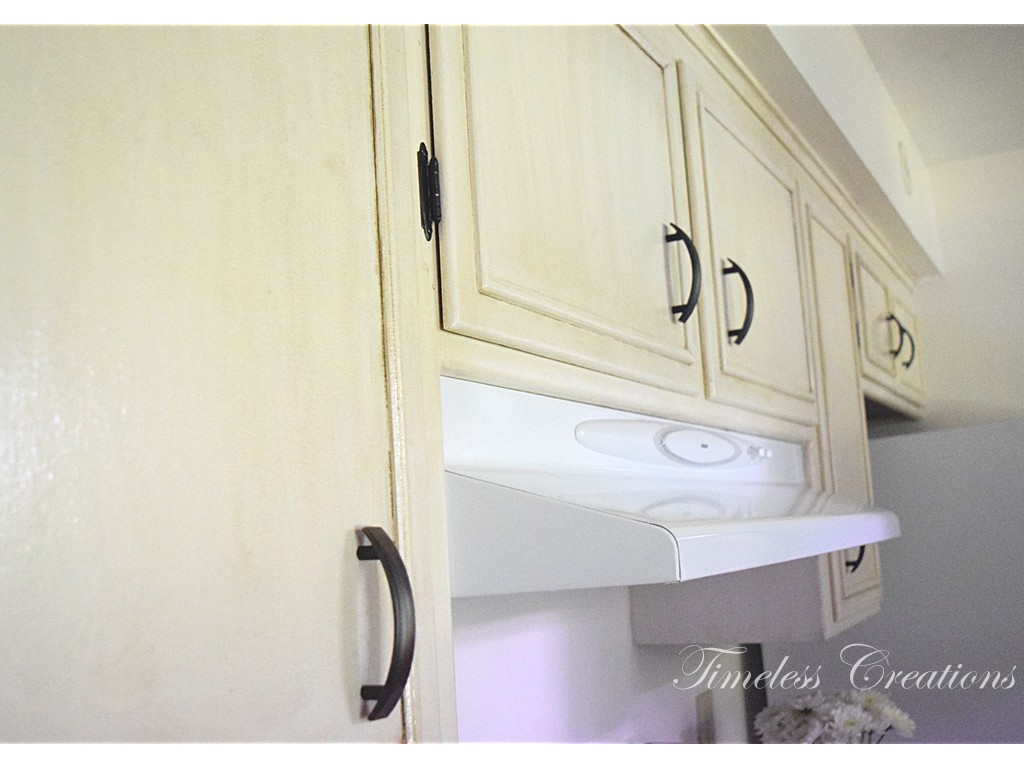
One of the hardest parts of this whole project was with the hardware. Because we were changing the hinges to a completely different style we had to fill in holes on the frames and on the door itself and then drill all new holes. It took my wonderful husband (who helped me put all the doors back on!) and I quite a while to figure out how to fit the doors back on so they were sitting correct.
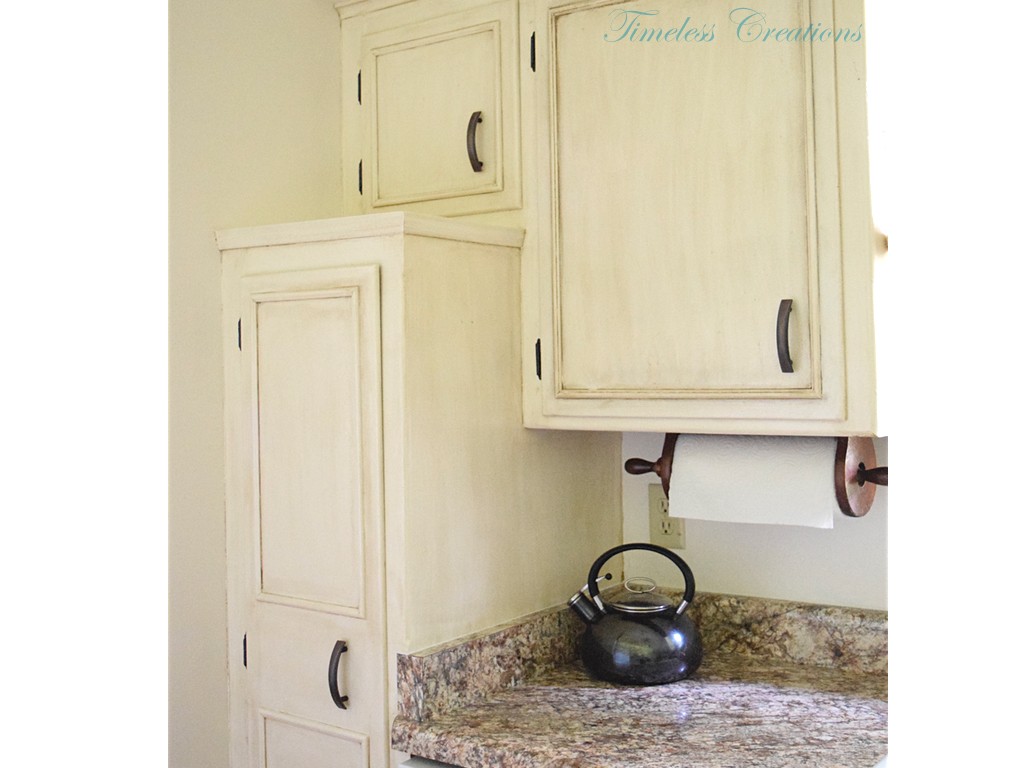
For the large pantry door, instead of just one long panel of molding we broke it into two.
The molding turned out fantastic on all of the doors, we absolutely love the added look it gives.
What a fantastic makeover! If you have any questions please ask and definitely make sure to look up our post about how we added the molding!
More you may also love…



Leave a Reply