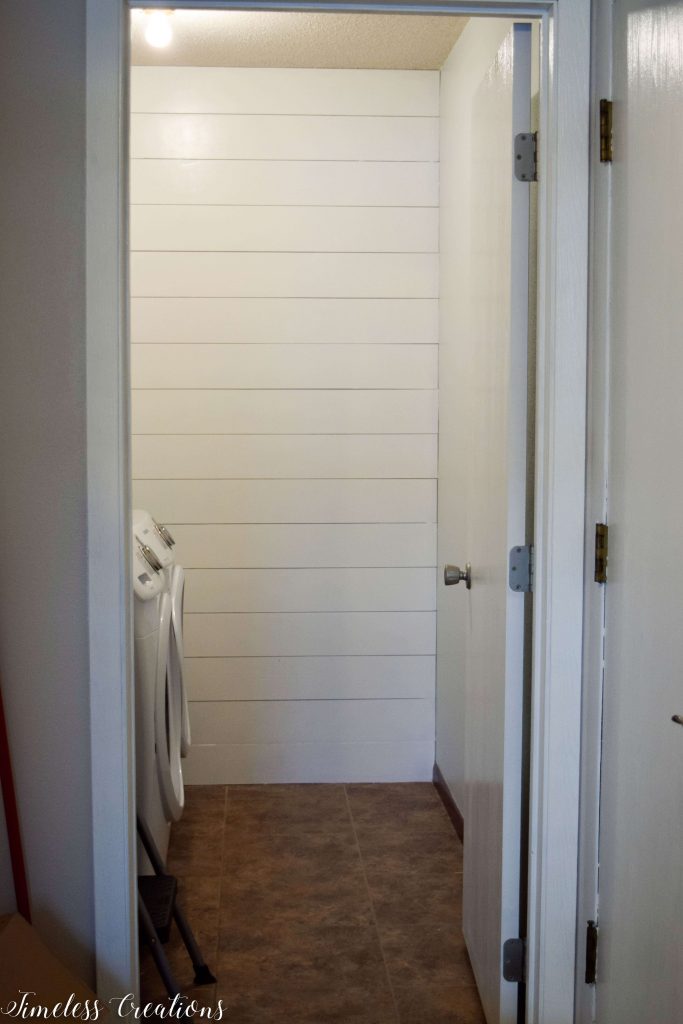
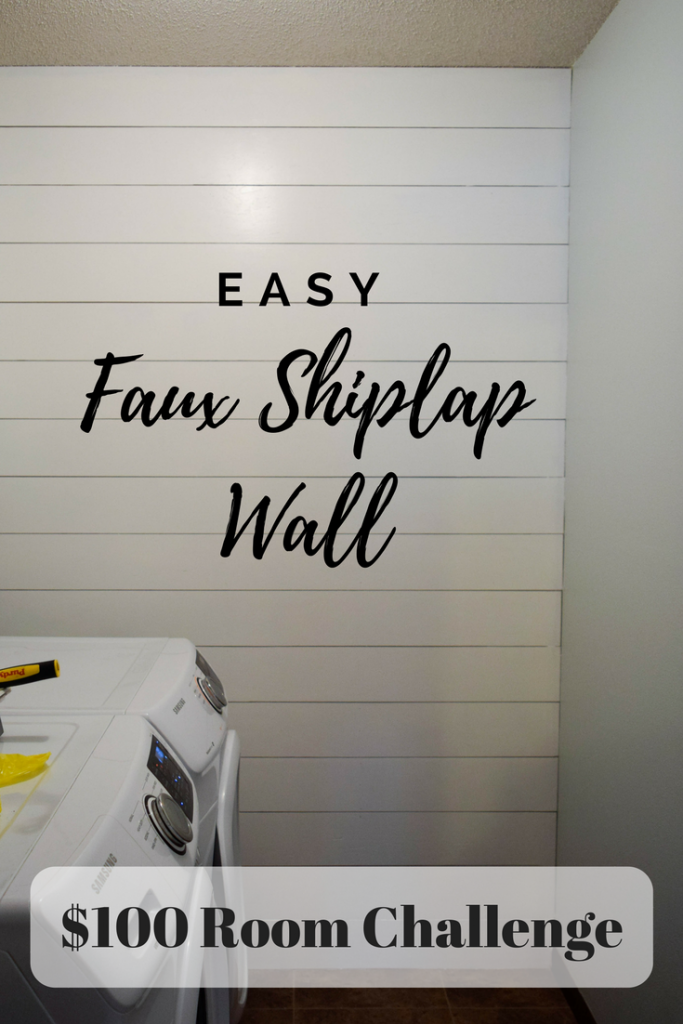
A Shiplap Wall is now the main feature!
Welcome back! I can’t believe it is week 4 of the $100 Room Challenge already – the reveals are next week! Holy Moly. If your just joining us go have a peek at the previous weeks where you will see all the (terrible) before pictures and the progress so far.
Week 1 / Week 2 / Week 3 / Week 4 (You are Here) / Week 5
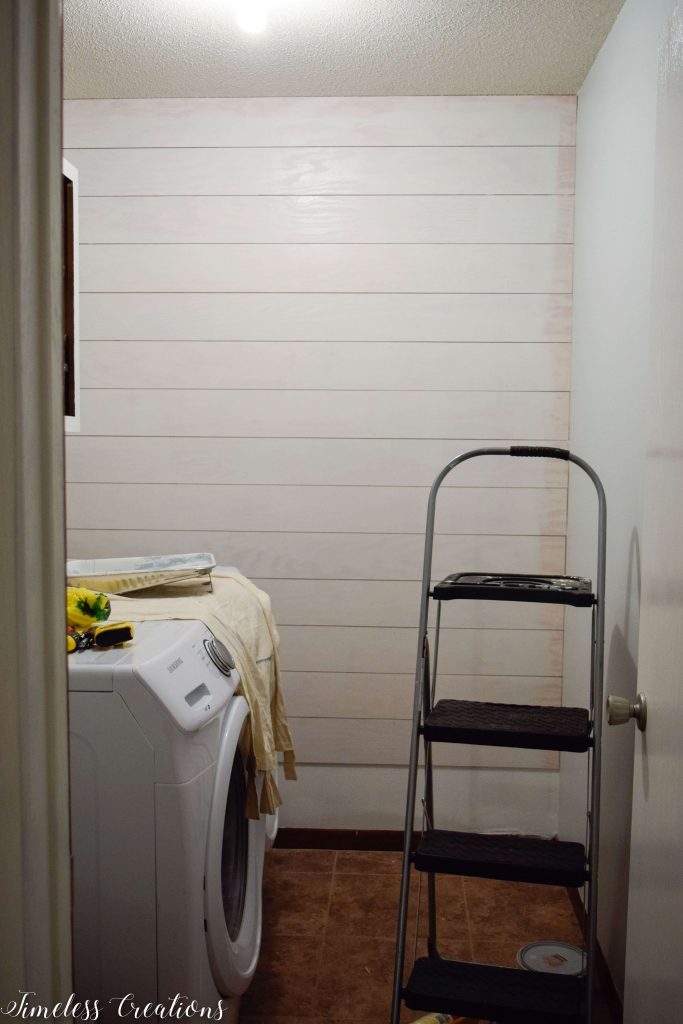
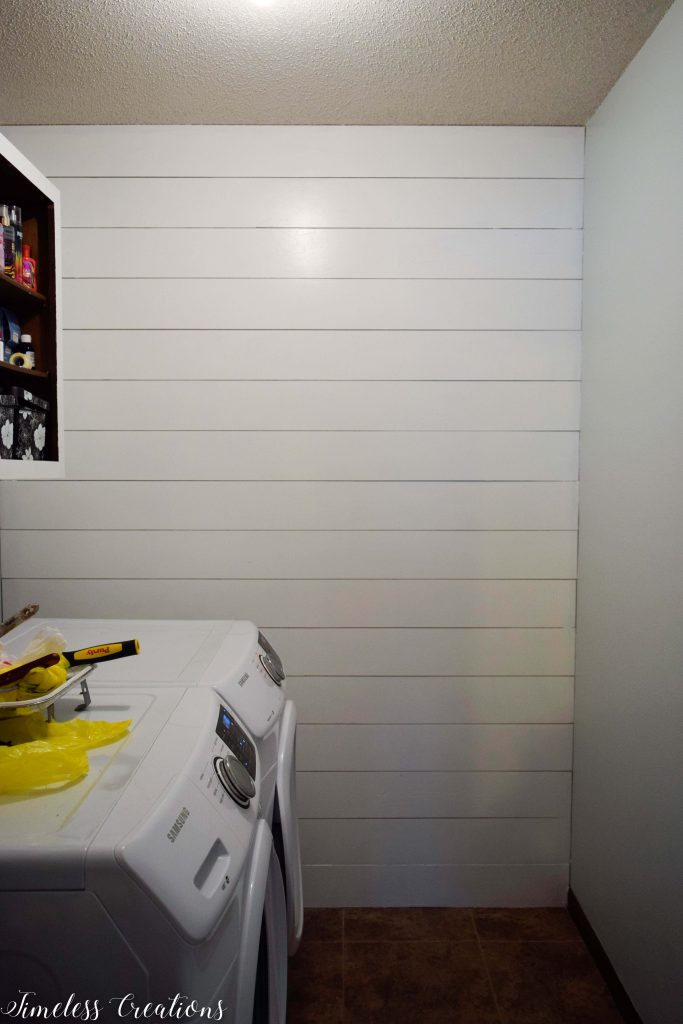
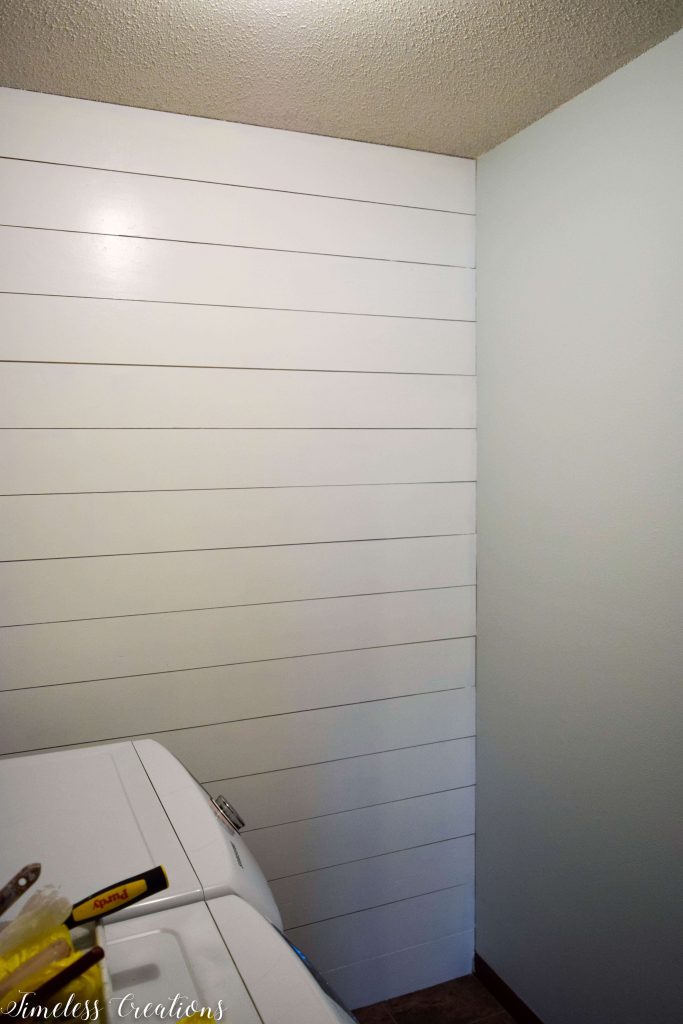
We have been rockin’ and rollin’ on my laundry room makeover! We sealed the folding counter we shared last week, started painting the cabinet doors, and installed, primed, and painted the shiplap wall! Whew! I’m so excited and it is looking really good (if I may say so myself 🙂 Seriously, this evening I opened the door into the laundry room and turned the light on while I was working in the kitchen just so I could admire my shiplap feature wall! Ha!
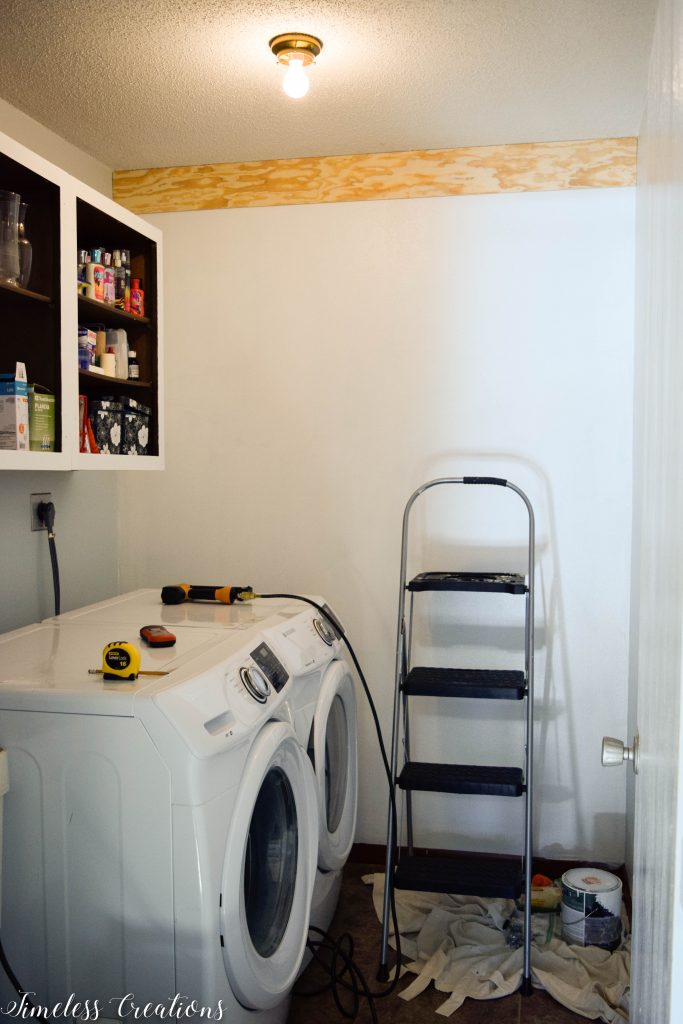
Again, here is the “before”.

I’m not going to give you a tutorial on “How to install a Faux Shiplap Wall” because there are a ton of them all over the internet already. (Like This One, or This One) I will, however, give you a few tips.
Tip 1: It was very easy to find 4′ x 8′ underlayment sheets at a local Home Depot or Menards. I purchased the cheaper ones with a nice sanded side only on one side since that is the only side we would see. Make sure to find one that isn’t bowed or has bad edges.
(First board is up!)
Tip 2: Most of the time those same stores will cut the boards for you, however we preferred to use our new table saw and cut them ourselves! We were therefore more careful and didn’t have edges that were bad.
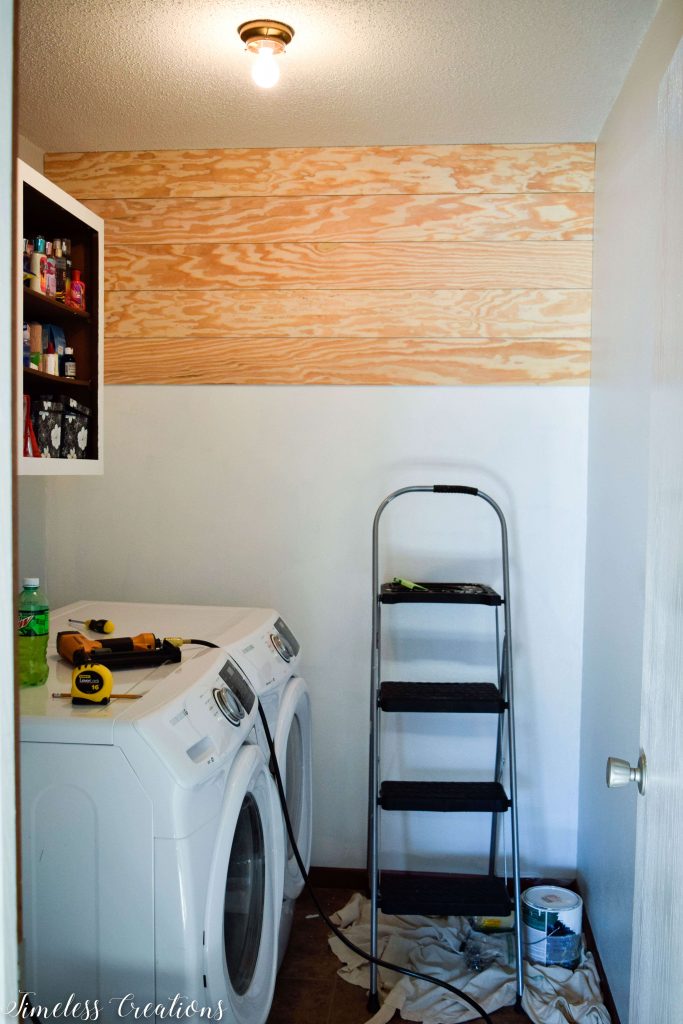
Tip 3: Make sure to know your cut dimensions BEFORE you cut the boards. My wonderful sister (who just happens to be an engineer and is amazing at math) made a whole spreadsheet about which width boards would work best for my space so as not to have really skinny boards on the top or bottom. She even took into account the width of the nickels we used as spacers! It was awesome. (Thanks Katie!)
Tip 4: Nail guns are your new best friend for this project – and are a super fun tool! We just got this awesome nail gun and compresser a couple months ago and this was actually our first time using it. The wall went up in no time. It might have taken Vicki and I an hour – tops. Having two people helps, it’s hard to hold that board tight and nail at the same time by yourself.
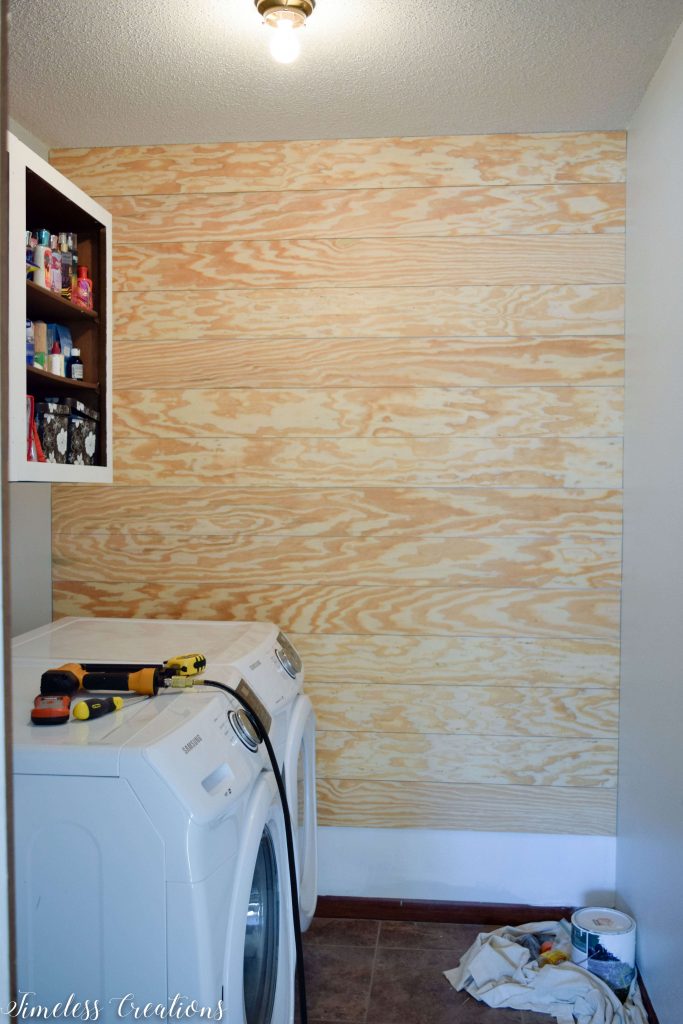
Tip 5: Fill your seams (If you have a long wall) and your nail holes (the nail holes are optional). I opted not to fill the nail holes because you couldn’t see them that well and I didn’t mind the rustic look.
Tip 6: Sand any rough parts, and PRIME the plywood first. Primer is a must. The wood is very porous and soaks in all that primer and paint. If there are any knots in the wood, you will need a primer that is a stain blocker so they don’t show through your paint.
And lets take a look at our budget for this makeover item:
- 2 Sheets of 1/4 inch 4’x 8′ Underlayment plywood sheets – $35.46. However we received 11% off at Menards which then equals – $31.56
I think thats pretty darn good! Like I mentioned, next week is the REVEAL! I still have the utility sink to finish, and to put everything back together and decorate. Still lots to do, but don’t worry, it always ends up getting done in the end.
Don’t forget to see what everyone else has done this week (links are below). And definitely come back next week for the reveal!


It’s looking so good!! Totally inspired to do SOMETHING with my laundry room!
Looks amazing!! You need to hire out your helpful sister, haha!
It looks fabulous! I can’t believe how crazy your sisters math skills are! Can’t wait to see the reveal.
The wall is looking beautiful!! I love following along your progress because my laundry room looks almost exact and I’m excited to make a copy of your room!! 🙂
Your wall turned out great! Popping in from To Grandma’s House We Go DIY Linkup!
It looks fantastic! Can’t wait to see the reveal!
I love your wall! Nailguns are the best! 🙂
Wow it looks amazing! I might never close my laundry door again if I had this shiplap! It’s good to have an engineer for a sister. ?
It looks amazing! I would definitely keep that door open with the lights on just to admire it all day 🙂
Wow. It turned out great and you make it seem easy!
Very cute! Underlayment is so handy for so many projects. Love your wall. Excellent tutorial.
It sure is! My husband now wants to do the same treatment in other rooms! Haha!
It’s coming along nicely and would keep the door open to just to admire that gorgeous new wall. Can’t wait to see the final reveal
I wanted to let you know I am featuring this great project at #merrymonday this week. I hope you will check it out when you have a chance! Hope you will link up with us again! https://ourcraftymom.com/15-upcycled-cool-creative-home-decor-projects/