Hello all!
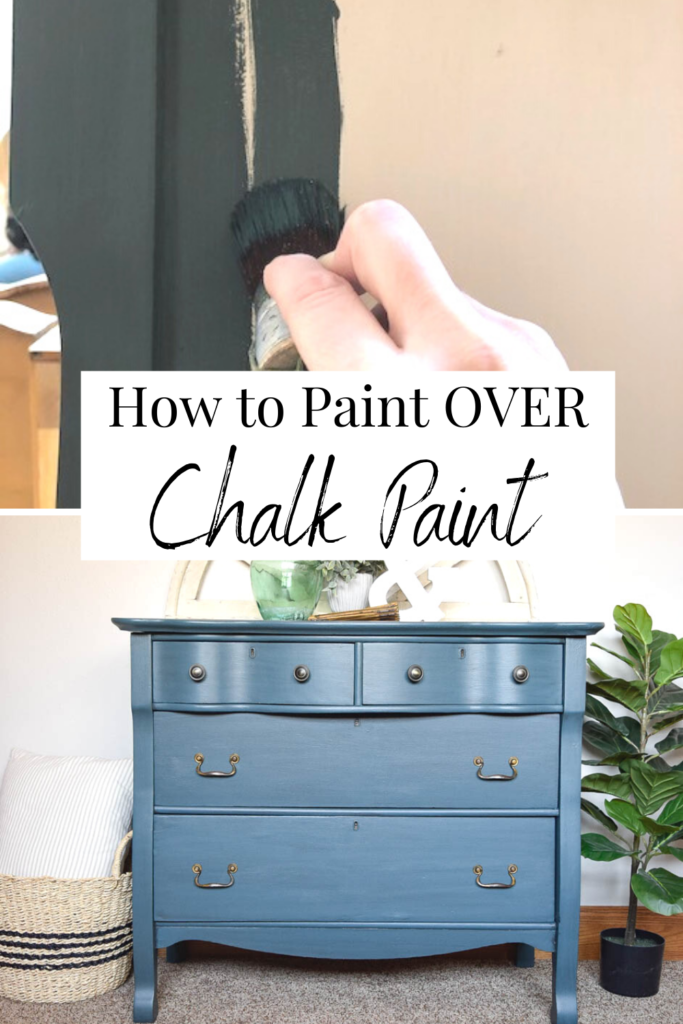
One of the questions we get a lot is “Can you paint over Chalk Paint”? The simple answer to this is YES! You can paint over chalk paint, but there are a couple things to consider first.
Normally we prefer not to paint over previously painted surfaces if we don’t have to. However, there are some really great pieces that we have come across that were painted that we couldn’t pass up! Sometimes we chemically strip the paint off, (See a post about chemically stripping a table HERE) and sometimes we just paint over that paint. The thing you need to look at is how is that paint holding up. If it is chipping pretty badly or was a terrible, drippy, painted mess you are going to want to strip that paint off. If the previous paint is chipping off, that is adhesion issues and anything you put over that bad paint, could just continue to chip off.
The next item you need to look at is what type of topcoat is on your piece. If it is glossy, or looks like some kind of varnish or polycrylic type of topcoat you can just clean your piece with Fusions TSP alternative and then scuff sand the piece to get a little “tooth” to the topcoat for best adhesion.
BUT, if your topcoat is a wax type of product – you have some different steps to take! Chalk paint and milk paint are probably the two most popular paints nowadays that are frequently sealed with a wax topcoat. You can tell if your piece was waxed by running your fingernail across the paint to see if some wax lifts off. It also has a different feel than a varnish or poly-type product.
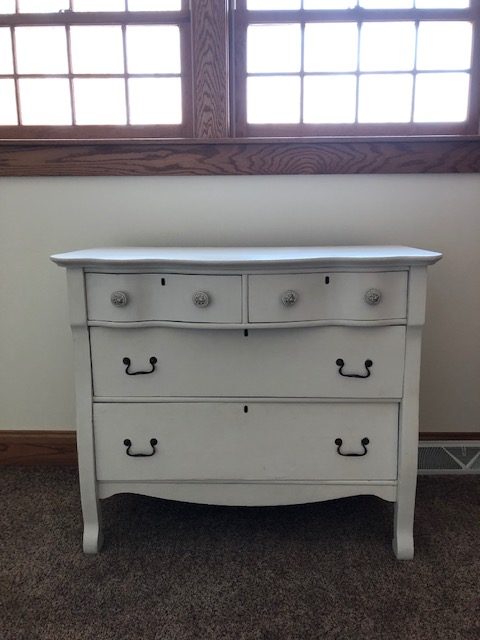
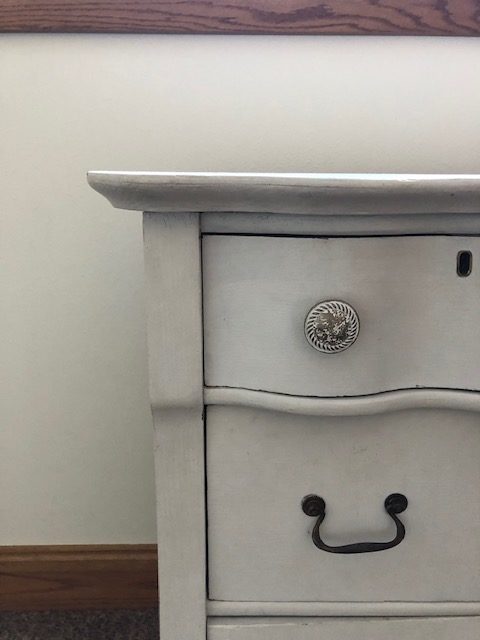
For our project – a pretty empire dresser that Kristen had previously painted for her daughter’s room, we were lucky enough to 100% know that it was previously waxed. It was painted white almost 4 years ago and while the dresser was in good shape still, we decided to change up the look so this dresser could now be used in the nursery again for Kristen’s twin boys who are expected soon!
Kristen loved using a dresser as a changing table with her daughter and wanted to do the same for the twins. So her daughter got a new “big girl” dresser and the babies are getting a different look for their room!
After determining if your piece was previously waxed the first step you take to repaint is to remove that wax. Kristen used Fusion Mineral Paint’s “Odorless Solvent” – which is a purified mineral spirit product. It’s a fairly new product and is great as it is a lot less harsh and smelly than normal mineral spirits. Of course you must still take proper precautions when handling this product, but it sure is the best mineral spirit product we have used! Since Kristen was pregnant at the time, she wore a respirator and gloves to protect herself.
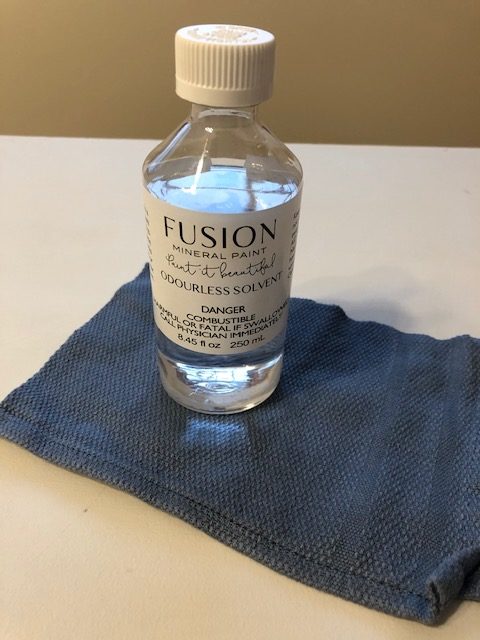
Using a rag, wipe your furniture piece all over with the odorless solvent. Keep turning your cloth to a new, clean section so you aren’t constantly wiping wax all over. Make sure to get into any crevices also. We did this step twice on this dresser just to make sure we got it all.
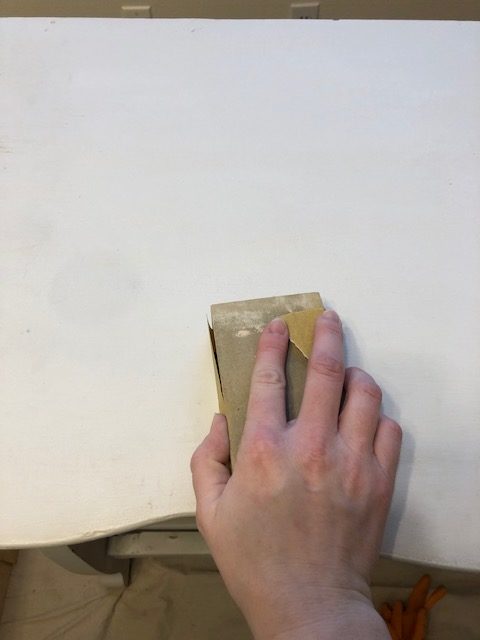
The next step is to sand your piece to ensure the wax is indeed off and to scuff the paint underneath. We used 180 grit sand paper for this step and were pleasantly surprised at how great the odorless solvent worked! The wax was completely off as the chalk paint sanded wonderfully, we could tell because chalk paint when sanded leaves a bunch of chalk dust all over and it felt much different than with the wax on it.
Once sanded all over, we cleaned up all the dust with some TSP alternative mixture. And then you can go ahead and paint! It seems like multiple steps to take, but in reality it didn’t take long at all. We were probably done prepping this piece in about 20 minutes.
We could tell all of the preparation worked because as the paint was going on it soaked into the chalk paint like crazy! (Which means your paint is adhering) If your paint separates or beads up, then stop right away as it isn’t adhering. You will need to begin again with all of your steps.
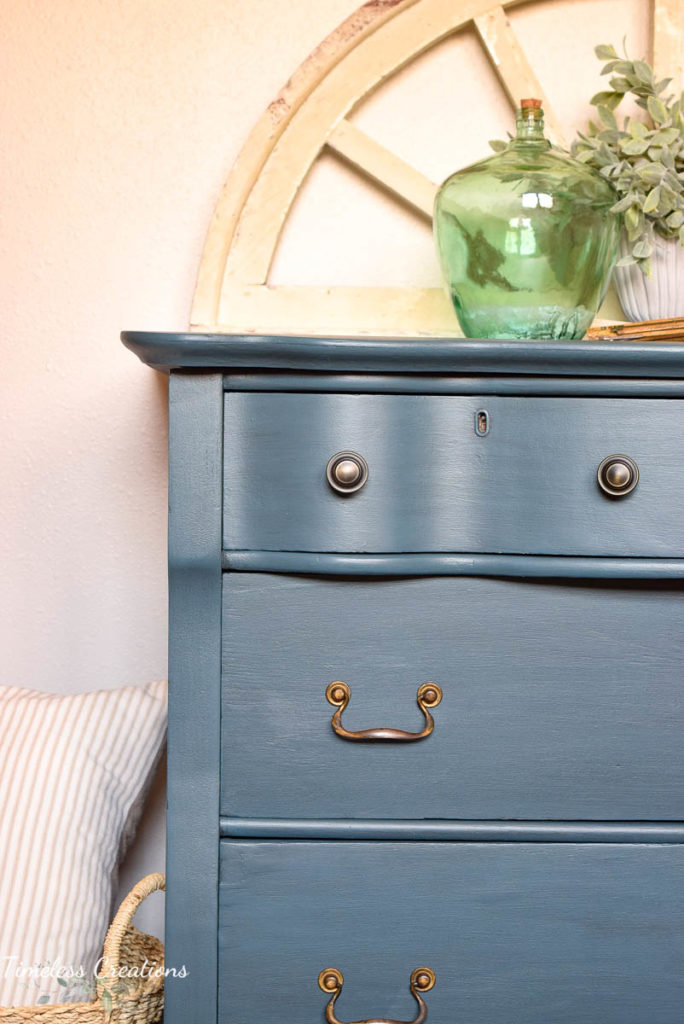
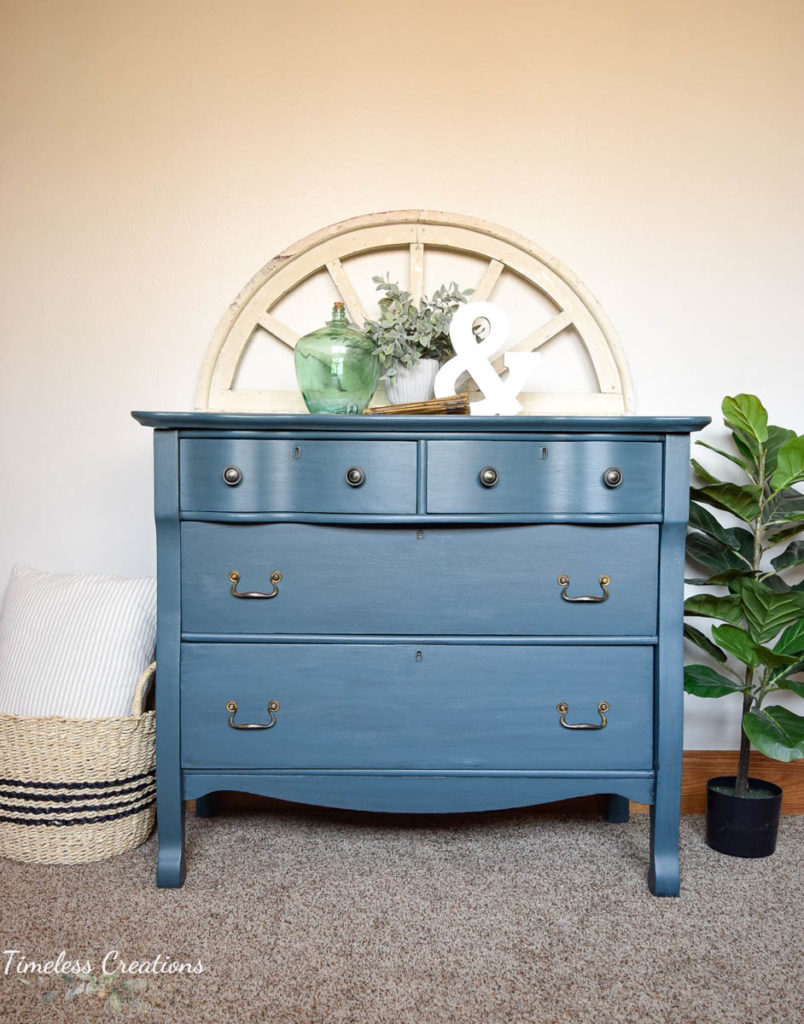
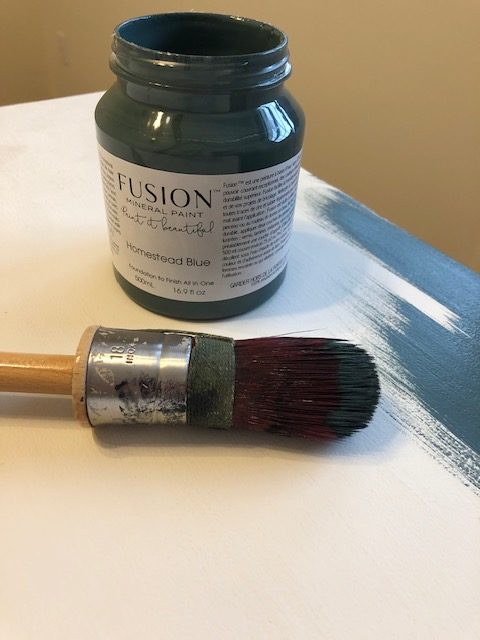
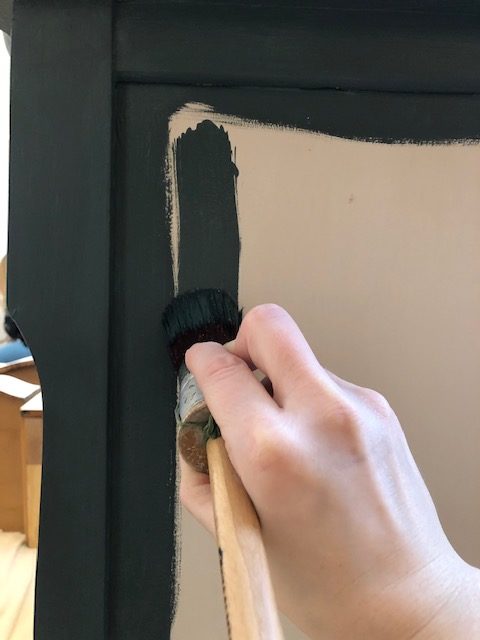
We ended up painting this dresser with two full coats of Fusion’s “Homestead Blue”, which is a fun dusky blue. Everyone wanted blue for the babies room, but instead of a typical navy or baby blue we went with a different shade that looks perfect! We went just one step further and applied a tinted glaze over the top of the blue for some added dimension.
Vicki used a mixture of Ash paint into Fusion’s Clear glaze to get a charcoal tint for an antique vanity she painted not long ago which we emulated for this dresser. (See that post HERE). Glaze is very easy to work with. Just brush on, then wipe back with a clean rag, working in sections so the glaze doesn’t get time to dry too much. On large, flat areas, be sure to wipe back in a straight line, applying even pressure so you don’t get weird marks you may not like. If you hop over to that post about using Glaze to add depth and dimension, then you get a more in-depth tutorial and a video!
Lastly you do have to seal over any glaze, so we used Fusion’s Tough Coat once the glaze had been fully dried for at least 24 hours. We brush ours on most of the time, but a painting sponge works really great too.
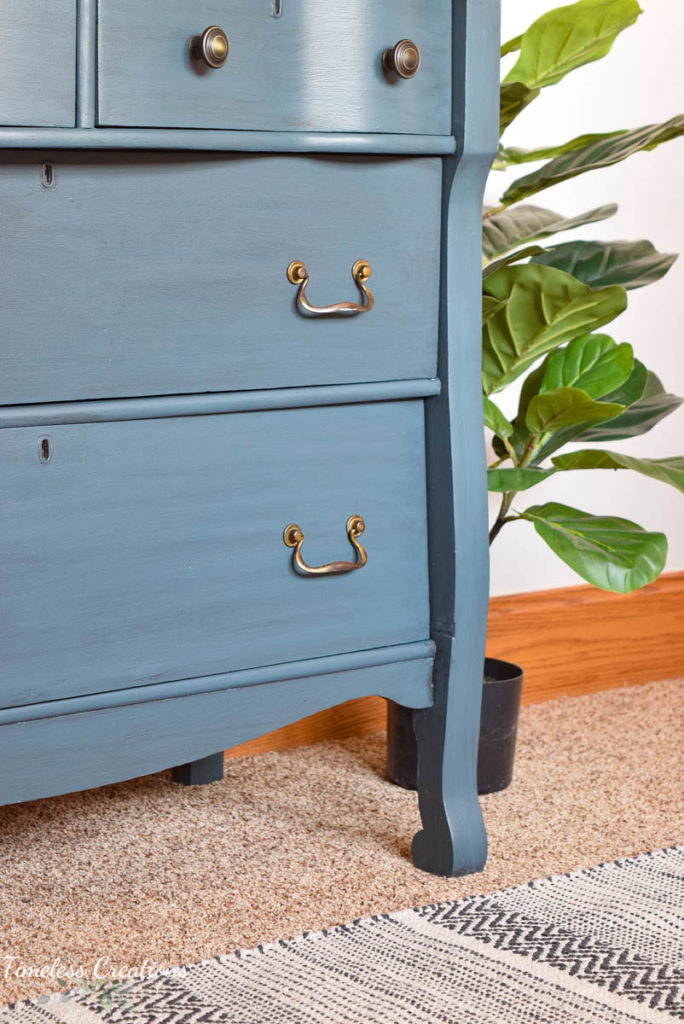
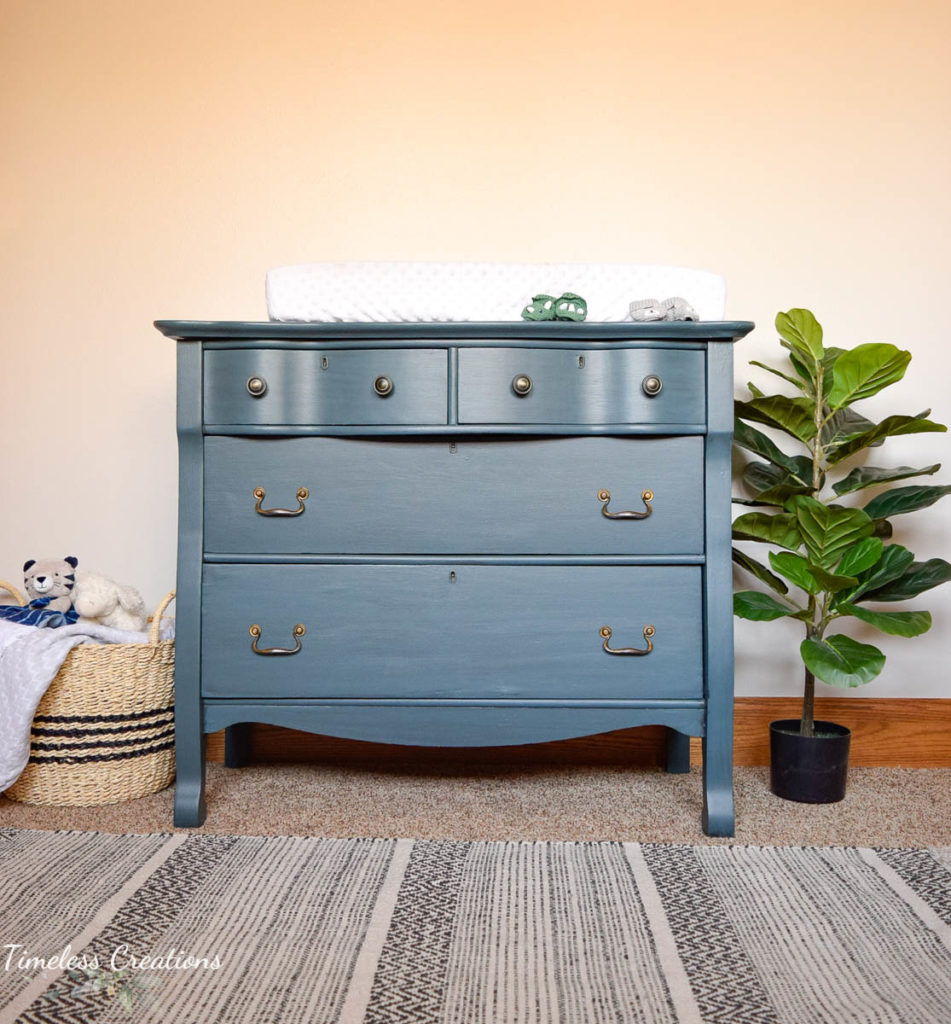
And now Kristen’s boys have what looks to be a new dresser! I know eventually the boy’s will each need their own dresser as this one is fairly small, but that’s alright. This one will hold baby clothes for a long time, and they have a nice sized closet too. Their nursery isn’t a large room at all, but it is immediately next to the master bedroom which is very handy when they are so little.
Here is how the dresser will be set up in the nursery with the changing pad on the top. In one of the top dressers we store diapers, wipes and paste for quick and easy diaper changes. Then all the clothes are right below for changing! It worked great for my daughter and should be just right for the boys too.
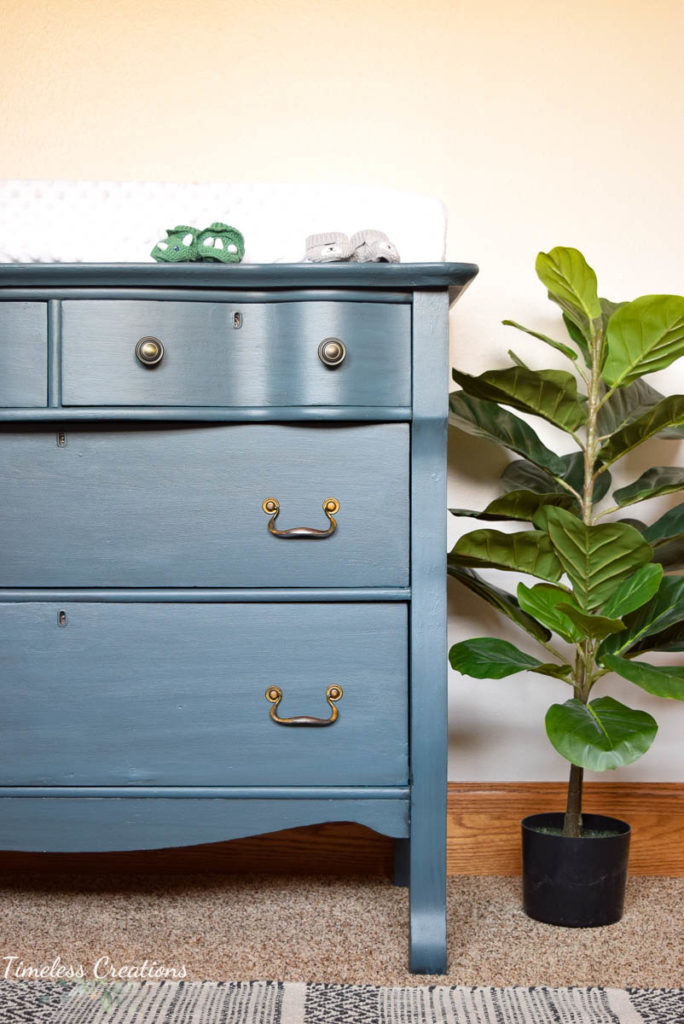
If you missed the first post about the nursery, please see that HERE. We shared what the room looked like before as well as everything we planned to accomplish to finish it off.
I’ll be sharing a full reveal of the nursery once it’s complete very soon! Stay tuned if you like our room makeovers!
Products Used: Odorless Solvent / TSP Alternative / Fusion Homestead Blue / Fusion Clear Glaze / Fusion Ash / Tough Coat



Leave a Reply