We do a lot of room makeover’s here at Timeless Creations. Between Kristen having a new house and Vicki wanting her home updated, we love to share all that we do! We wanted to take a look back at one of the big transformations we did a couple years ago before Kristen moved into her house. You can see the entire transformation through a series of posts we wrote – starting with our plan and walking you through step-by-step of all that we did for her budget-friendly kitchen makeover.
We also wanted to take a look back and break down the costs of such a transformation so you all have a better idea of how to stretch your own budget. As well as how far you can get with just a few coats of paint, shopping frugally, and DIY’ing almost everything!
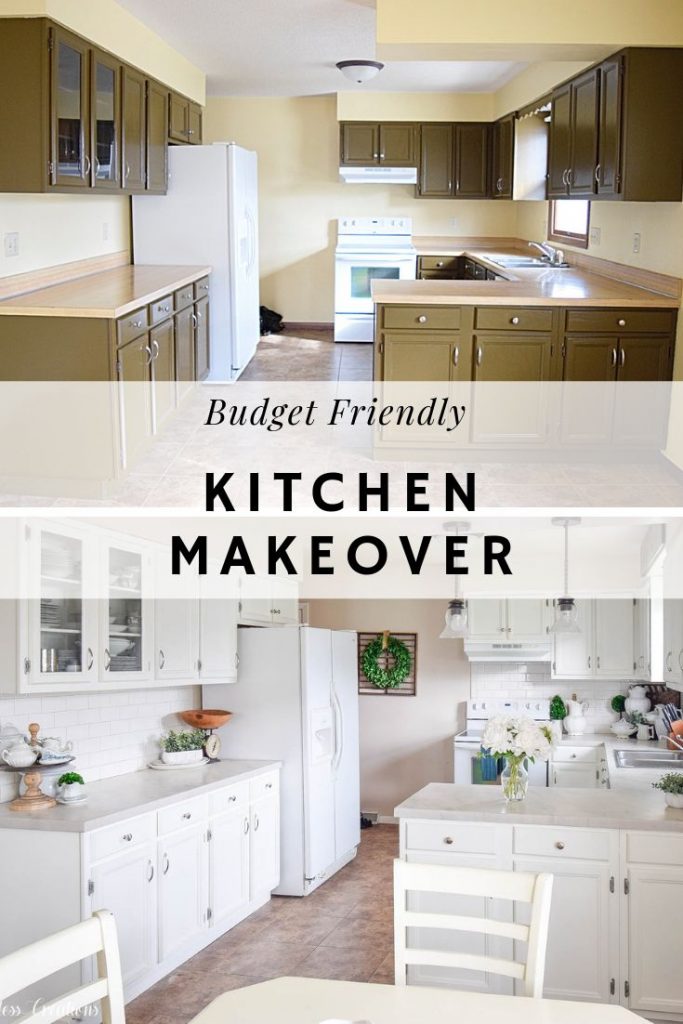
Let’s start by looking back at the plan for the kitchen. Here is the BEFORE:
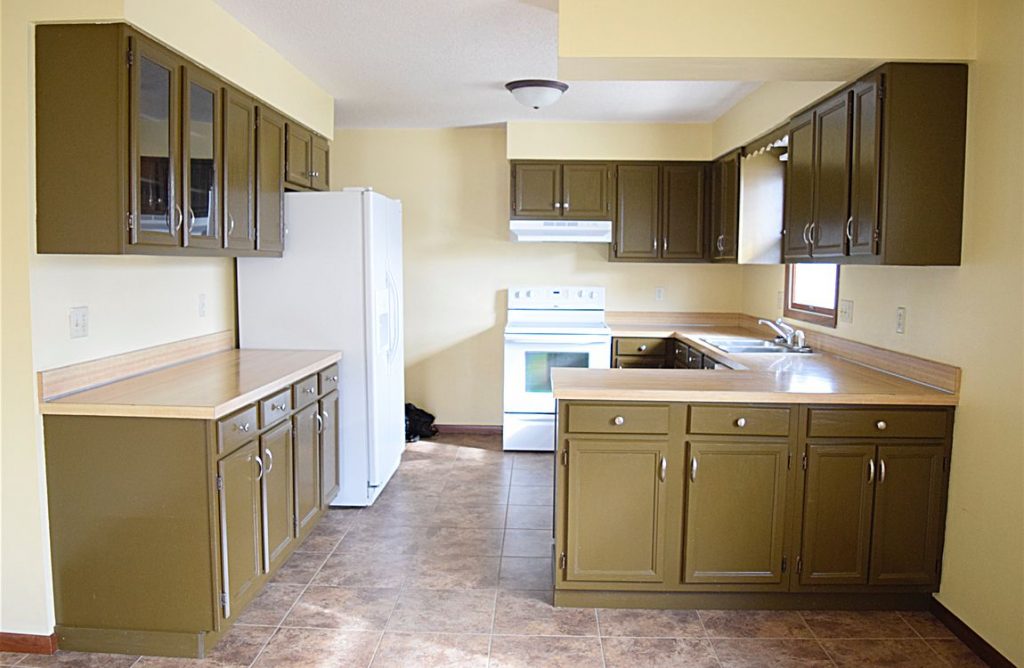
Here is what we came up with for our Kitchen Makeover Plan. We knew the color of the cabinets needed to be changed, as well as the wall color and trim. We also knew we wanted new counter tops but when first moving in it wasn’t in the budget. So instead we bought paint by the gallons to change up our space as much as our budget allowed!
We began by painting our cabinets while the space was still empty. This post goes through all the details of painting your own cabinets. We sprayed our cabinets, but if you cannot purchase your own paint sprayer you can certainly use a roller and brush. We have done that before too and both take about the same amount of time.
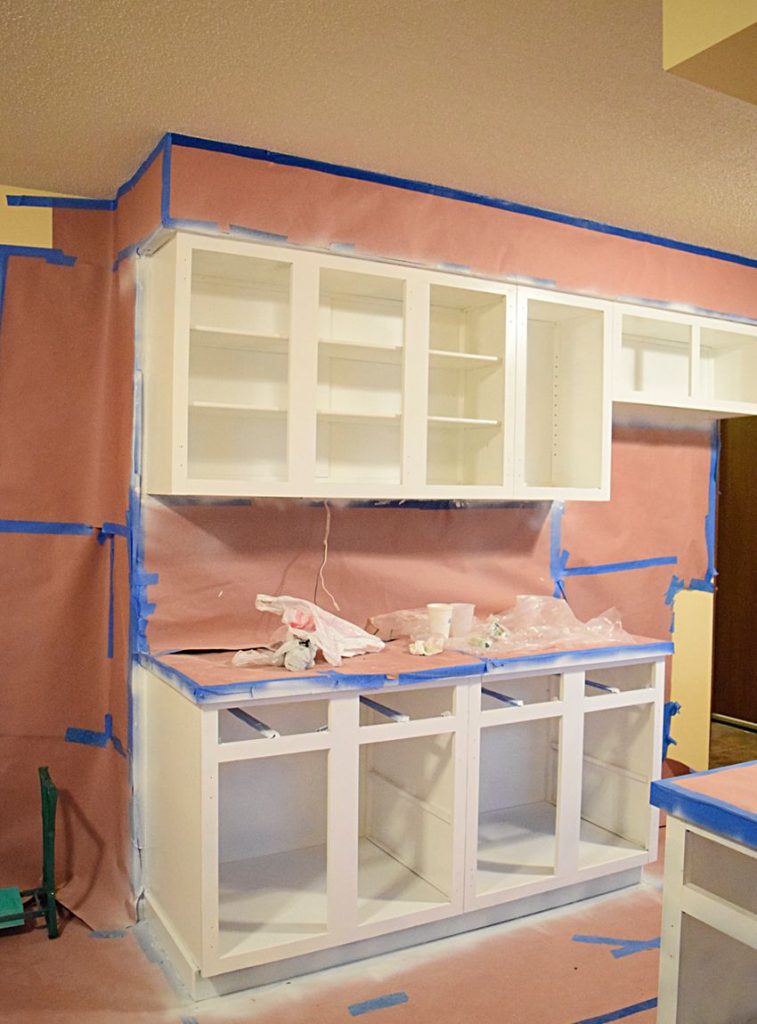
Approximate cost of this update are as follows:
- 2 gallons of paint for cabinets – $61.96 (We used Behr Premium Plus Ultra in this color)
- Paint supplies – Approximately $40 (Includes Brush, Roller Handle, Roller Pad, Painters Tape, Paint Tray, and Tray Liners) If you already have these supplies – bonus! No need to purchase more!
- Gallon of Paint for Walls – $30.98 for Behr Premium Plus Ultra
If this is all you need to do for your kitchen then wow! That is a low budget makeover with high impact! Just look at the change in our kitchen!
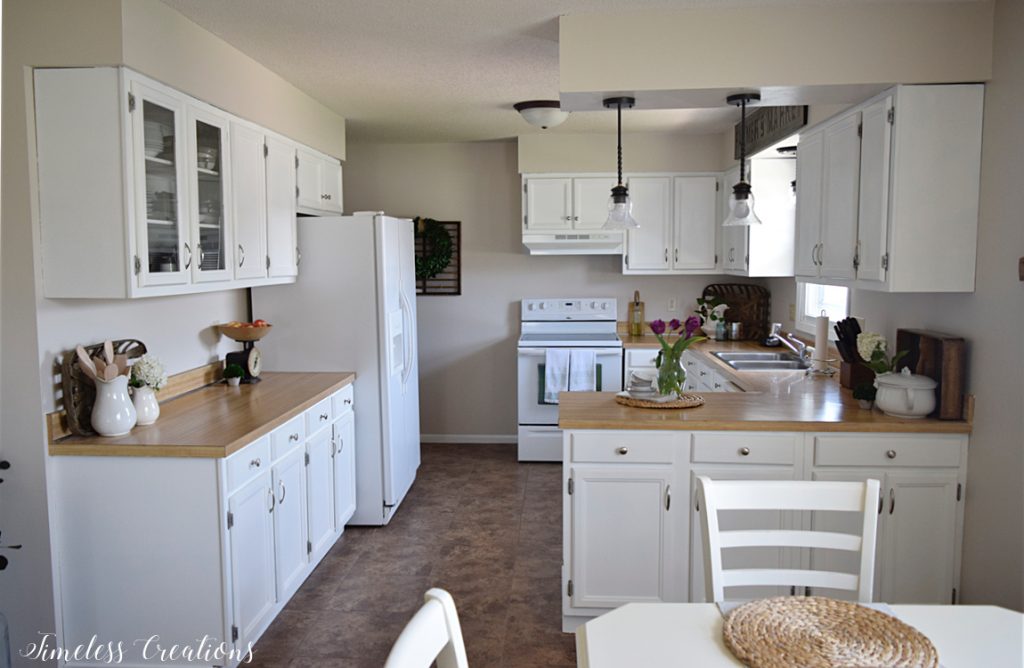
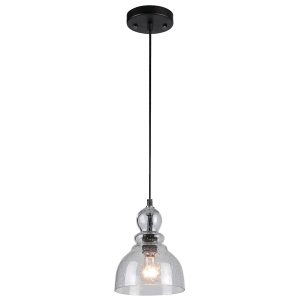
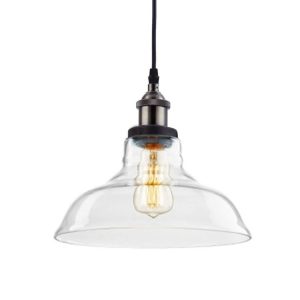
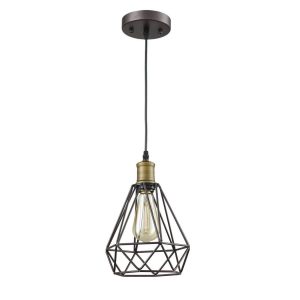
What an update just the painting made! It looks completely different. We also added the pendant lights above the peninsula and the sink. Luckily we knew an electrician (My dad!) who didn’t charge us for his time! I believe each pendant was about $20-$30 on clearance. Which is pretty cost effective for lights. But look at these great ones I found that are ALSO super budget friendly yet fashionable. We were lucky to have an electrician we knew since there wasn’t any existing wiring above the peninsula. But if you just need to switch them out, that is fairly simple to do as well.
1.) Mini Pendant- Seeded Glass
Adding the lights wasn’t something we absolutely needed, but we thought it would help with the aesthetic. But now we use these pendants more than we use the ceiling light! We like it brightly lit when preparing food.
The next budget friendly item we added to our kitchen was a second-hand dining room table and second-hand chairs. If you can find furniture that has great bones you can give it a quick update by painting it. (HERE is the post about painting the table) That is what Vicki and I DO! Almost everything in our homes are second hand OR handmade by us. (The bench we handmade!) We had this table in our furniture inventory for our retail store and the chairs were a last minute score from Goodwill! It was pretty amazing we were able to put it all together for this makeover. And they look like they always belonged together!
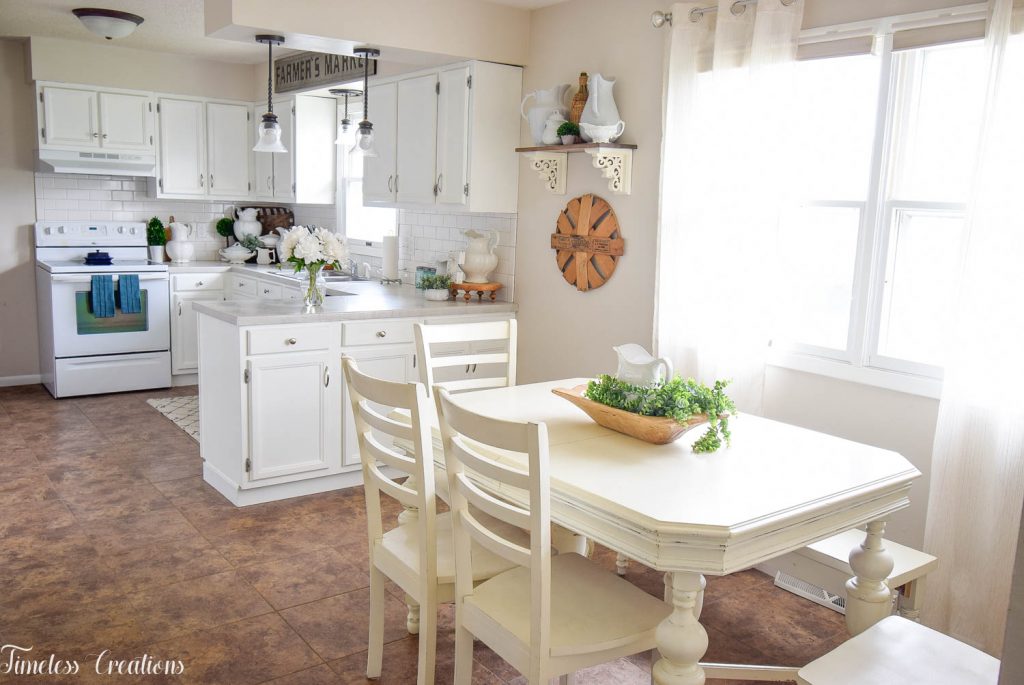
The last items that we did for this makeover was the counter tops I mentioned earlier and the subway tile backsplash. Re-doing the counters just was NOT in our budget when we first started our kitchen makeover. There’s just so many extraneous expenses you forget about when purchasing a home that we just couldn’t make it work. So we waited a year, saving up money along the way, and tried to decide what to do. We debated on DIY’ing a butcher block counter or getting a different laminate.
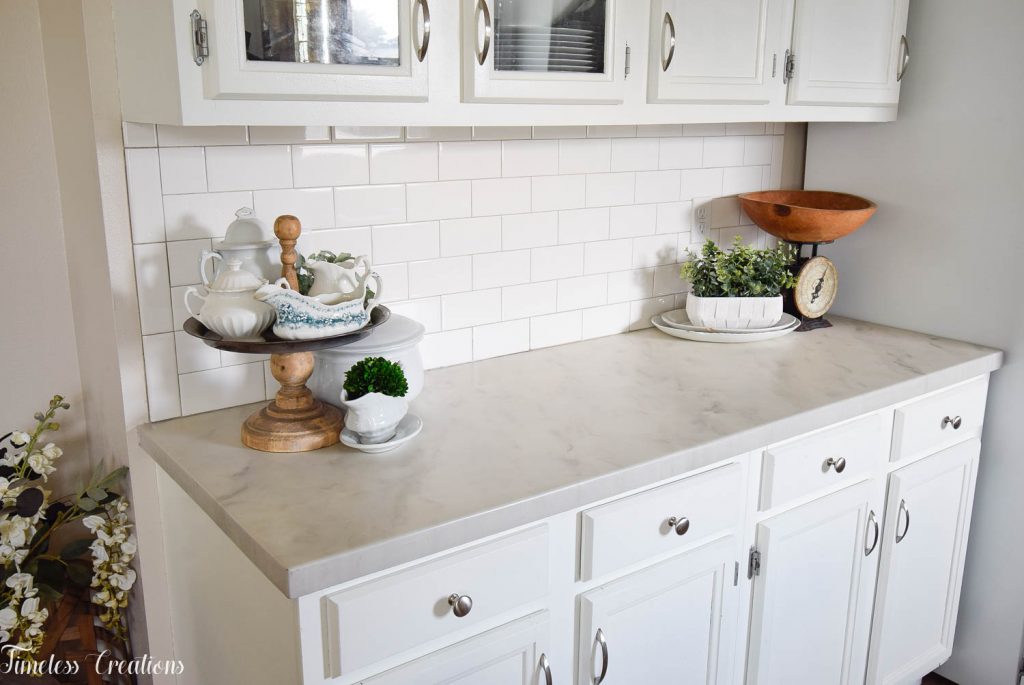
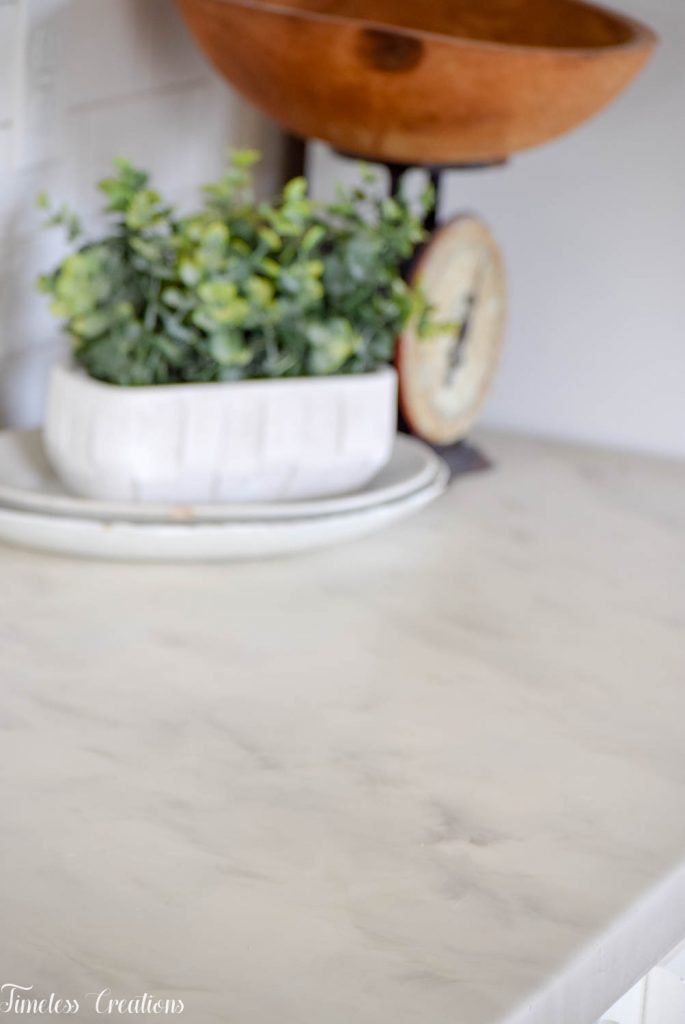
I just wasn’t super excited about the laminate option, and wasn’t sure how butcher block would hold up. So when my cousin, Ben of Minnesota Countertop Creations started making over counter tops with an epoxy product I was intrigued! After consulting with him and the company who makes the product we decided to go that route with a faux carrara marble look! While normally you can go right over your existing counter tops, we opted not to do this since there were big bubbles in our laminate. The epoxy company – Stonecoat Countertops, has all kinds of videos for those DIY’ers out there, otherwise you can see our post all about them HERE.
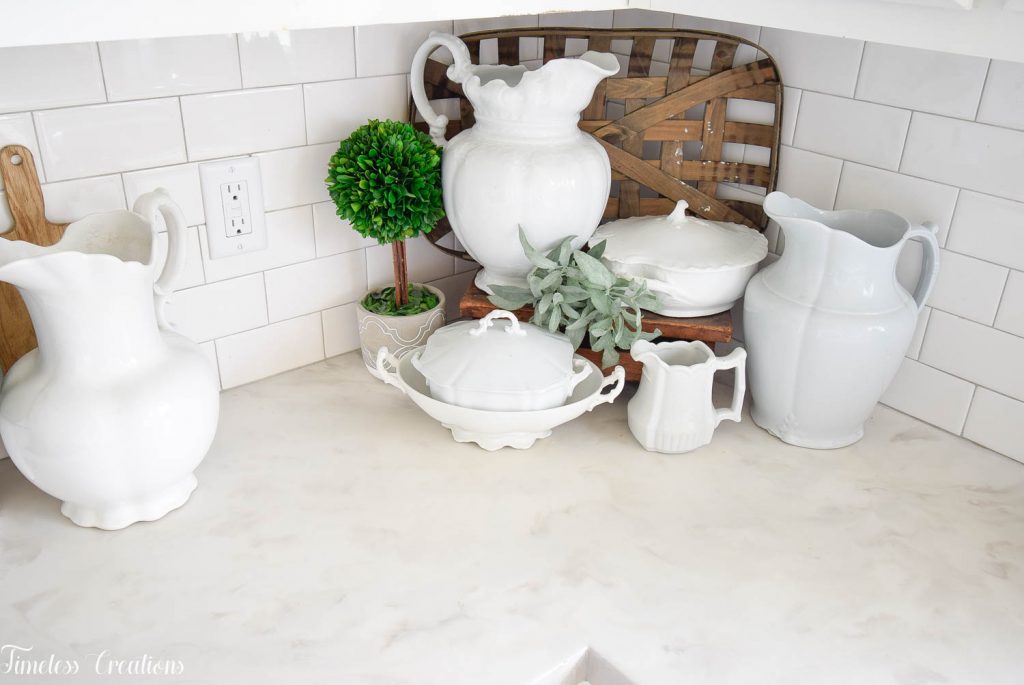
It looks like quite a few steps, but if you are handy in any way you could definitely do it. Just follow their directions and watch the video tutorials.
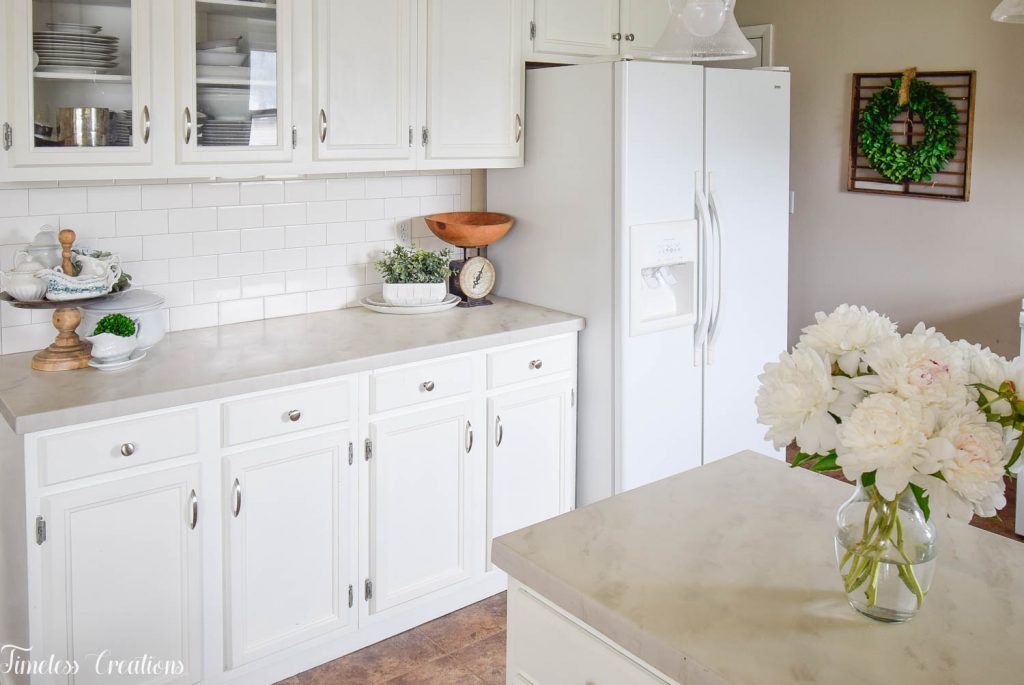
And subway tile is one of the cheaper tile options you can go with. We chose that for a lovely and timeless farmhouse look, but you can also go with one of those mesh backed options too which is what my brother and sister-in-law chose. You can get subway tile on sale for about $17 a carton and we only used about 3 or 4 cartons for ours. You would also have to purchase the adhesive and the grout for this project, but that is minimal.
But can you believe the difference! It did take us 2 years to completely finish since we did our kitchen in stages, but that is perfectly fine if you have to follow your budget!
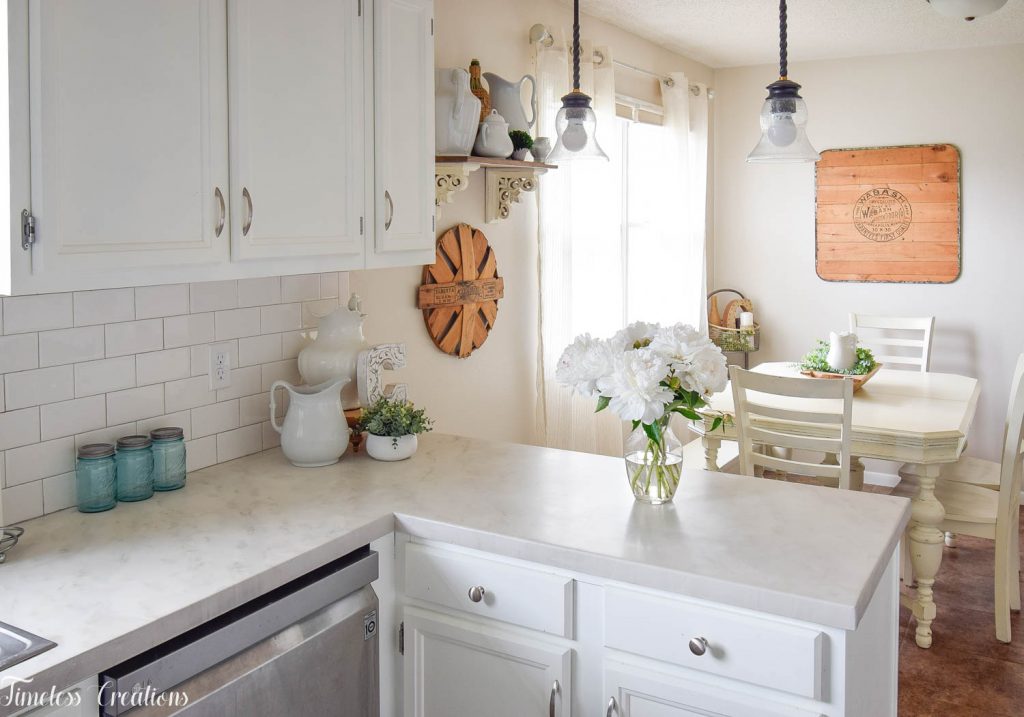
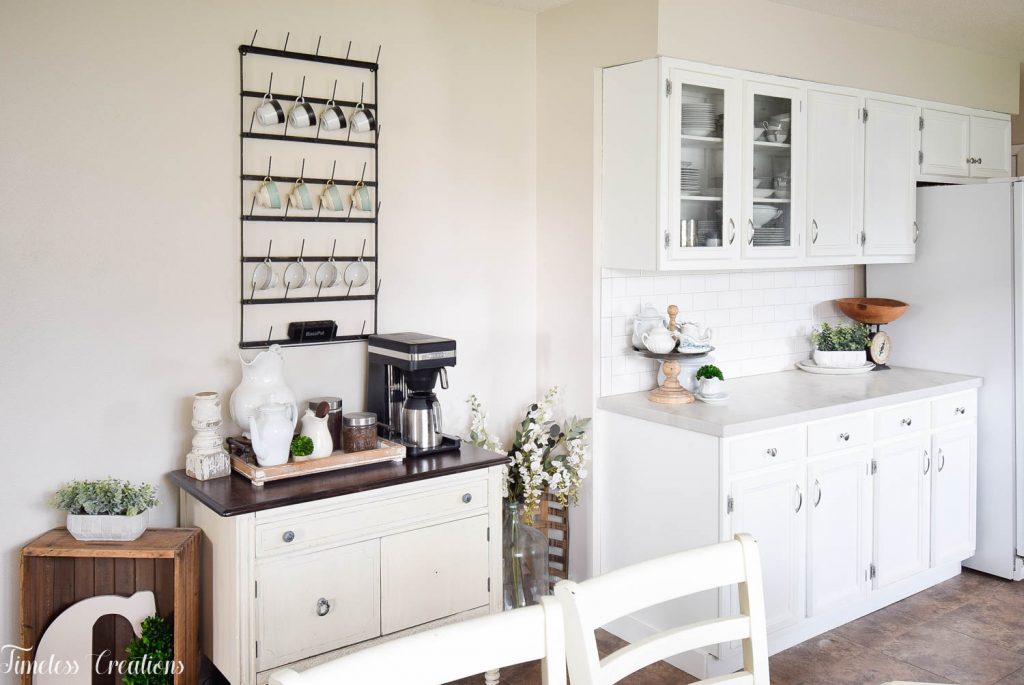
And of course, like almost everything else in Vicki and my homes, we DIY’ed or found almost all of the decor you see! Flea Markets, Goodwill, garage sales, antique malls, and even TJ Maxx were all places we found decor! The wall shelf was made out of bookends (See that post HERE) we purchased, and of course all of my collection of Ironstone was purchased where ever I could find them!
No matter how small the budget there are always ways to makeover your space. Sometimes all it takes is a couple gallons of paint, or sometimes you have to get super creative with items you already own. Sometimes it takes a couple of years as well as pinching some pennies where ever you can! But if you have the gumption and the discipline you can get it done by yourself! Good luck with all of your upcoming projects and we hope we were able to inspire you with some options you may not have thought of!



Leave a Reply