Have you ever snagged a great looking piece of furniture from a garage sale or flea market that you knew would make a great addition to your house with a little paint? Sometimes you don’t like the original color or sometimes the surface is pretty marred and needs some TLC.
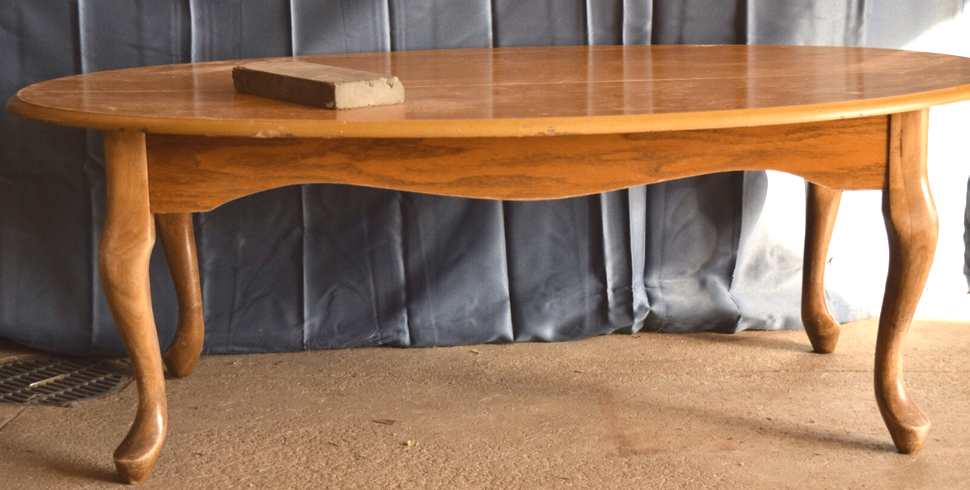
That is exactly what happened to a friend of Kristen’s with her coffee table she picked up for only $10! It’s legs were a bit loose, had some gouges on the side of the top, had two skinny cracks running the length of the top and was a golden oak color that looked dated. Even with all of those imperfections, that table definitely had some potential!
The owner had a clear vision of what she wanted this piece to look like by describing she would like a grey color but also liked the distressed look. Kristen and her came up with an inspiration picture and plan on what would be done.
As is often the case with bargain buys you pick up there is always something to fix. To begin we turned the table over and tightened all the screws up on the underside since it was a bit wobbly. This particular piece also had quite a few dents/gouges on the edge of the top so next we started our sanding. Not only does sanding smooth the gouges but it also roughs up the old finish so paint will adhere better. (We used our fine and medium sided sanding block)
For your convenience in locating products we have used, this article contains affiliate links. All products are items we use ourselves and have formed our own opinions on. For our full disclosure go to our “Disclosures” page. 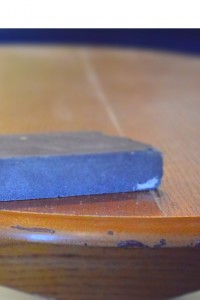
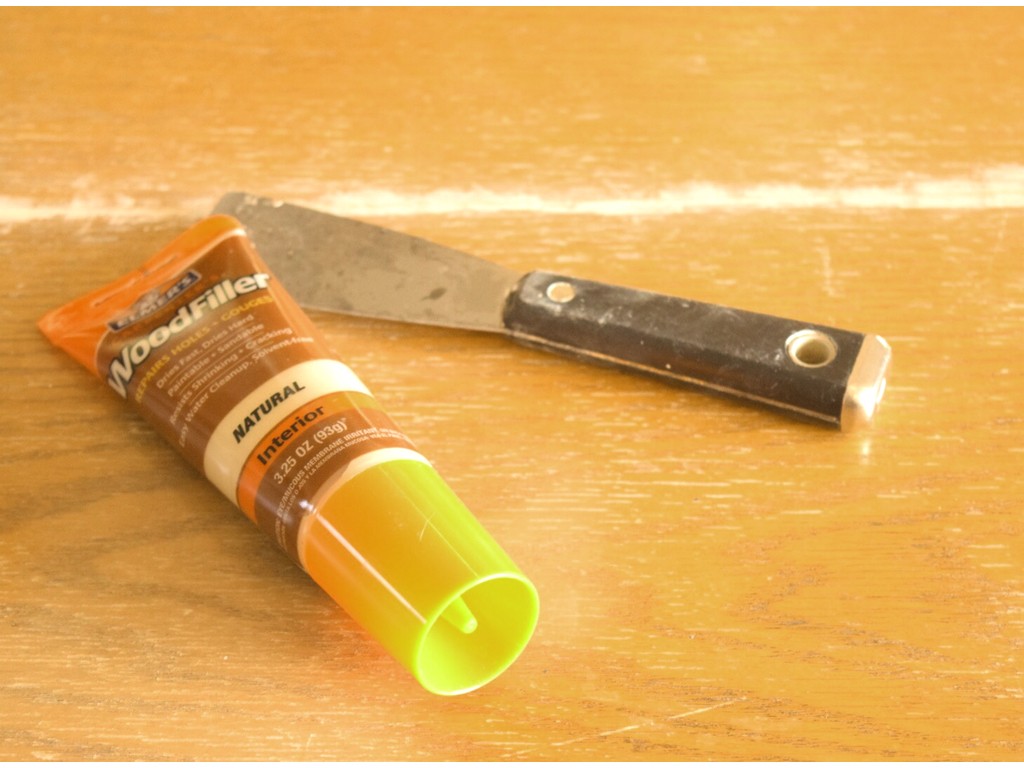
We then went to the top to begin our filling. We got a new product for this step this time! It was the Elmer’s Stainable Wood Filler. It was very easy to work with since it was more malleable than some fillers we had used before. Just take your putty knife and squeeze some onto it and run the knife over the dent or crack.
After the wood filler dried we went back over all the dents on the side of the table top as well as the cracks on the top itself with our sanding block. Then wipe all of your dust off. You are then ready to crack your paint can and get your brush wet!
Painting is one of the best parts of the whole project for me. Dipping your brush into fresh paint and swiping that first line is just so exciting! We painted the entire table in Rust-oleum’s Chalked paint in “Charcoal”. This paint was another new product for us and we really liked it. It is cheaper to purchase than Annie Sloan but you still get that great coverage from a chalk paint. It also brushed on very smoothly as well, almost like a latex paint. We brushed on two coats of that and allowed it to dry.
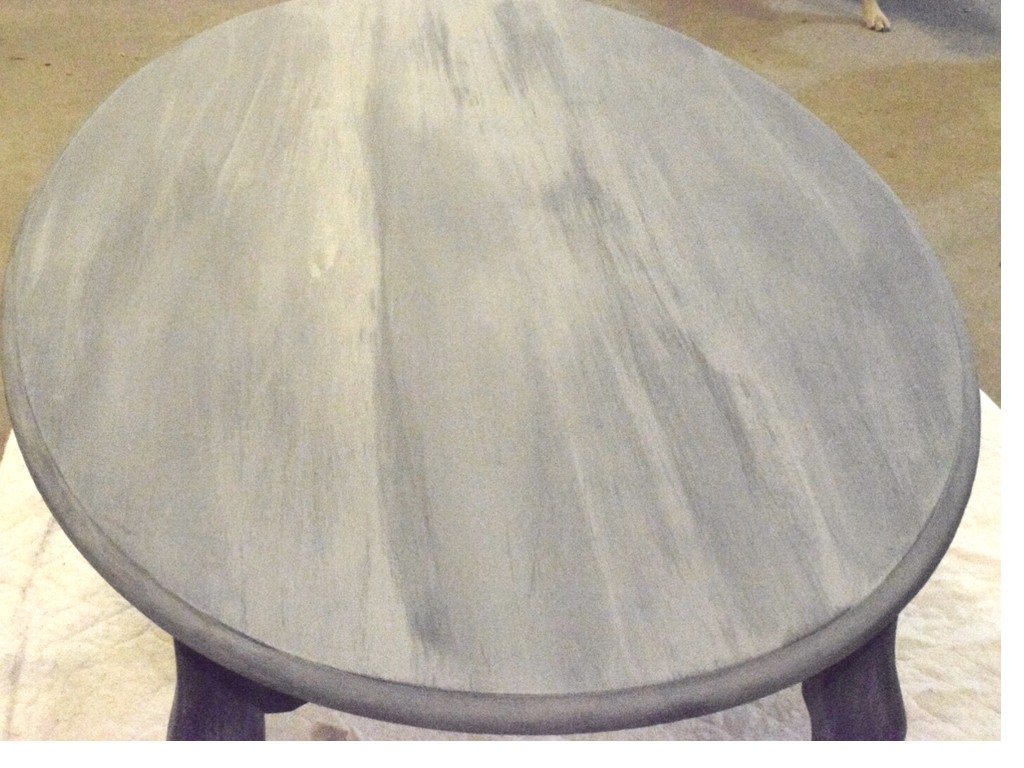
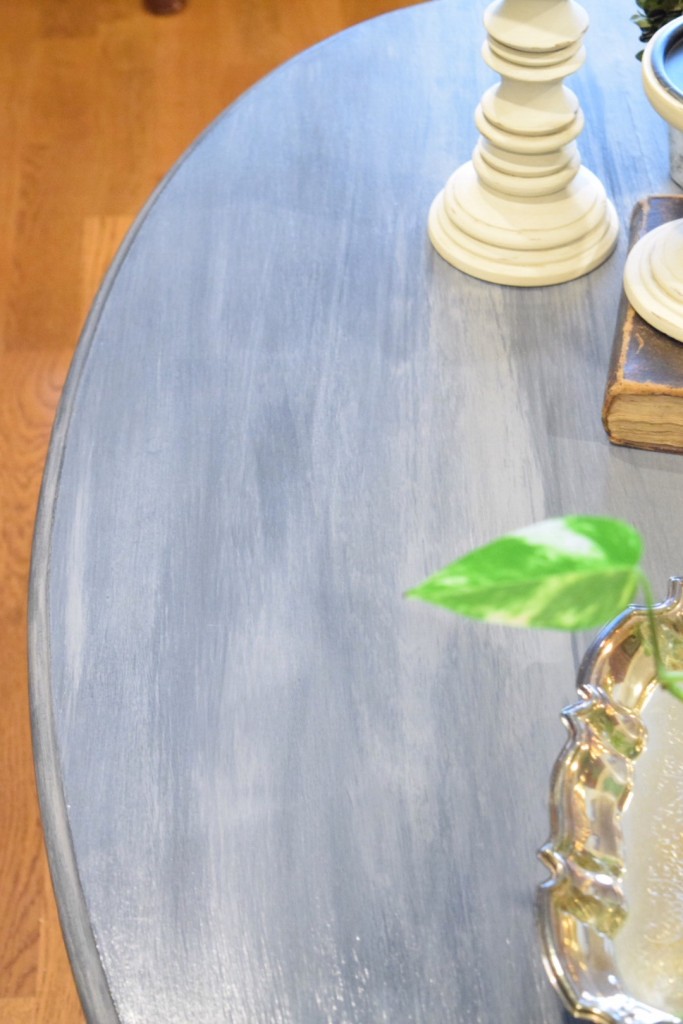
Since our client wanted a distressed finish but the wood underneath was not the color we wanted to bring out, we opted not to sand the chalk paint down, but to do a light grey wash over the top. A wash allows you to get a nice layered look. We mixed 3 parts Annie Sloan “Paris Grey” paint with 2 parts water. We wanted the paint to be layered on top of the charcoal so it would lighten the charcoal color but mixed it as a wash so we could wipe off part of the lighter mix to really give it that distressed/weathered look without doing any sanding!
The wash was a bit difficult to apply because we had more paint than water which made it harder to wipe off. We found it was easiest to use a wide sponge brush to wipe the wash on while the second person took a dry sponge brush and wiped right behind the first person! Needless to say we definitely bumped into each other a lot!
Vicki kept a couple dry sponge brushes handy in case the first got too wet. Just keep in mind, you will be working fast for this part so gather all your supplies beforehand! However, if your dry sponge isn’t wiping off as much as you would like, you could always wet a different sponge (not sopping, just lightly wet) and use that to play with the wash so you get the look you want.
Tip: It worked best to sponge the wash on and off in a continuous line across the whole table. We didn’t want to risk getting any lines in the middle of the tabletop.
Once you are done with this fun step, you can just wait for the wash to dry to start your sealant! We used a satin sheen Polycrylic because we knew this table would be used heavily. The owners also wanted to utilize the table right away and poly only takes 24 hours until you can use the piece like normal. We applied 5 coats on the table top and 3 on the legs and aprons.
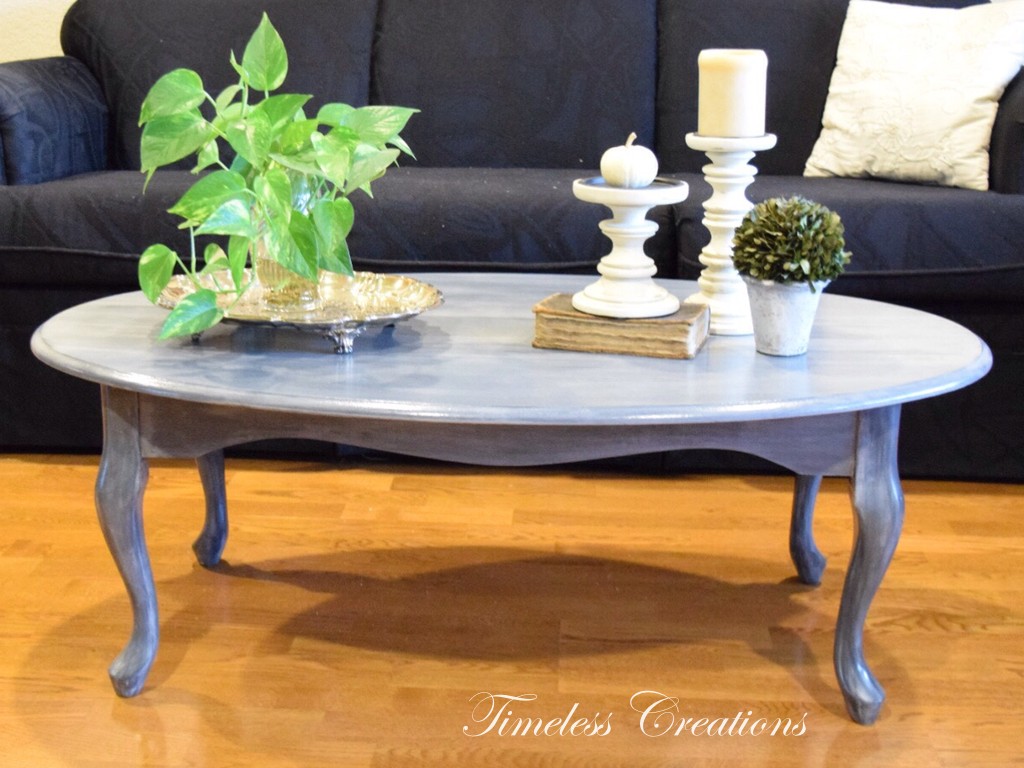
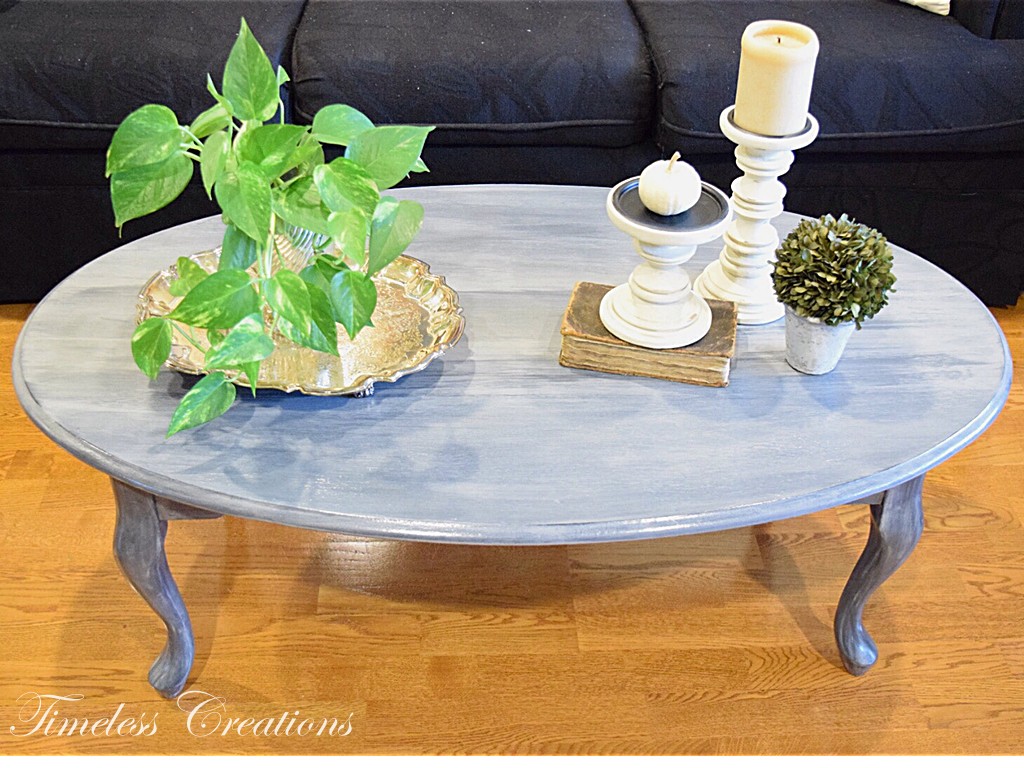
It is always so gratifying when you finish a wonderful piece of furniture and have given it a completely new look. Vicki actually didn’t want to let the piece go after we staged it in her family room and it fit perfectly! Unfortunately she couldn’t keep it 😉 We were so happy when the owner and friend came to pick it up and loved it!
So don’t be afraid to pick up a piece that has a little fixing up to do. With a little bit of work and paint you too can have a great new piece like this coffee table makeover!
More you may also love…




Leave a Reply