It’s finally here – Reveal Day!
Ooooh you guys, this is so exciting! It is the 5th and final week of the $100 Room Challenge where we just made over my laundry room. One room, one month and only $100 as a budget. This challenge, which is hosted by Erin from Lemons, Lavender, and Laundry is one of our very favorites to participate in. And friends, I am absolutely in LOVE with my new laundry room! Without further ado, here is my $100 Laundry Room Reveal!
If you want to take it back to the beginning of the month to see the entire transformation here are the posts:
Week 1 / Week 2 / Week 3 / Week 4 / Week 5 (You are Here)
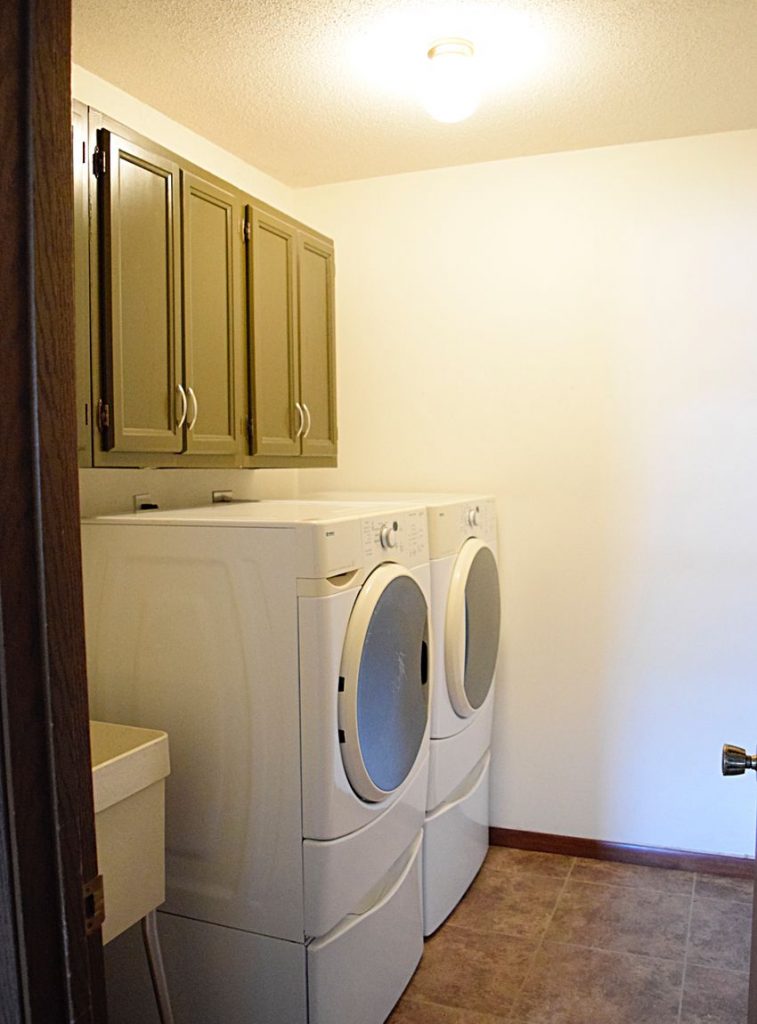
Otherwise, here is a little reminder of where we started. This is what our laundry room looked like the day we moved in:
And here is the most recent picture:
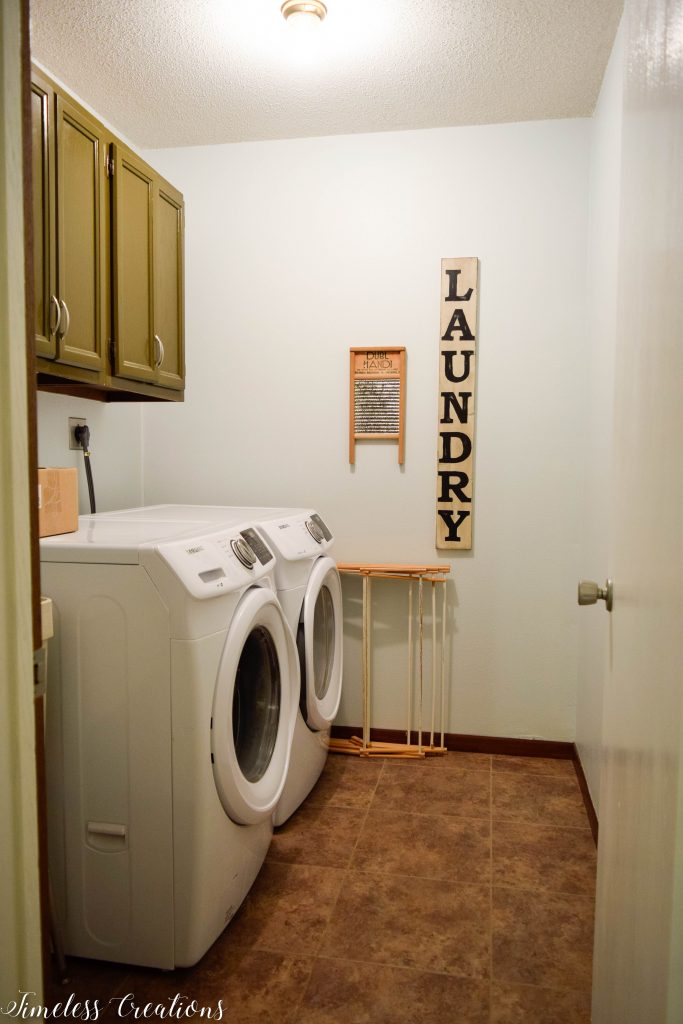
The room wasn’t absolutely terrible. It had nice floors, recent light aqua paint, enough space, a sink, but it was all so….blah.
And now for the “After”, come on in!
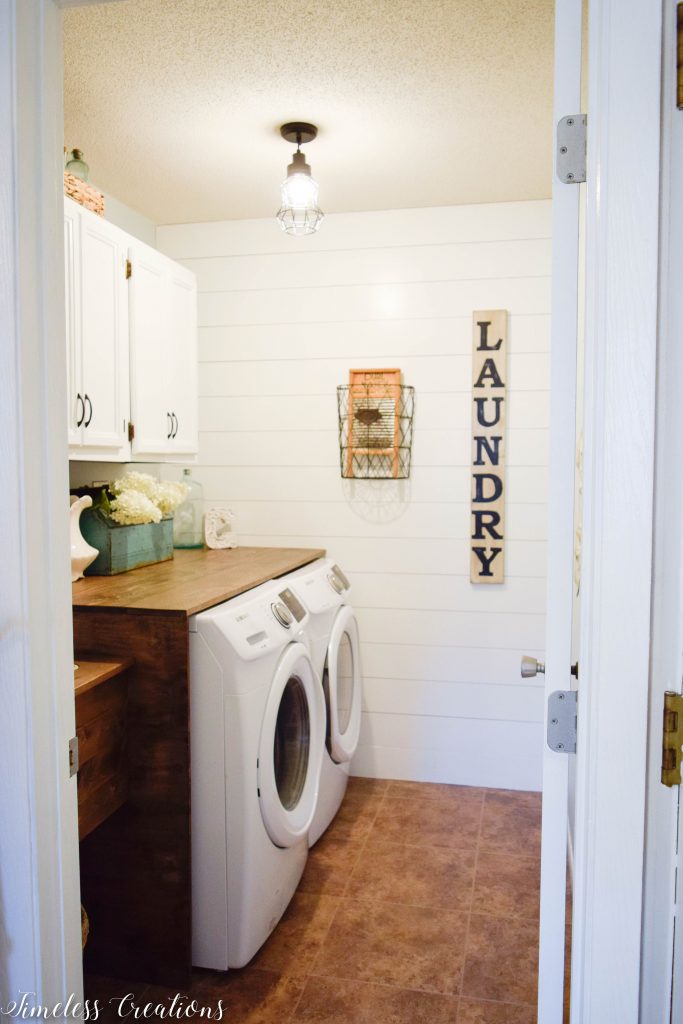
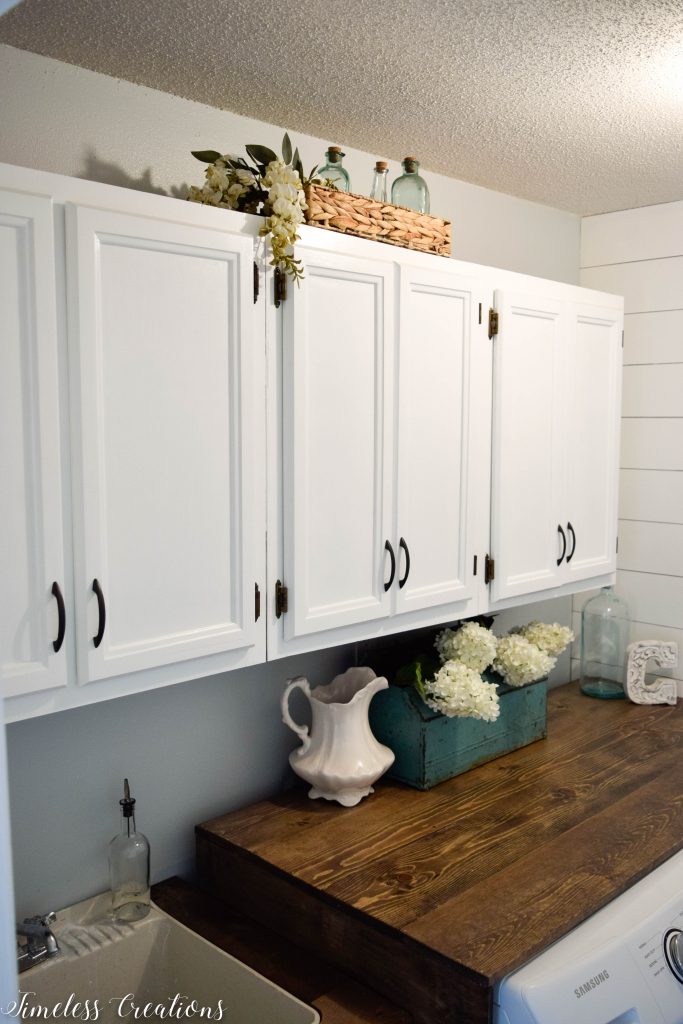
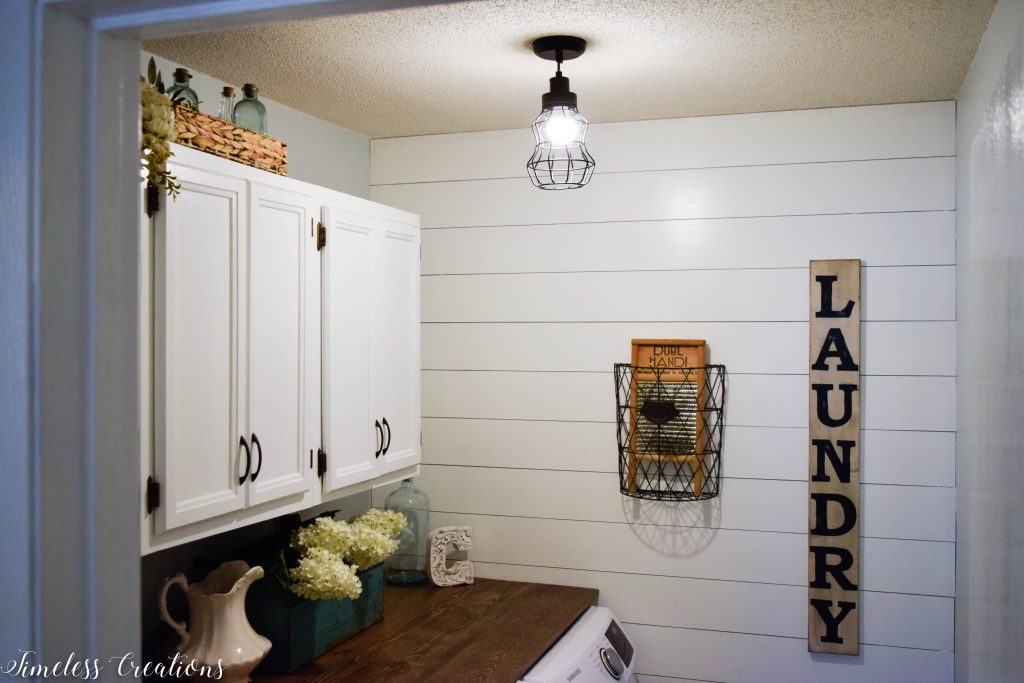
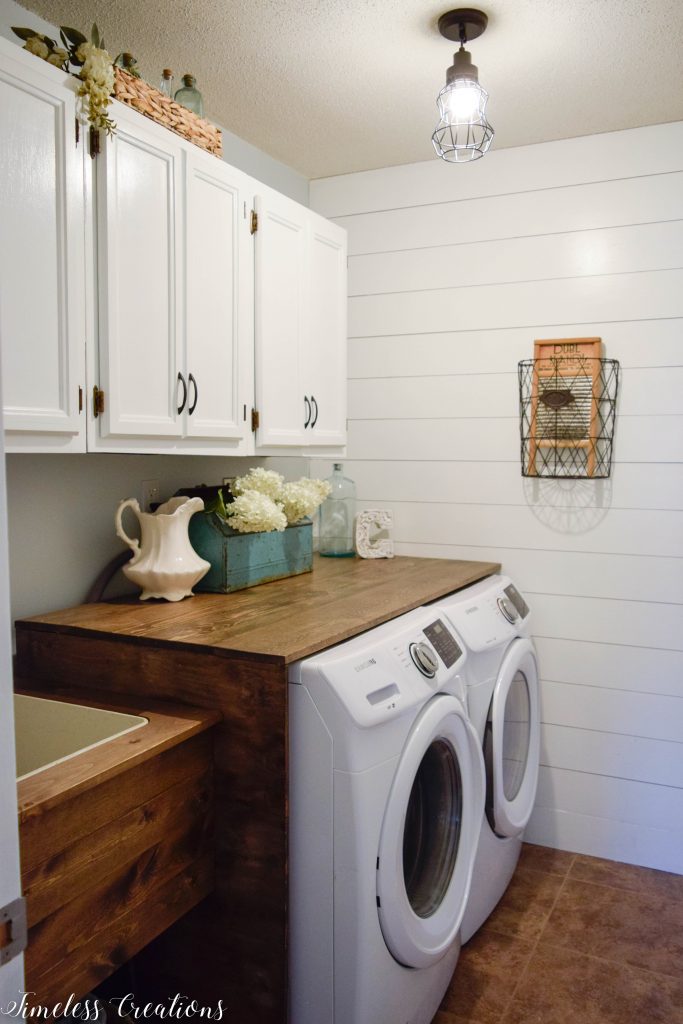
Ta Da! Can you believe the change?! The first thing on my checklist was to add more interest by creating a feature wall. And what better way to achieve that than to add some shiplap! (See how we did it HERE) Of course, this being the $100 Room Challenge the shiplap had to be faux in order to fit in the budget. So we ripped down some 1/4″ plywood sheets, nailed them up,(using our new Nail Gun!) and painted them white.
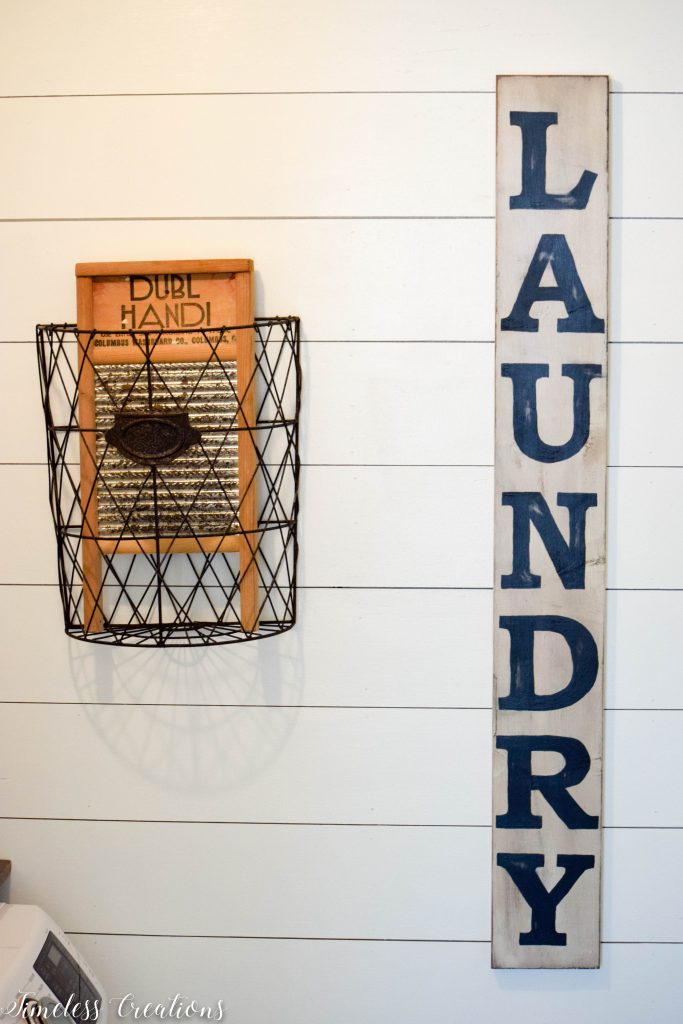
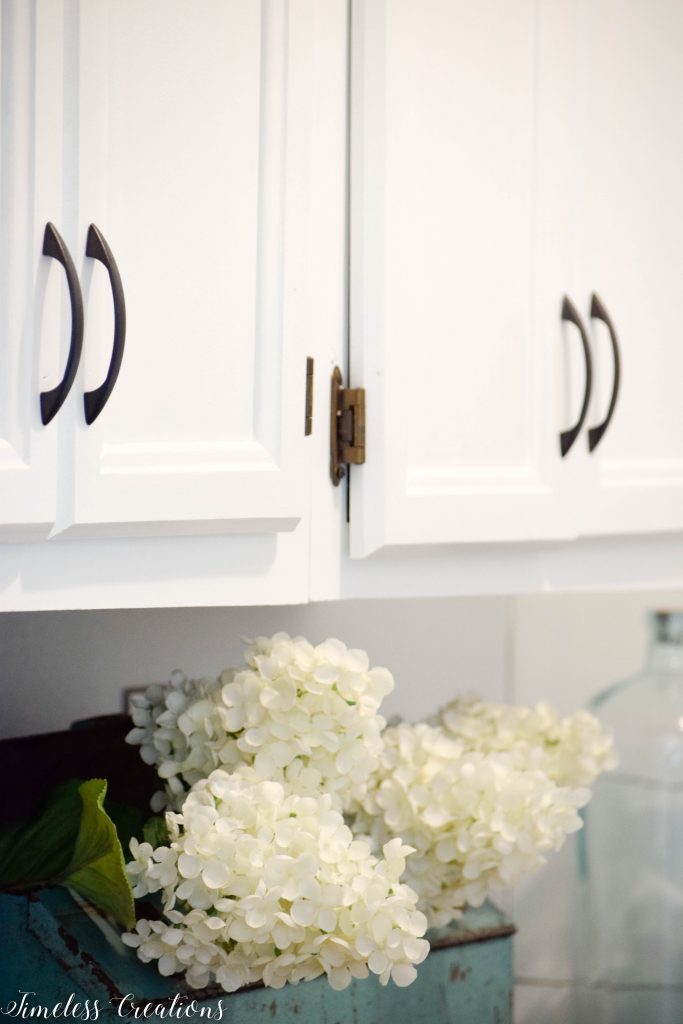
We also painted those terrible brown cabinets a nice off-white from the same paint we had leftover from our kitchen cabinets we painted previously. (For more info on painting cabinets click HERE). That was important in this challenge – we used a lot of leftover items we already had. (Paint supplies, primer, paint, stain, sealant, and spray paint were all items we had on hand.) We also decided to spray the silver handles to match the brown hinges. (We used THIS spray paint).
At the beginning I wasn’t sure if we were going to spray the hinges to match the handles or the handles to match the hinges – but boy am I glad we went darker! I actually want to change all of my hardware from my kitchen makeover to match this look now!
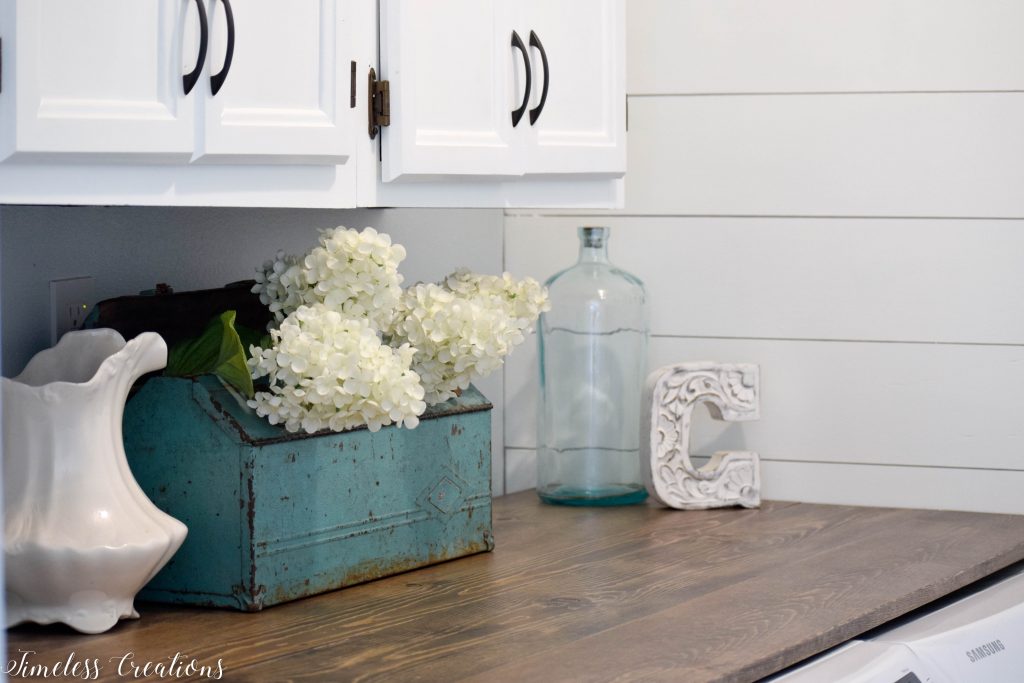
While paint was drying on my cabinets we created a folding counter out of 1″ x 8″ boards. (See how we did it HERE.)
And just this last weekend we were able to finish everything up! It wasn’t a short list either. We had to put the cabinet doors back on, paint trim, install the folding counter, create that surround on the utility sink, paint the utility sink legs and decorate. Whew! And we finished it all with a day to spare!
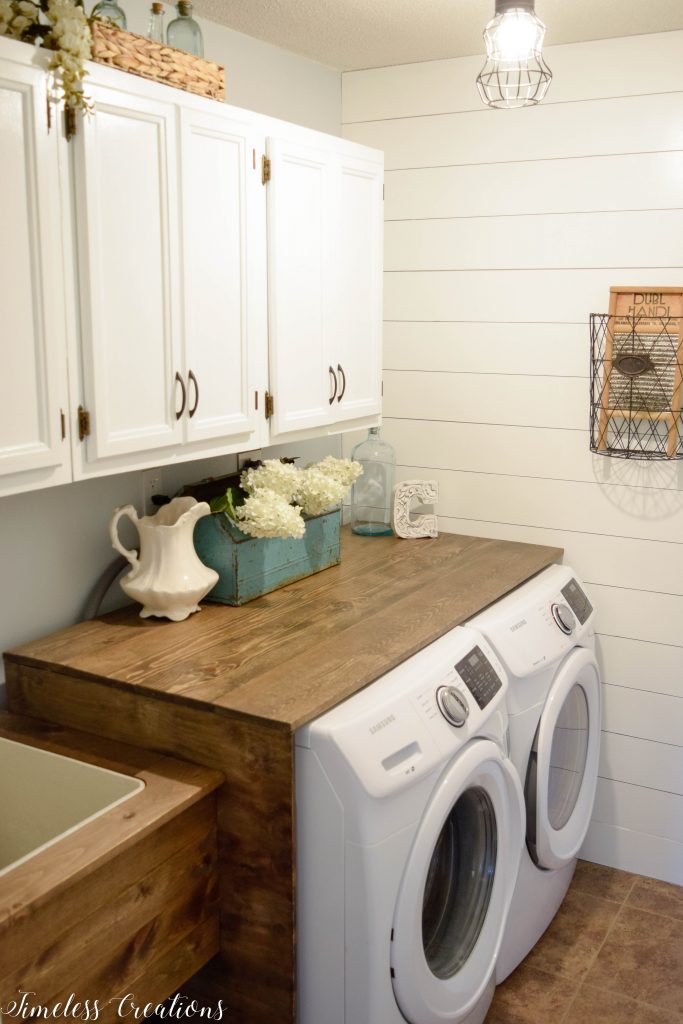
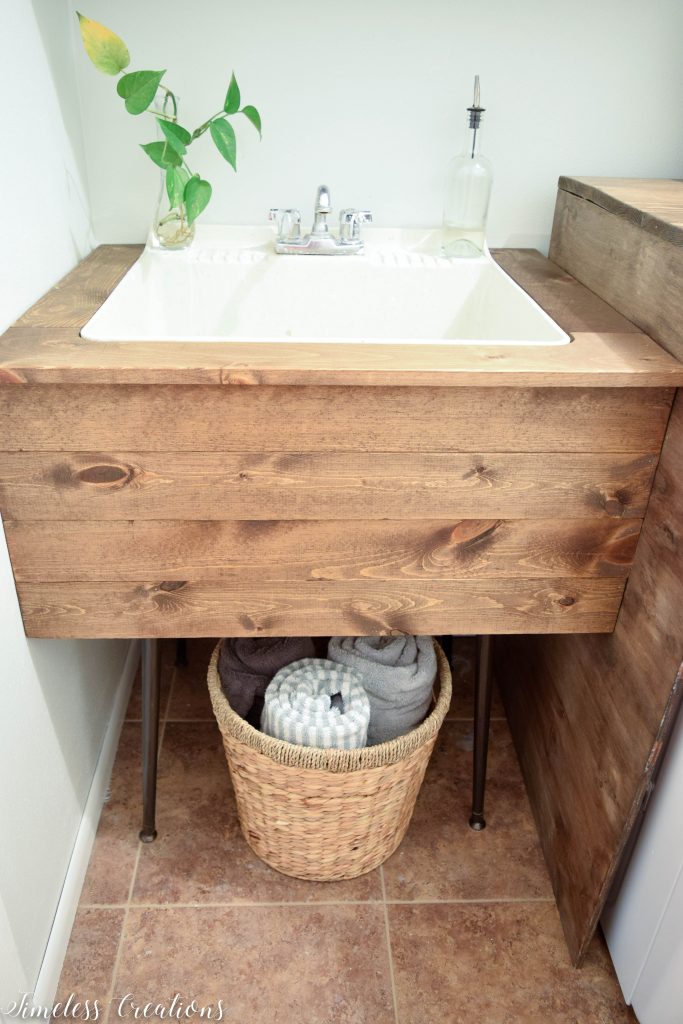
We went around and around on ideas for that utility sink until the day that we were actually going to make it. Luckily Vicki came up with the easy plan of just adding the planks to the front! My dad helped with the countertop portion and we had to finagle in some cleats to attach it all. (See the in-depth tutorial HERE!)
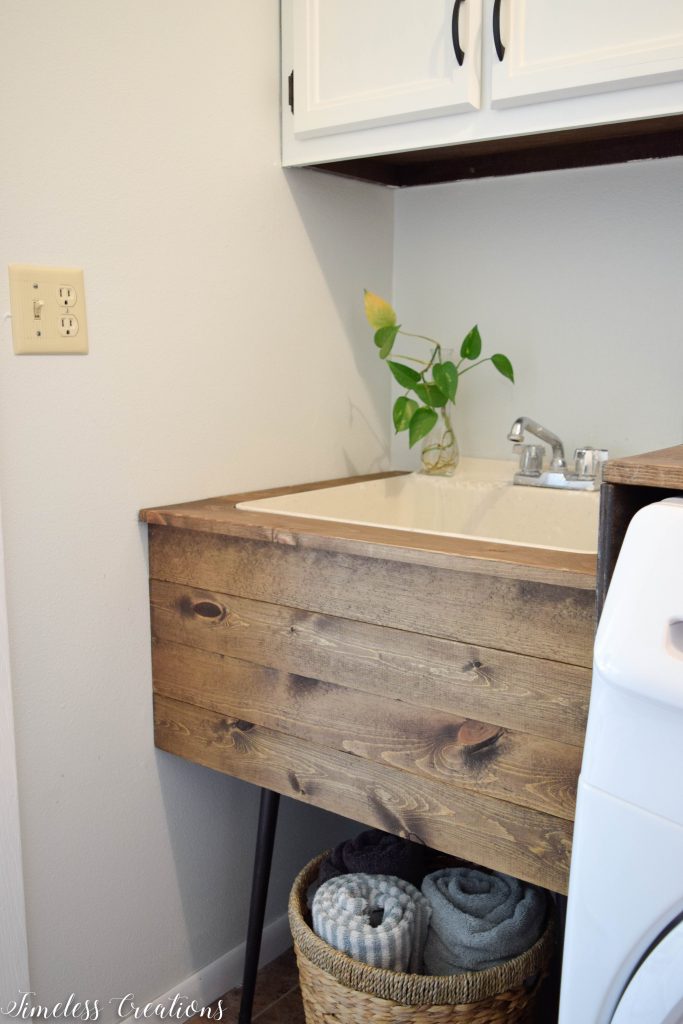
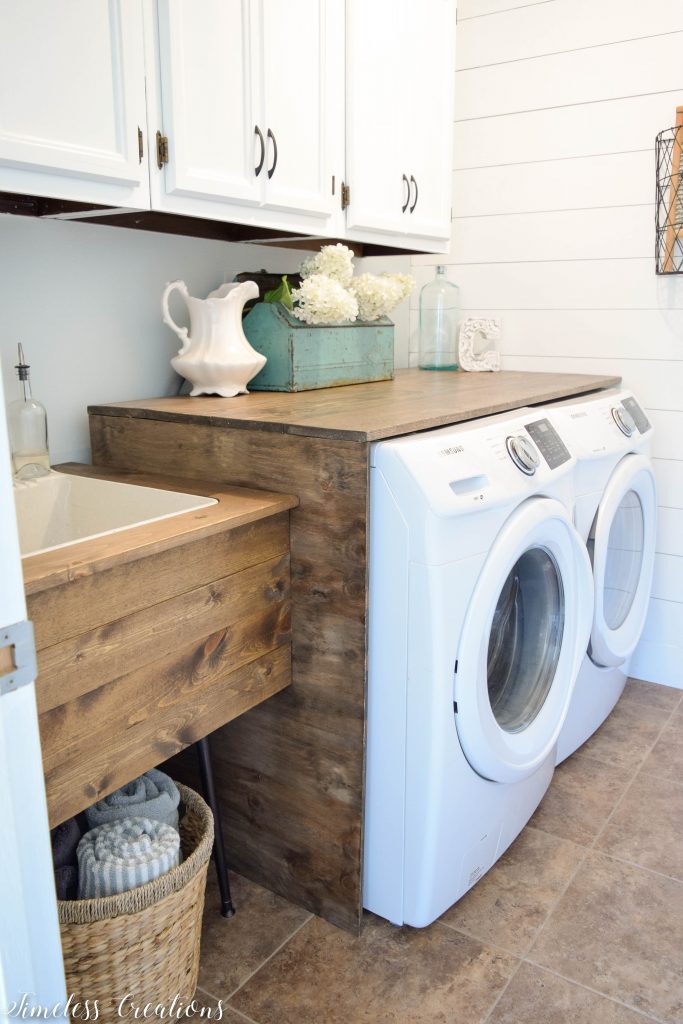
It was much easier than our first plan and it looks great! My husband and I are very happy with the result.
In the beginning we were also going to DIY a light fixture, but after speaking with my dad (who is an electrician) and not liking my original plan any longer, we decided to go see if we could find a light using the rest of our budget (which was $35 at the time). Vicki and I went shopping and found this pretty little farmhouse cage pendant on clearance for $11.99! Whoohoo! I was so excited! (Find a similar one HERE)
I could have kept the remaining money and come in under budget, however, I found that cute little woven basket and knew it would be perfect under my sink! So I grabbed that too, and came back to put my laundry room all together again.
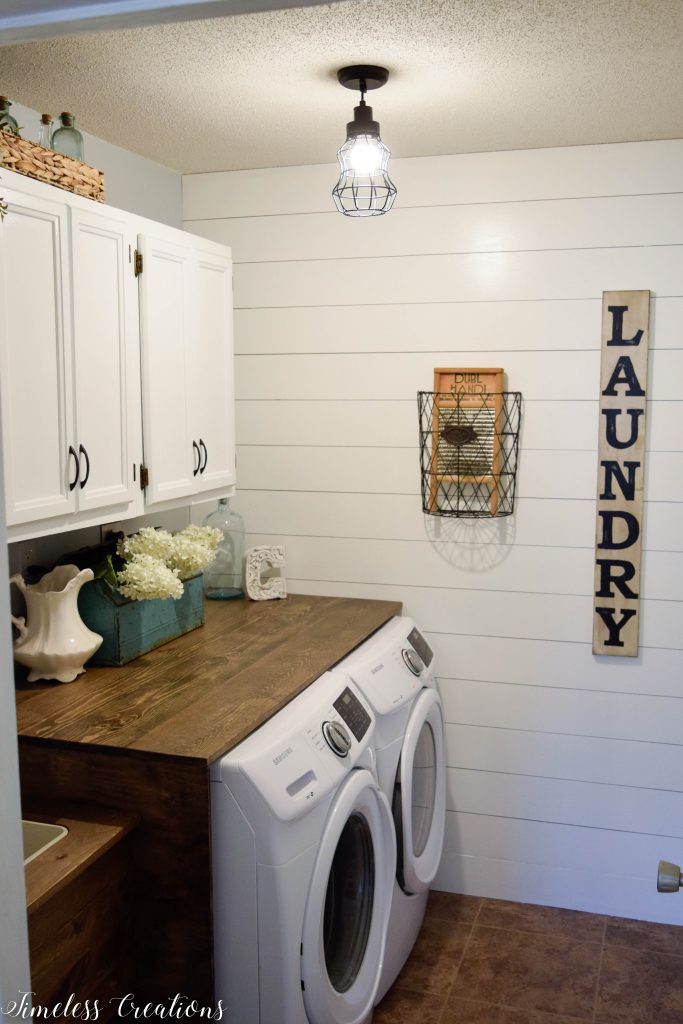
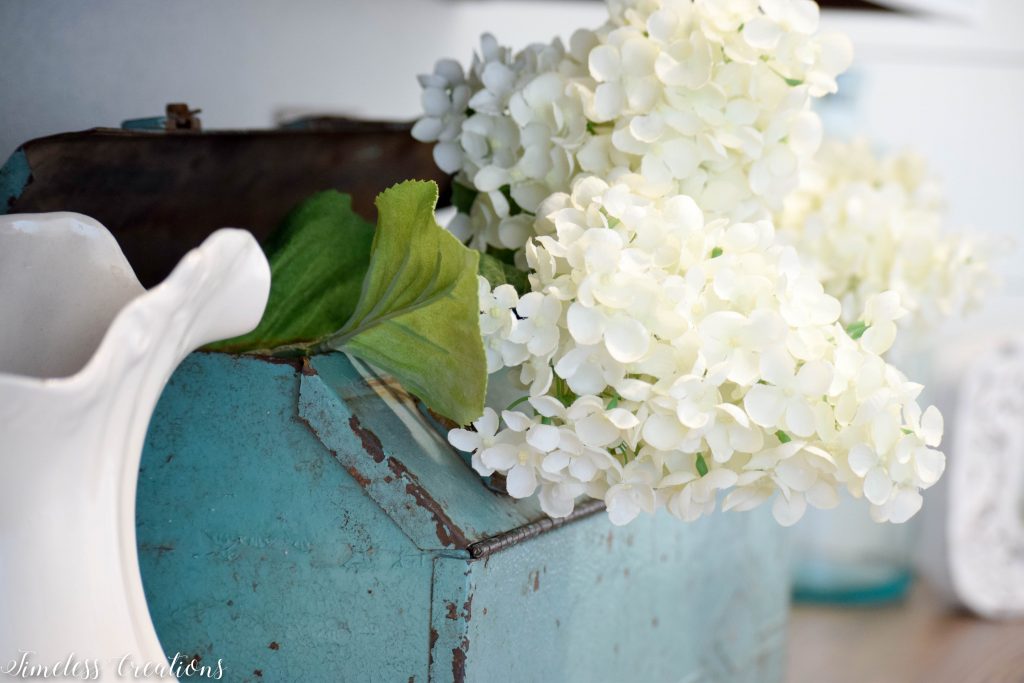
The rest of the decor were all items I had. Some were in storage and some were just around the house. That beautiful vintage tool box became the perfect way to hide all of the cords and hoses from the washer and dryer. It also brings some great color to the space. I liked the addition of the lighter brown woven basket under my sink as well as the vintage washboard so much, I decided to bring my woven tray into the room too. The lighter color and nice woven texture brings some added interest into the room.
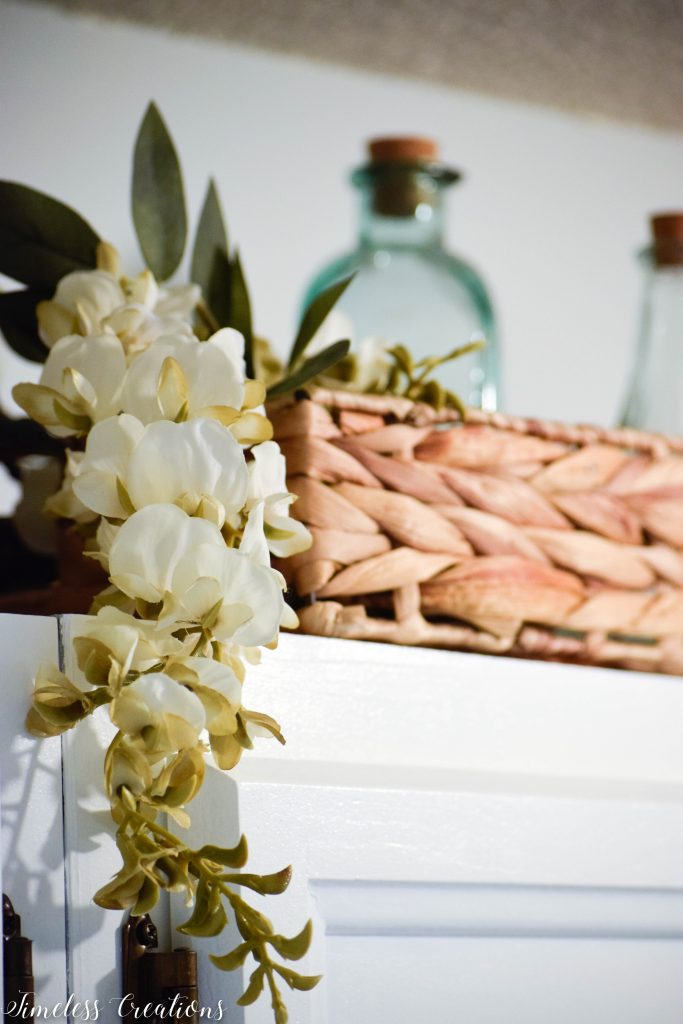
I have also put away all of my winter decor because I am getting sick of having it out. I am totally ready for spring to come and I enjoy having flowers pretty much everywhere. So we just went with it and decorated the space with a bunch of faux flowers! (Find the faux flowers HERE & HERE)
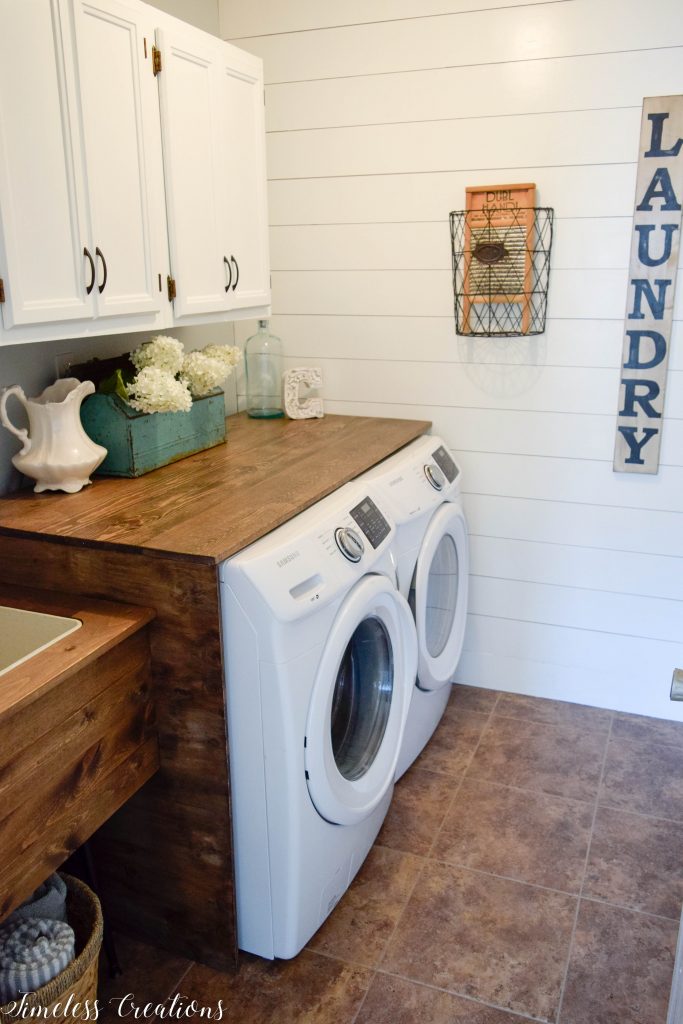
We are just so ecstatic with how this turned out! Here is the breakdown in the budget:
- 1″ x 4″ x 8′ Boards for the sink surround – $5.16
- 1/4″ Underlayment (plywood) for Shiplap walls – $35.46
- 1″ x 8″ x 6′ Boards for Folding Counter top – $14.48
- 1/2″ Plywood (bought some extra from Timeless Creations Store) – $7.50
- Light Fixture – $11.99 (Mine was on clearance but the link is a similar one)
- Woven Basket – $19.88
Total Spent: $94.47
And I’m doing a little happy dance! One beautiful new laundry room for under $100! Make sure to check out how all of the rest of our friends did with their rooms for this challenge – the links are below.



This looks amazing and is totally Pinterest worthy!! Get it out there, girl! Love it! Great job 🙂
Thank you Stacey! We love it too!!
Truly gorgeous! This is a laundry room you want to spend time in. I love all the warm wood tones with the crisp white. Great job!
Thank you Patti! I love that look of wood with white.
It’s so pretty! I can’t get over that sink! It’s amazing!!
Haha! Thank you Emy! We are so happy with how that sink turned out!
WOW! This looks amazing! I love the surround you did on the sink. It looks incredible!!! And you came in under budget, which is always a plus! Thanks for joining in on another $100 Room Challenge. Hopefully you’ll just love doing laundry now… or is that a stretch? 🙂
Haha, I don’t mind laundry actually. But it makes it so nice to have such a pretty space. Thanks again for hosting Erin! We hope to continue joining in all the time – we have a ton of rooms that can be made over!
This turned out SO awesome! I love the wood front on the sink. The painted cabinets are a game changer. I have pinned this for my upcoming laundry room makeover. Thank you for inspiring me!
You are so welcome Gabby! Serious Game changer in those cabinets for sure!
I’m pinning this! I can’t believe you made that sink surround out of wood. That’s amazing!
Thank you Emily! It was so simple actually!
I especially love the wood apron you built around the sink! Very stylish.
🙂 gwingal
Thank you Nikki! We love that darn sink now too!
I am OBSESSED with how you redid this SINK! The whole room is amazing! Great job!
Thank you Rebecca! We are so happy with how that sink turned out!!
Wow! It looks so good. Can’t wait to see the tutorial for them sink! It looks s’obstiner much better!
Wow! I can’t believe how much you got done in such a short amount of time. It looks fabulous!
Thank you so much Shelley! We are so happy about this transformation!
Absolutely stunning makeover! Love the ship map and the wood counters especially!
Thank you so much Kendra! We love it too!!
The sink counter and surround!!! So cool, I love it! Your room is beautiful, congrats!
Thank you Jackie! I’m so glad that sink turned out so well!
Aaaahhhh! I’m in love with a laundry room! It’s beautiful and you guys are so creative with the folding counter and that sink surround. Your decorating is gorgeous and it’s such a happy place to do laundry! I love it!
It is a happy place to be! I am just in love with it as well. Thank you so much Melissa!
Oh wow, I am loving this space! That wood sink surround is just beautiful! I’m so jealous of your folding counter. Love everything that you did here!
Thank you so much Beth!
Ok, this seriously is one of the best before and afters ever! I love how you balanced all the white shiplap and wood. It’s so bright and pretty in here now. This gives me a bad case of laundry room envy!
Oh thank you Meredith! I wasn’t sure about all that wood at first but your right, it balances out the white shiplap and cabinets well!
What a gorgeous makeover! The shipping, counter, and sink surround made such a huge difference!
I like the wood accents on the washer and dryer. and shelf.
Great makeover! Love what you did with the sink
It’s beautiful! I LOVE how you wrapped the washer and dryer. Pinned!
Hi- The room looks great. Where did you get the legs for the laundry tub?
An outstanding share! I have just forwarded this onto a friend who was doing a little research on this.
And he actually bought me breakfast due to the fact that I found it for him…
lol. So allow me to reword this…. Thank YOU for the meal!!
But yeah, thanx for spending time to talk about this topic here on your web
page.
These are some really sound ideas, thanks for sharing them. These things are useful for every house, no matter how big or little it is. The more room there is in a house, the more stuff there will be to keep it clean. Due to our size, we need a place where we can all feel at ease. It’s a pleasure to be in your yard, and thank you very much for that! If you had a lawn, the grass tiles would be a wonderful accent. I like how there is a big chasm between the tiles and the peeping grass. You’ve worked hard, and it’s paying off. Because of your lovely images, I’ve been motivated to renovate my shabby kitchen.
How was the folding counter installed? I was looking through all your posts and can’t seem to find that part? I am hoping to build something very similar in my laundry room. Thanks.
Hi Amanda,
Unfortunately I did not take photos of that part and totally regret that! I am also not in this house any longer to try to snag new photos. I can however refer you to a post on our utility sink and that is about the same thing we did with the folding counter. DIY Utility Sink Makeover We created a cleat like type of system. We attached a long board all along the back wall behind the washer and dryer and nailed the folding counter on top of that. We used the same thing – a long board along the shiplap wall side by the dryer. And then we used the “waterfall” side panel (which was a nicer grade of sanded plywood) on the third side by the utility sink. We then glued and nailed the folding counter top to all of those boards on the sides. I didn’t have trouble with bowing in the front because I didn’t keep anything super heavy there. BUT you could place another plywood panel in between the washer and dryer to help prop it up if necessary.
Hi! Do you remember where this sink is from? Love how discreet the legs are
Hi Graceann,
This was an existing plain utility sink, maybe it is an older model? I’m really not sure where they got it, but yes most utility sinks now have those chunkier legs. They were just very plain metal legs, nothing special at all to them – I just painted them with oil rubbed bronze spray paint.