Are you a fan of the new trend of really colorful furniture?
We are so excited that bold colors and jewel tones are trending right now because they are so absolutely beautiful! We have recently done quite a few navy pieces, had a client want a fairly bright red, and another wanting mustard yellow! That is just so fun and has honestly surprised us a bit. So with seeing how our customers are responding to color we were only too happy to try out a new green!
While we have painted green furniture before (You may remember our Luckett’s Green dining table from last year) we hadn’t painted a piece in Miss Mustard Seed’s Milk Paint’s other green in the line – Boxwood. We have wanted to paint with this color for so long, but just either didn’t have the right piece or were swamped with other items we had to finish first.
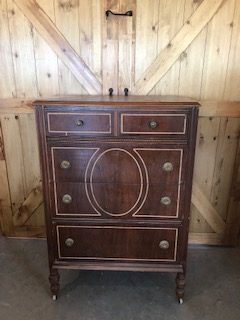
Really this piece came right out of the blue for us. I was actually cleaning up a part of our workshop when I saw this antique dresser behind a different piece. I took a closer look at it and saw how it was in really pristine condition for this old of a piece. It was also solid wood, had perfectly sliding drawers, and almost no fixing to be done – now that is my kind of furniture makeover!! So even though we were in the middle of a couple projects, I decided to pull this one out and get it ready for some paint!
Because it didn’t have any major repairs it was super quick to prep for our milk paint. (To see how to properly prepare your furniture piece for milk paint please refer to our tips and tricks by clicking HERE.)
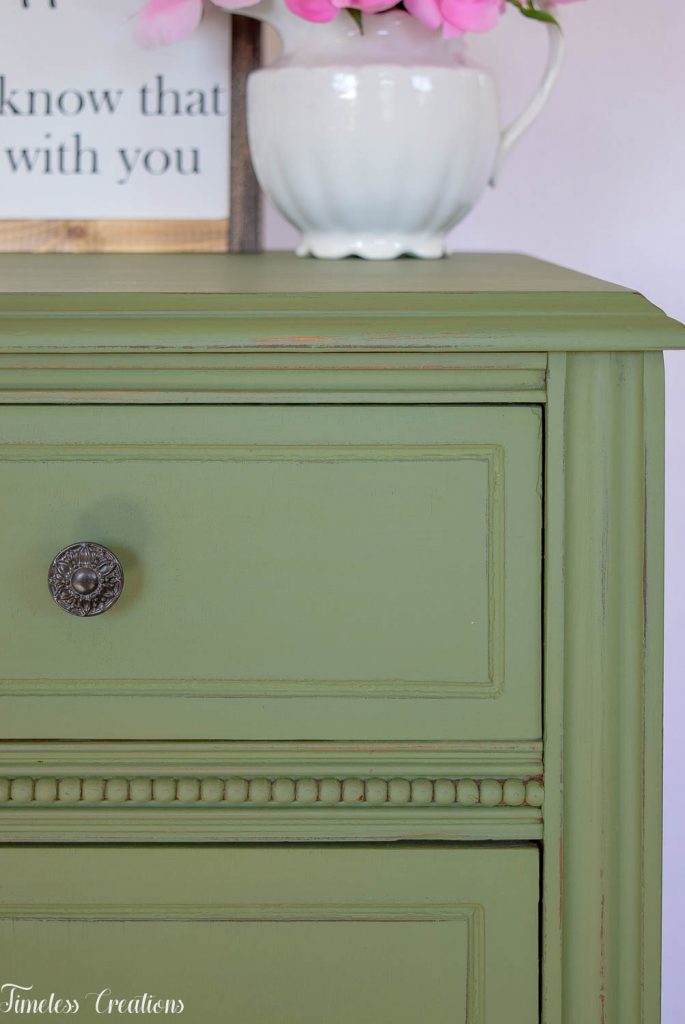
Now you may know (or maybe not!) that Miss Mustard Seed’s Milk Paint is all natural and made with only 5 ingredients. When painting with a very concentrated color like this boxwood green, it is in your best interest to give your mixed paint a good stir every few paint strokes on your piece. This is necessary because boxwood has the highest concentration of yellow to blue natural pigments. Stirring it up every once and a while just keeps those pigments from separating. This prevents you from getting inconsistent coloring on your furniture piece.
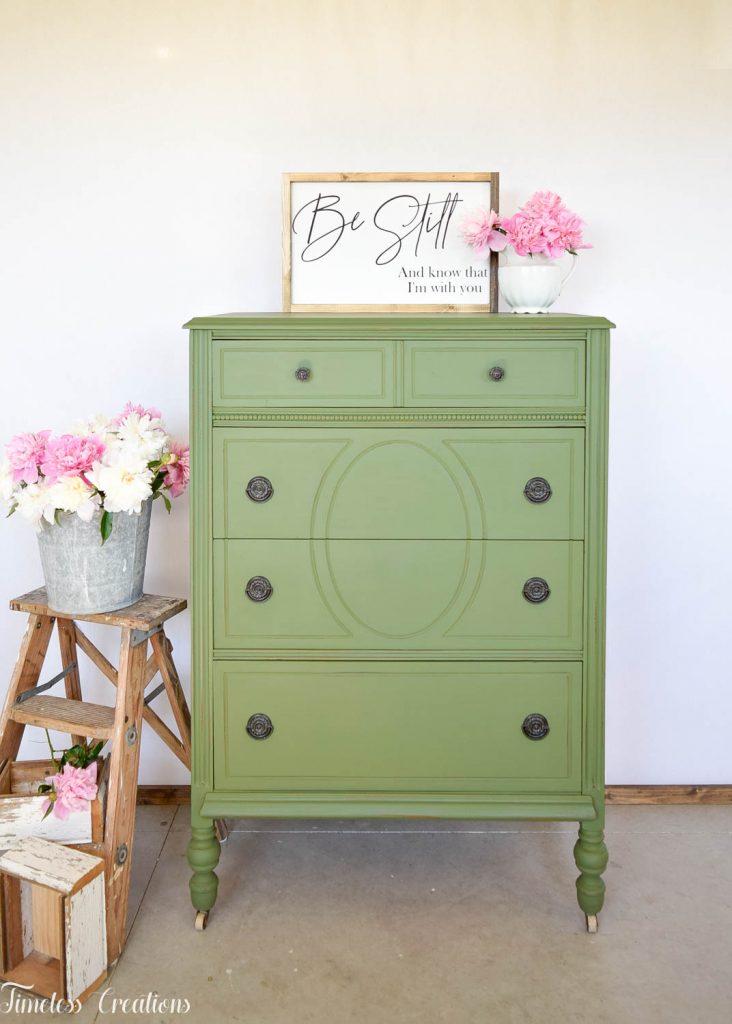
Most of the time Vicki and I mix our paint in a plastic cup with a plastic spoon and we leave the spoon right in the cup for easy stirring! That way it’s not interrupting us at all when painting. It’s very simple to just reach down and give it a quick stir before dipping our brush in again.
When we finished painting we decided to try out a new technique to us for sealing it! We applied hemp oil BEFORE sanding the piece down and then while the hemp oil was still wet we “wet sanded” it down (with fine grit sand paper) and distressed the high points to bring out the beautiful wood underneath.
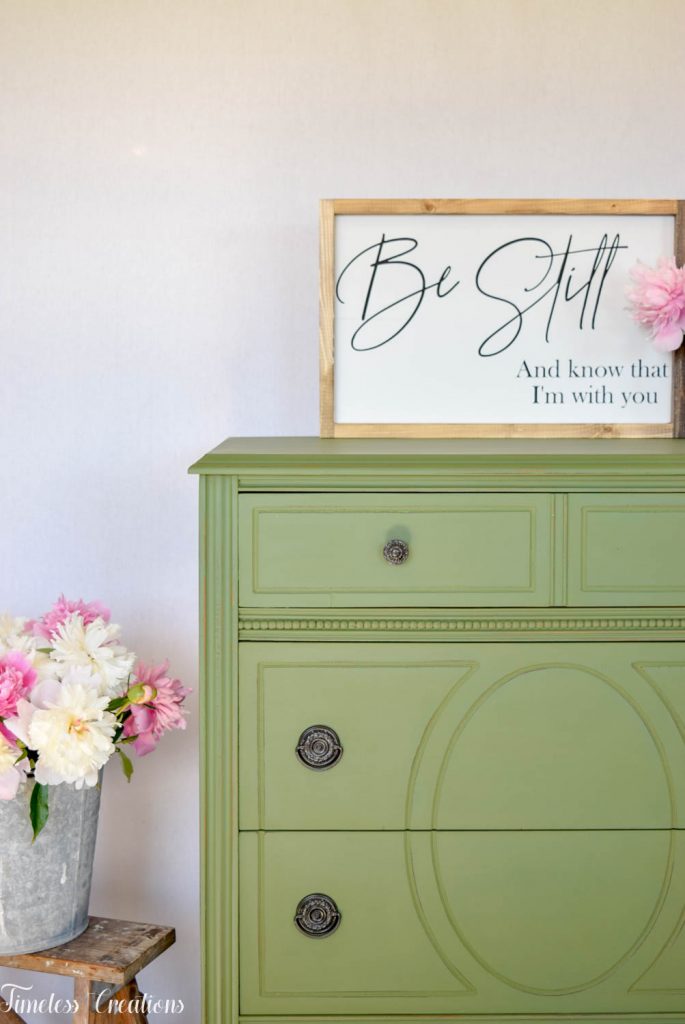
This was such a fun technique and left the piece super butter soft afterwords. We will be doing an in depth tutorial for this technique soon so everyone can replicate it!
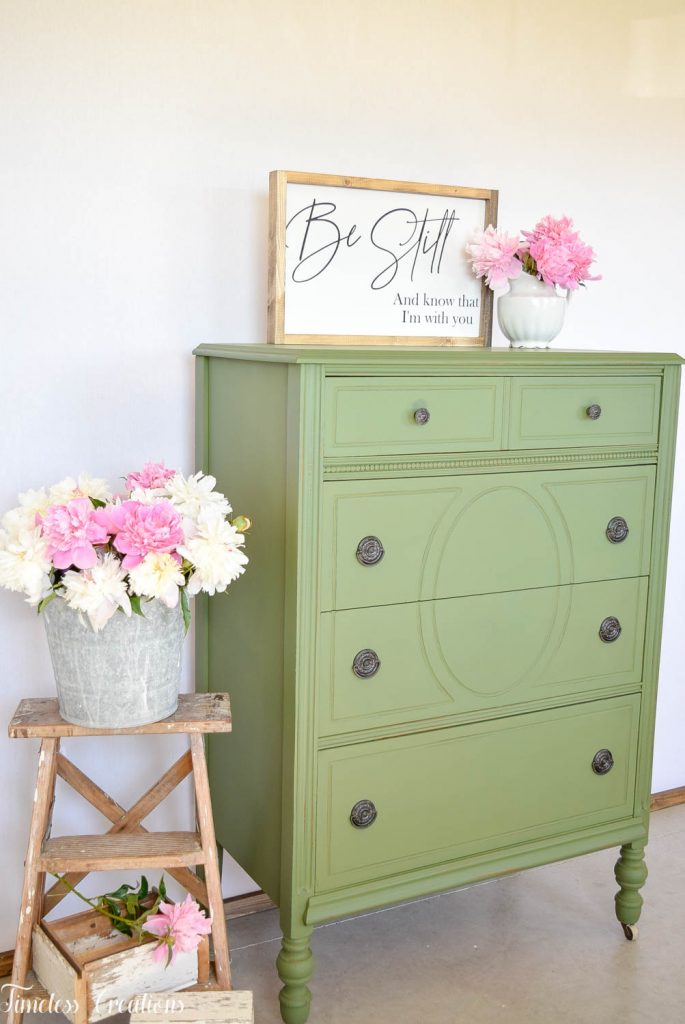
But wet distressing the finish really made a huge difference. For one, using hemp oil over the deeper colors really brings out the richness of the color and gives it a beautiful sheen. I also felt like it was easier to distress the high points and details of the piece when it was wet. But the smoothness you get when wet distressing is just amazing! It’s almost like feeling silk! I can’t wait to try this again on a piece to give you all a detailed tutorial for it. Stay tuned with us, and if you need any paint stop by our store or email us for shipping options!


Beautiful, we had a piece like that and matching vanity growing up. Surprised to see it. It was painted when I remember it too!