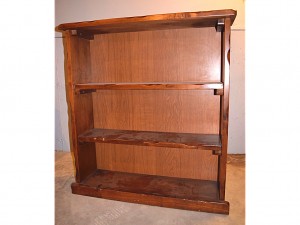
When we found this bookshelf we were excited at how sturdy it was and that there were only minor parts to fix. But sturdy in this case meant it looks clunky… Uh Oh… So the plan for this piece became to sweeten the look by lightening up the color, and adding some fun detail.
For your convenience in locating products we have used this article contains affiliate links. All products are items we use ourselves and have formed our own opinions on. For our full disclosure go to our “Disclosures” page.
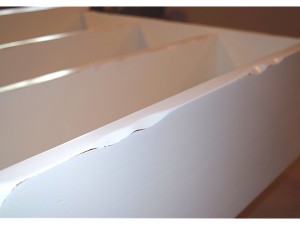
First step was to fill in the small imperfections on the outside of the bookshelf. Grab your handy wood putty and fill that in.
Tip: Sometimes it is hard to get the wood putty perfect on the first try. It seems like it contracts as it dries. If it doesn’t look quite right just add another layer, let it dry again, and sand.
After the putty and some sanding to rough up the finish a bit I painted the entire piece with some leftover cream paint I had used in my house! It required 3 coats since it was a dark stained wood previously.
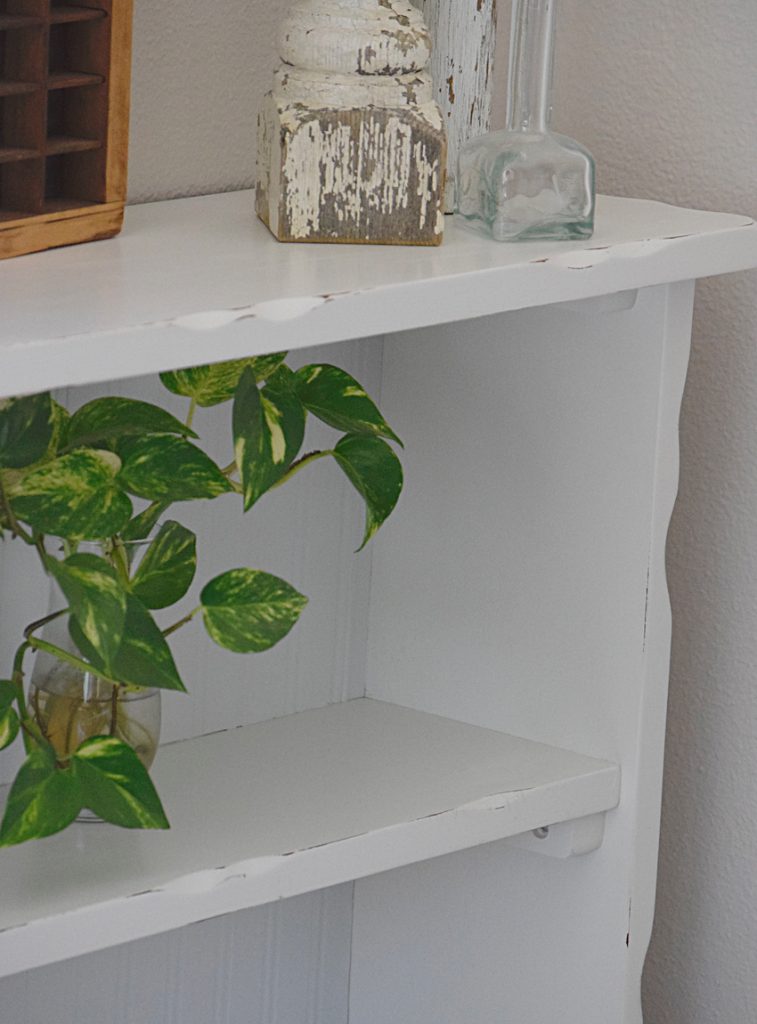
I then decided I wanted to distress the bookshelf very lightly. I’m not a huge fan of deeply distressed pieces that look unnatural. There were these really neat dips on the edges of the entire front as well as on each shelf so I just played with the ridges and sanded it to give it just a slight edge.
The last step for the painting was to finish it off with a coat of clear wax. I used Minwax Regular Finishing Paste.
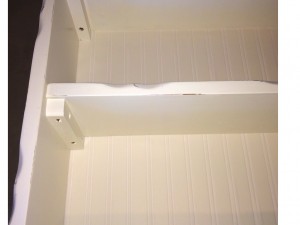
However, the back of this bookshelf wasn’t as nice as the rest of it…can you say particleboard?! So of course paint wouldn’t work for that portion so Vicki and I decided we wanted to utilize this beadboard wallpaper we had previously purchased!
One more hiccup…(of course there was!) because the backing was particleboard I didn’t dare try to take it off in case I ruined it (which would have been easier). Instead I had to measure out each back area and cut each wallpaper piece out. I just had to make sure I measured carefully and made my cutting line with a straight edge so it would cut evenly. I also had corners to take into consideration! I made those easier by creating a template. I measured all of them to make sure they were the same and cut out a corner on a piece of paper to trace each corner cutout onto the wallpaper corners.
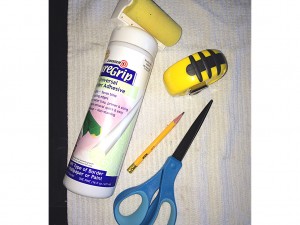
After that was done I took my wallpaper paste (I used something similar to this) and rolled it onto the back of the first cutout and positioned it onto the shelf backing and ran my hands over it to make sure the entire wallpaper was adhering to the backboard. I then repeated this step for the next two wallpaper pieces.
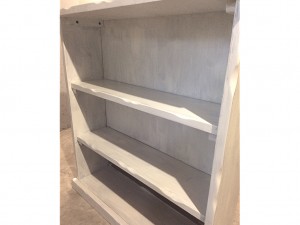
After that was done drying (I let mine dry overnight) I then took my brush and painted the wallpaper a light seafoam color that I had previously used in my bathroom! It required two coats because my edges were a bit thin since I had to be careful there. I also wanted it darker than the first coat.
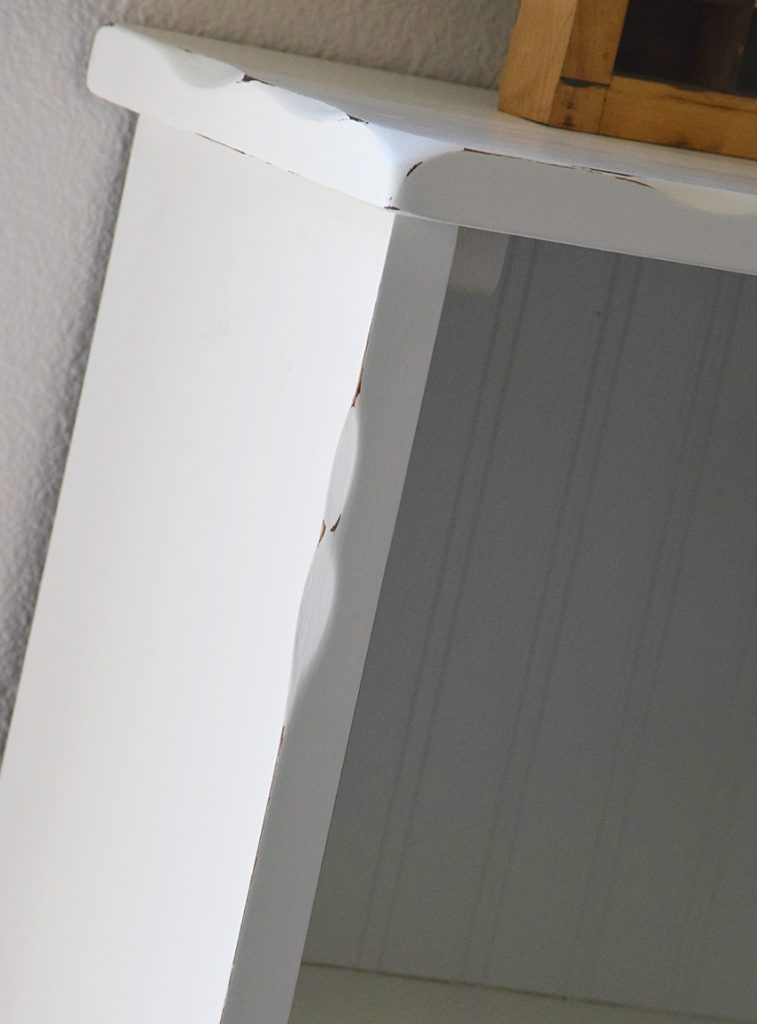
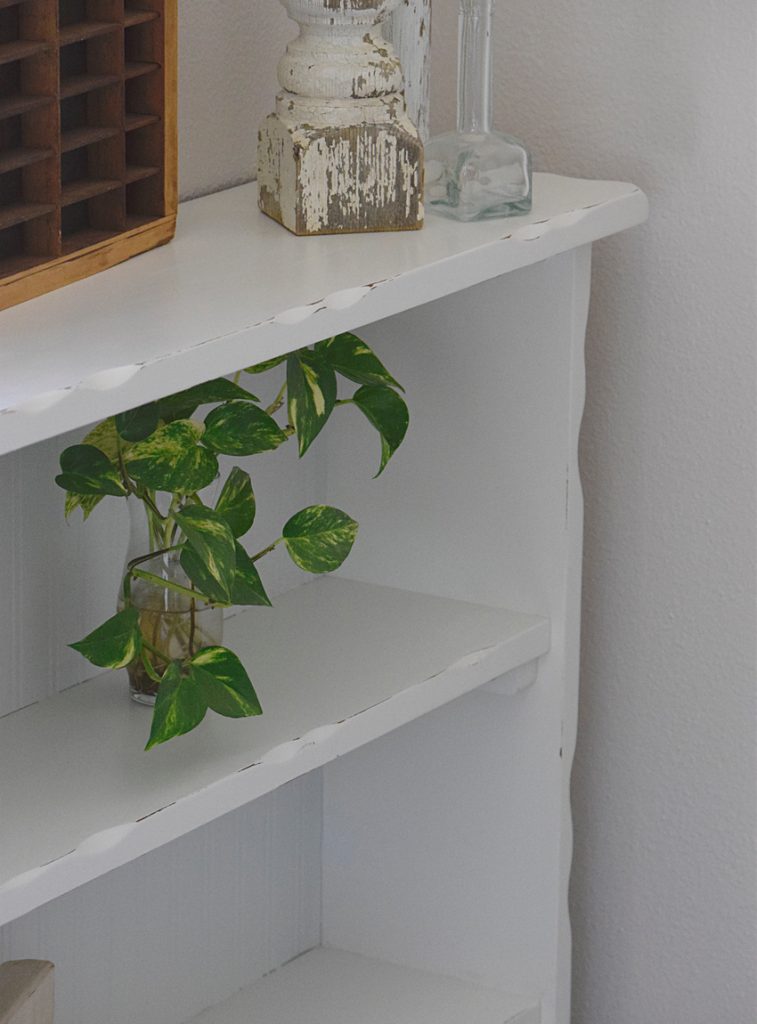
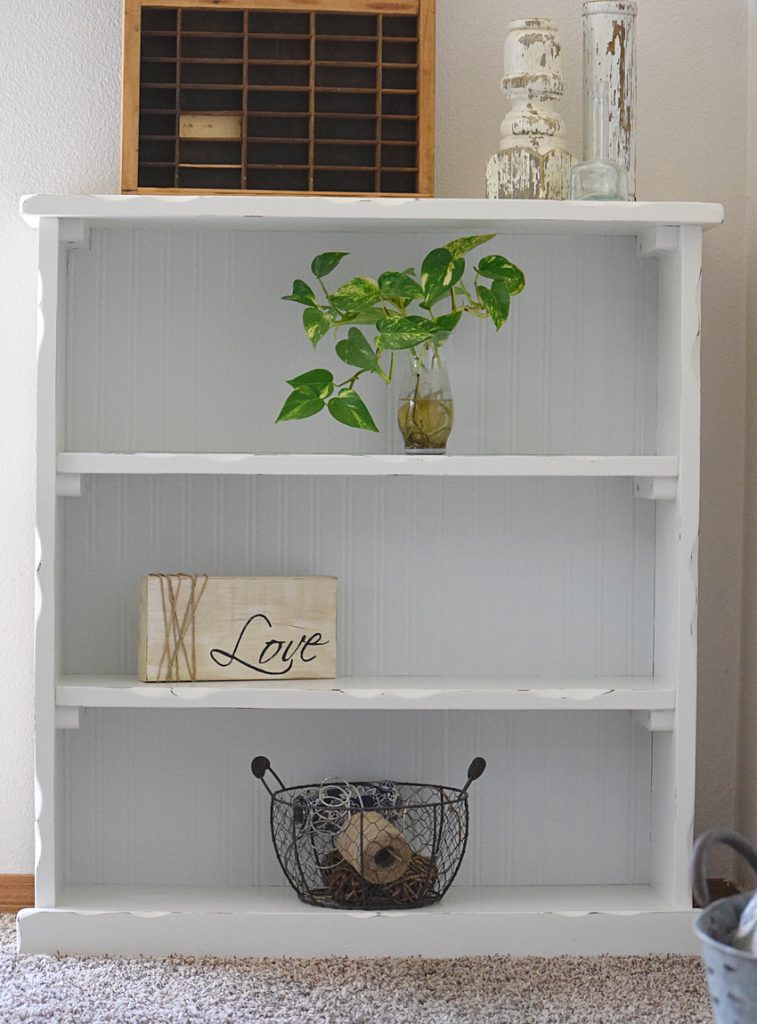
A completely new look transformed this bookshelf from clunky to shabby chic!
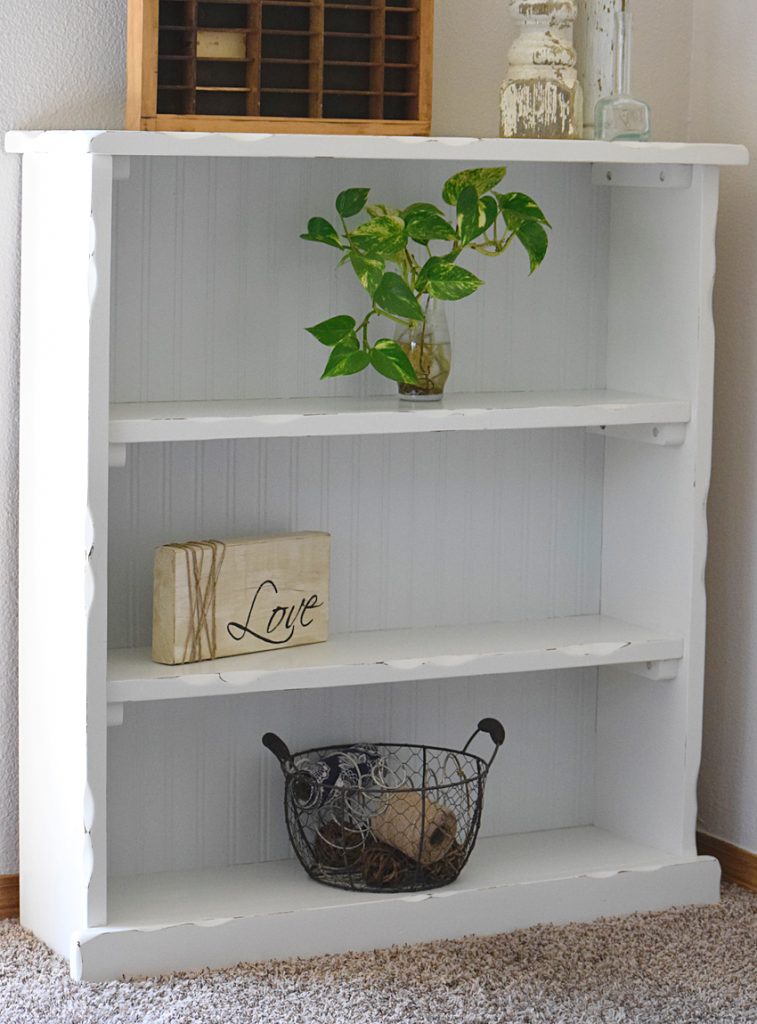
It would be perfect in a bright room with a beach or cottage vibe.
Or…I also imagine it in a lovely little nursery with baskets for storage and a cute wooden name plaque! Whatever the venue may be, it made a wonderful makeover!

More you may also love…


Leave a Reply