Well our fellow followers, we hope you aren’t getting sick of hearing about Vicki’s bathroom makeover yet. Because we want to share another simple DIY – how to update old hardware! If you haven’t been following along, we did a fun challenge with some other bloggers last month. The gist was to makeover a room for only $100! It was quite a challenge, but was so fun! It really got our creative juices flowing and we had to figure out how to be frugal and reuse items we already had. If you missed our challenge you can see the posts below from beginning to end:
Week 1 / Week 2 / Week 3 / Week 4
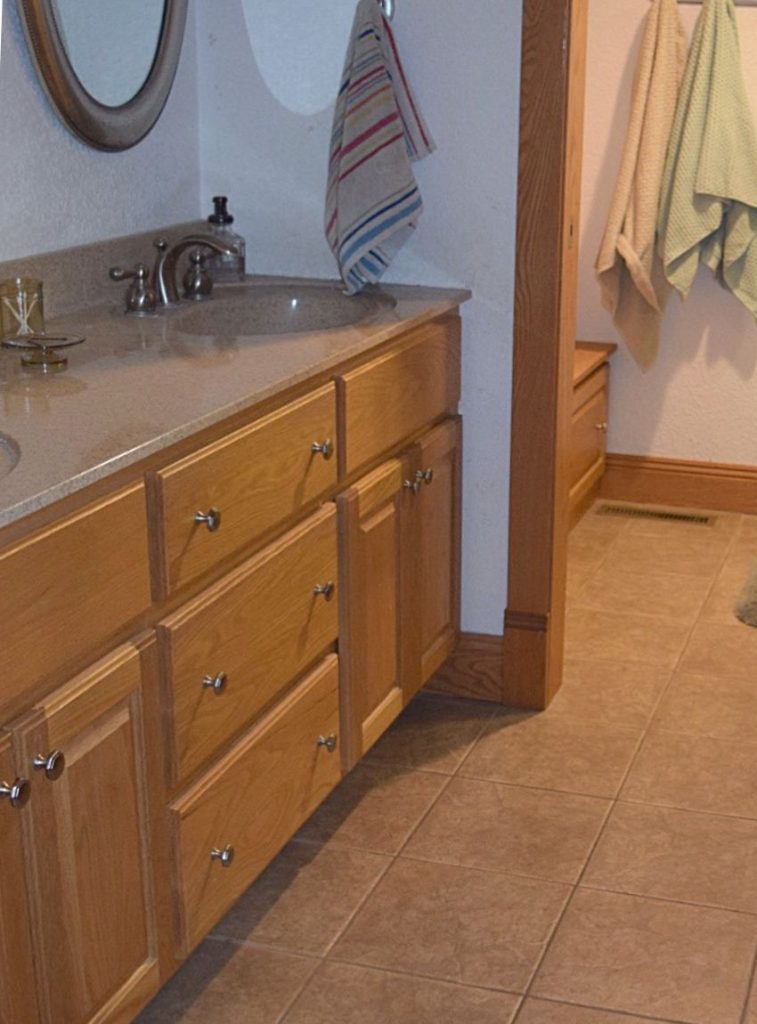
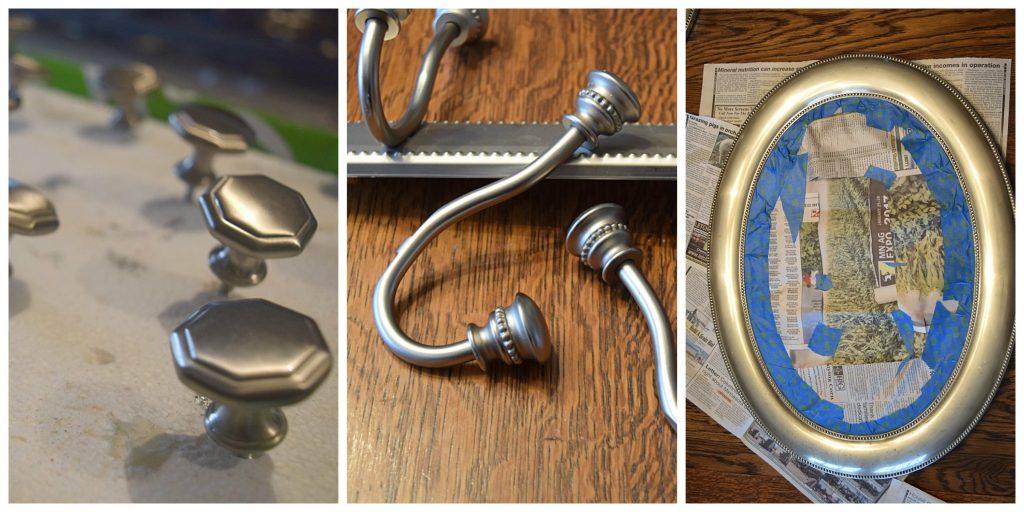
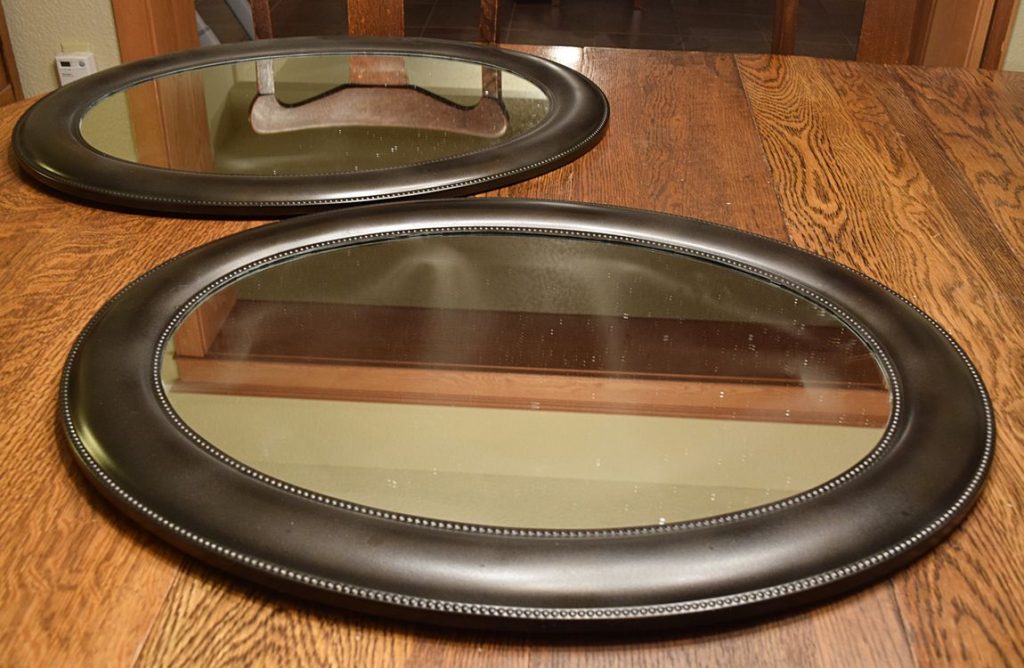
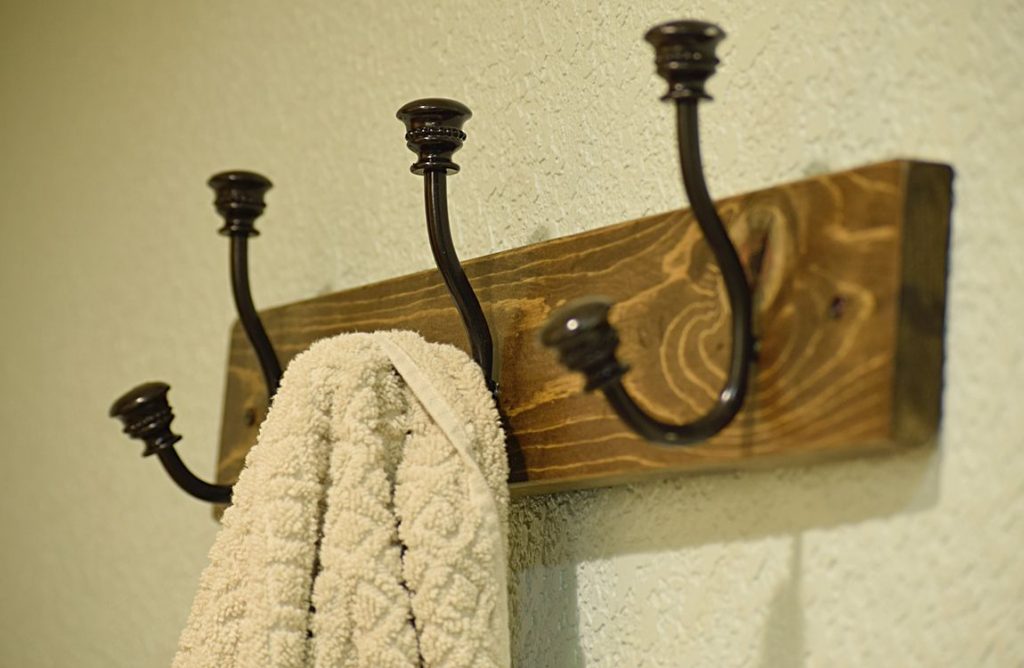
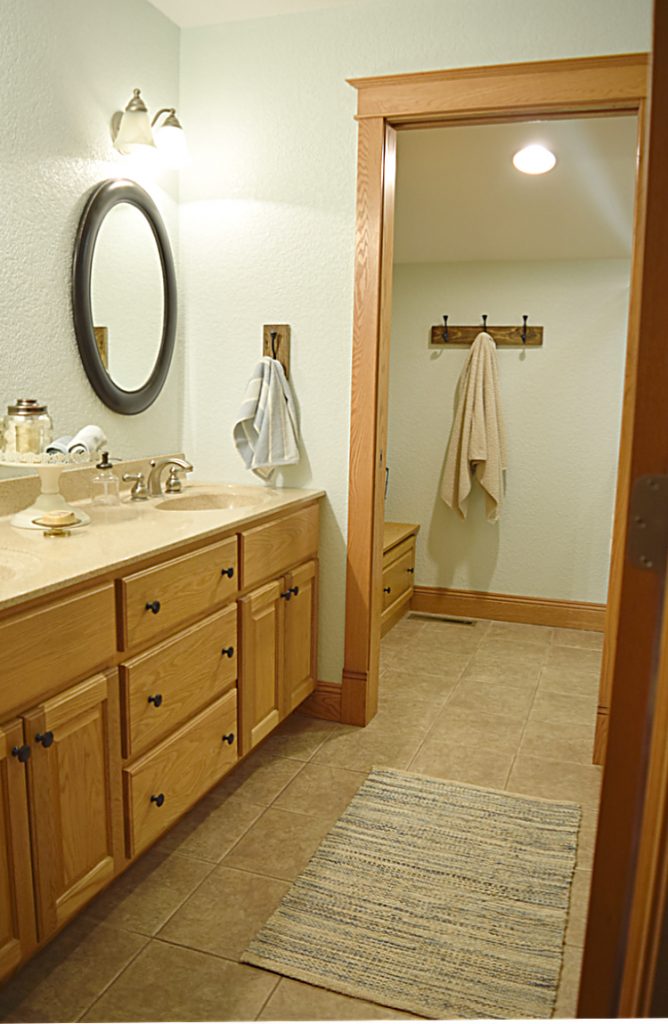
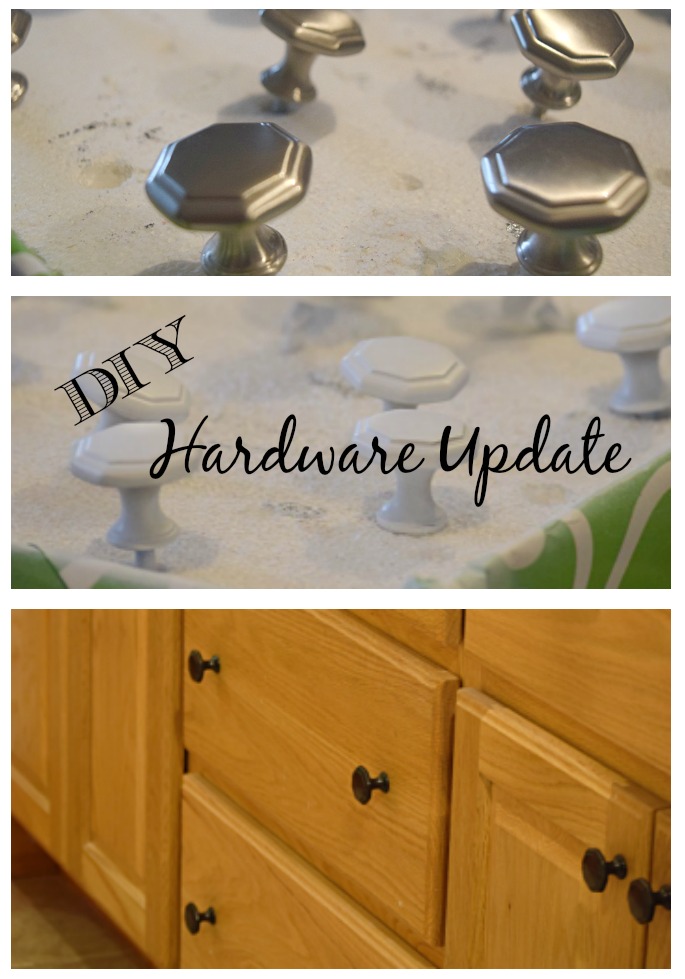
So we wanted to share with you how we updated the hardware for the cabinets in Vicki’s bathroom.We briefly touched on this update in our challenge but wanted to give a more in depth tutorial. It was very easy to do, and didn’t take long at all. We used the exact same method below to paint the bathroom mirrors and towel hooks that were already in the room, but needed some freshening up too.
Step 1:
Remove all hardware from cabinets. We removed all knobs and put the corresponding screw back into it.
Step 2:
Wipe all hardware down with degreasing dish soap and water. This will remove any dirt and grime.
Step 3:
This step is optional-wrap screws with painters tape. We decided to do this step so it wasn’t so sticky going in and out of the cabinet and into the knob. We also wanted to use the screw as an anchor for the next step.
Step 4:
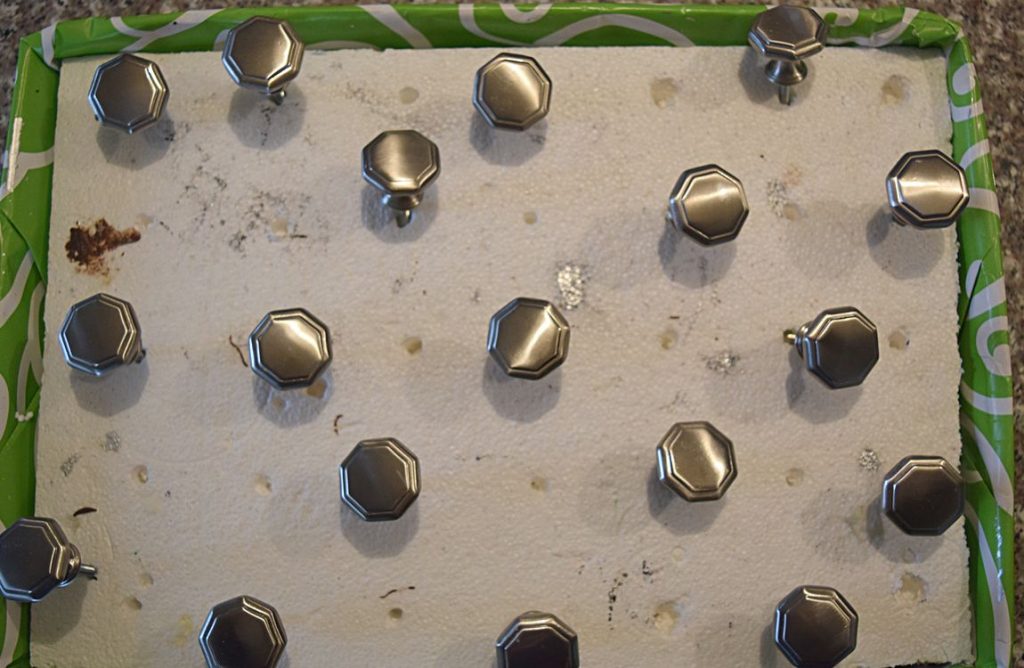
Set up your spray shelter. There is overspray when using spray paint, so make sure to set up some plastic or cardboard so you don’t spray anything you don’t want painted. Also make sure to have adequate ventilation. Spray paint is smelly! We used the screws as an anchor and shoved them into a styrofoam square we had laying around. This held the hardware up straight so we would be able to get all surface areas.
Step 5:
Spray prime the hardware. And mirrors and towel hooks in our case, it was very efficient to do everything all together. This is the primer we used, we made sure to get a primer that goes over metal.
Step 6:
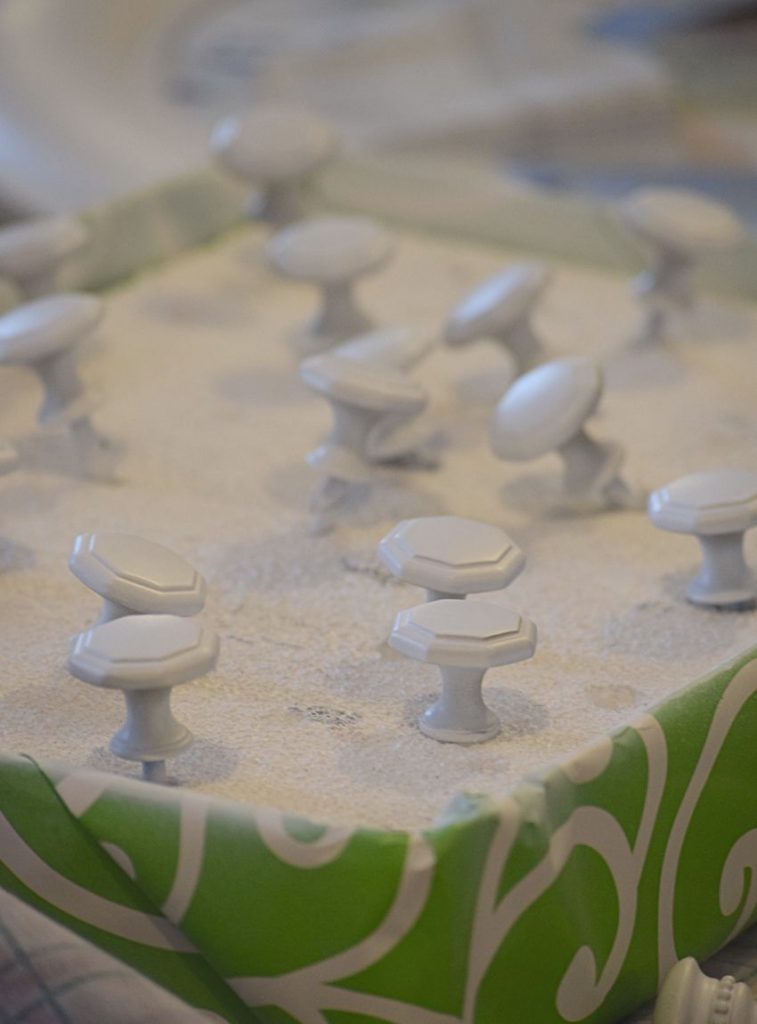
Once the primer is dry, you can then spray paint your color onto the hardware. This is the color spray paint we used.
Tip: Make sure to lightly spray your hardware. You don’t want to stay in one place for too long or put too much paint on. Use multiple coats if the first isn’t covering well. This will lessen your chances of getting drips.
Step 7:
Let everything dry completely before even attempting to touch, or put back into your cabinets.When the spray paint is completely dry, you then want to seal the hardware so there is less chance of chips or dings. This is the sealer we used.
Then all that is left once all your layers is dry is to put the hardware back onto your cabinets! So easy right?!
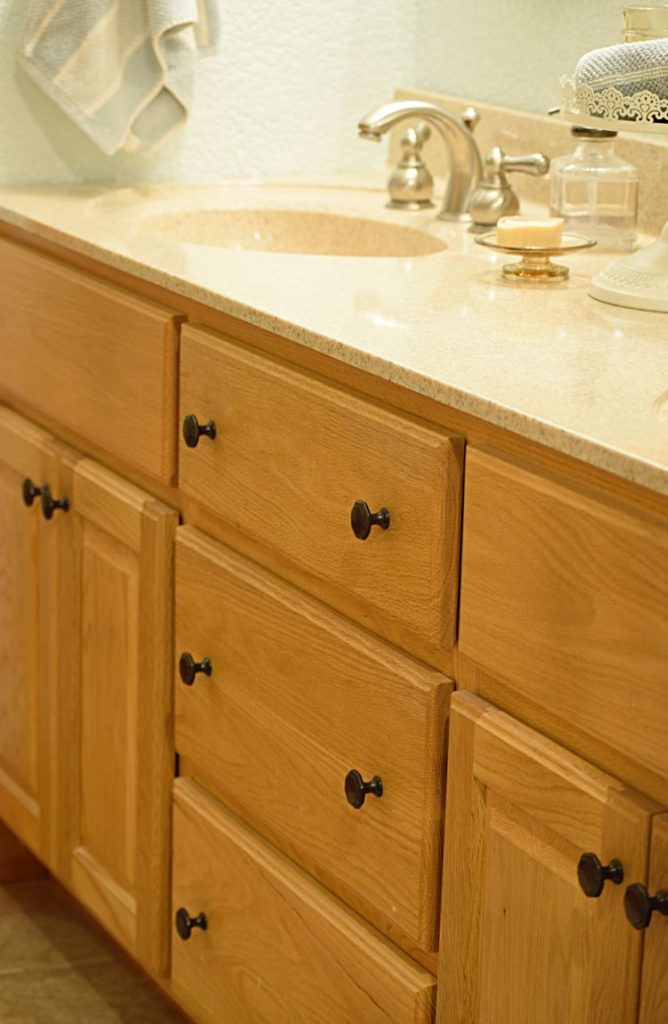
We did the same look on the old silver mirrors and towel hooks as well. And what a difference those dark mirrors now make. Just stunning!
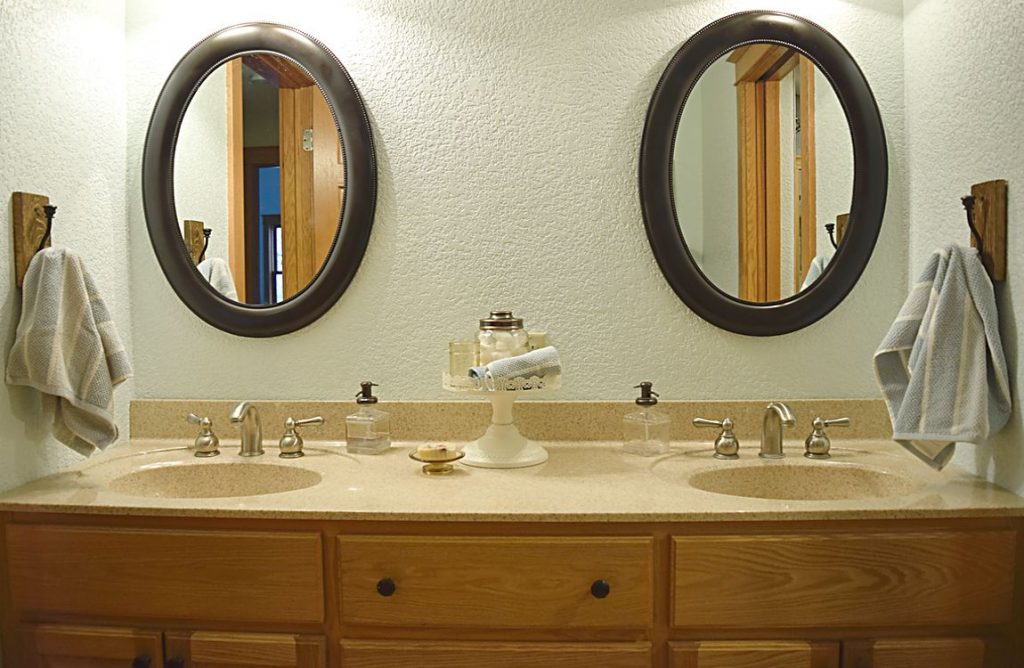
Paint is really a wonderful thing, just look at the impact the new color gave Vicki’s bathroom!







Paint is such a quick and easy update. Thanks for sharing this with us at the DI & DI Link party, we loved reading this.
Thank you so much Christine!
I am always shouting from the rooftops about the power of paint and your project here proves me right. I followed your bathroom update and it looks great. Good luck with the pregnancy. May it be light and may you have an easy delivery.
You are so kind Mary! Thank you so much for your well wishes and for following along with our bathroom update! -Kristen
Great tips for painting. I am always so impatient and often skip the sealing step.
Judith
Thanks Judith, yea we figured sealer would work best on such a high traffic place!