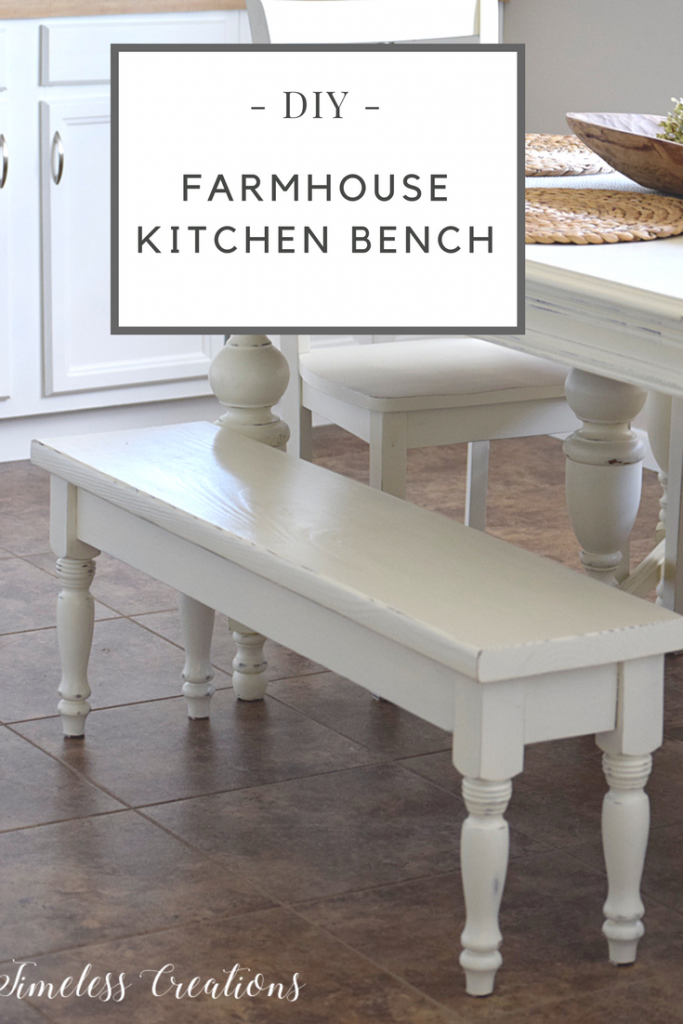
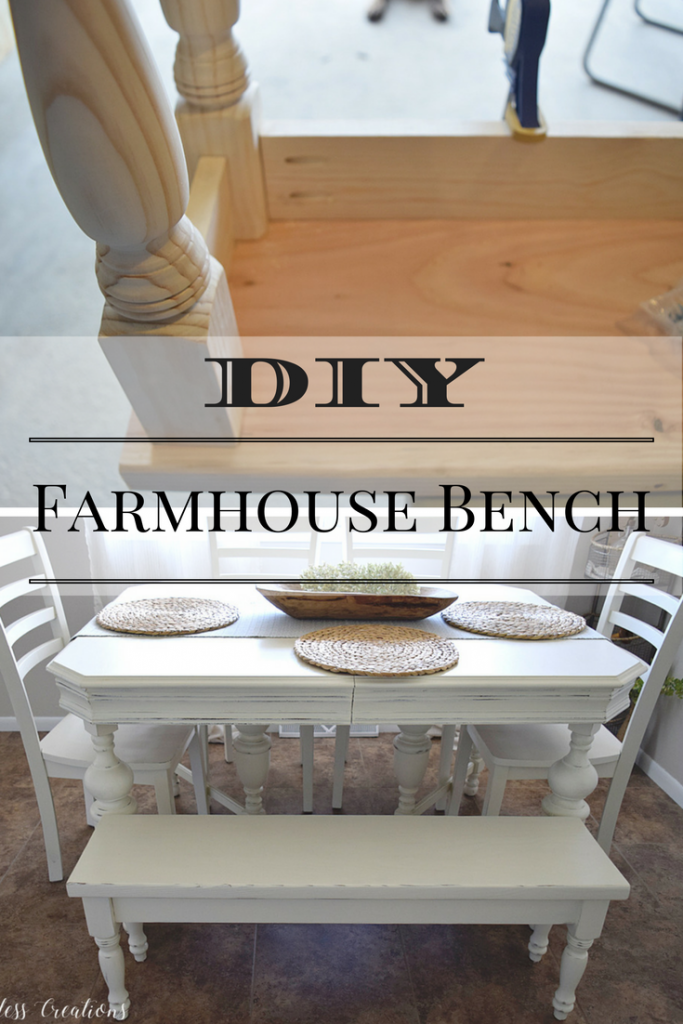
Making our first DIY Farmhouse Kitchen bench for Kristen’s Dining Room.
Just a warning…this isn’t going to be the normal DIY tutorial for us. I knew the gist of how I wanted to make a bench for my new dining table I painted for my One Room Challenge makeover, but what I didn’t know, was that the way I thought would make the bench more sturdy was actually a harder way of building!
So, I’m going to walk you through how we created this, and what we SHOULD have done instead!
For your convenience in finding products we use and love, this post contains affiliate links. For our full disclosure click here.
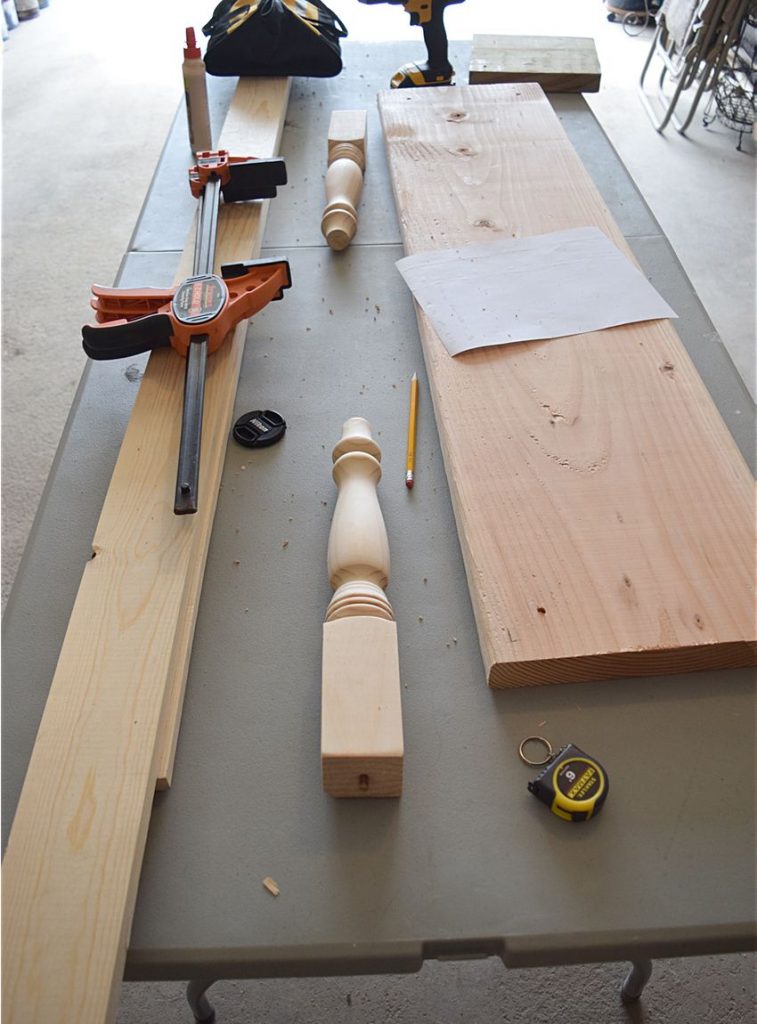
To begin we purchased all of our supplies.
- 15 inch legs (4)
- 1 x 4 x 6 pine board (2)
- 2 x 12 pine board (1)
- 1 1/4 inch Coarse thread Kreg screws
- Wood Glue
- Clamps
We then measured our kitchen table to decide how long we wanted our bench to be. We cut our 2 x 12 board (which will serve as the seat top) to 45 inches long to fit our table.
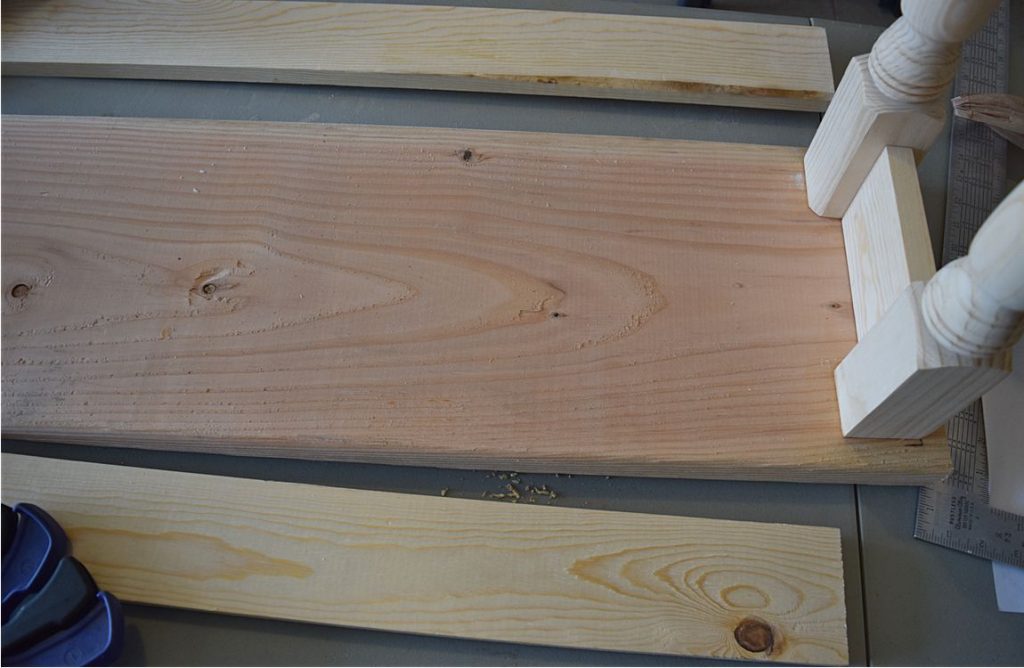
Next, we had the idea of adding the legs to the table top. So we measured from each corner where we wanted to legs to be. This was our first mistake. Our ‘brilliant’ idea was to screw these legs into the top to make it stronger. (These legs already came with screws, so we thought we would utilize them!) We drilled a hole for each screw, and turned the legs until they were tight.
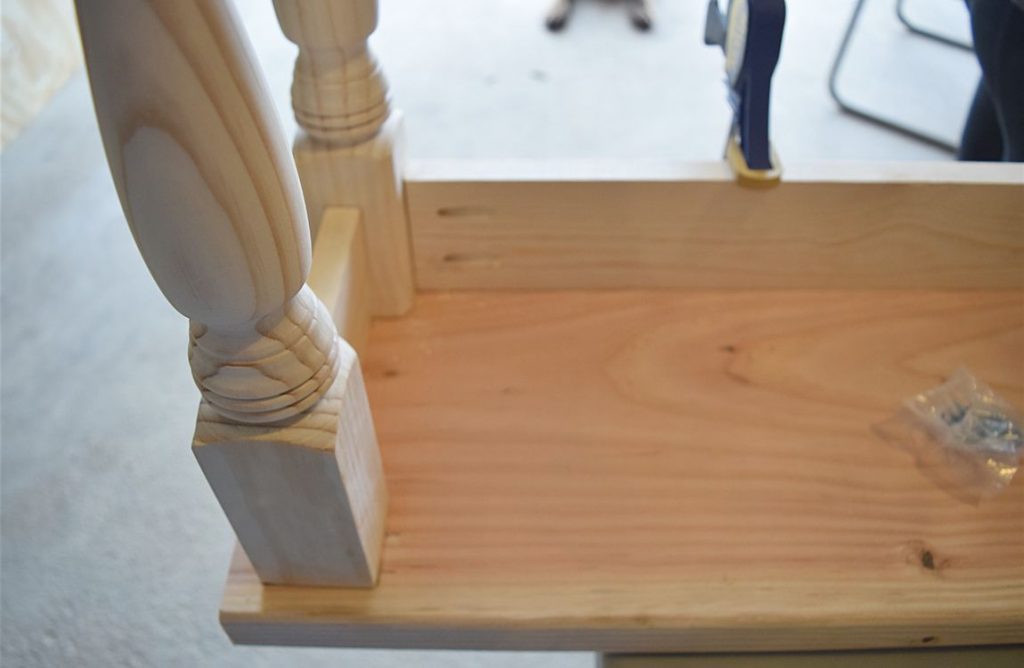
After screwing the legs into the top (which wasn’t easy by-the-way) we then took our 1 x 4 board and measured for the apron. We measured from the inside of each leg for all four sides and cut accordingly. This was mistake number 2, but was really the aftermath of screwing the legs into the top first. It was difficult to perfectly fit the boards in between the legs! My husband had to sand the edges down to squeeze them in!
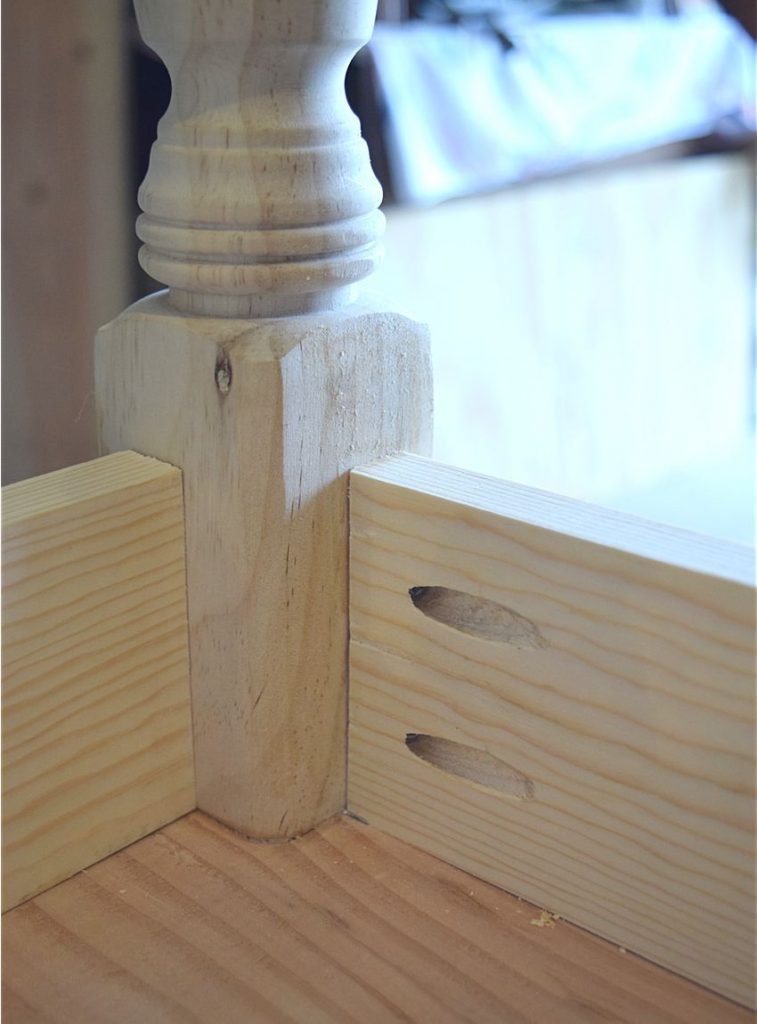
Once all the apron edges were cut and sanded to fit perfectly, we then drilled pocket holes with our Kreg Jig on each end of the apron boards for extra support. (Seriously, we love this tool!) Once the holes were drilled we added glue to the side that would be touching the seat top, clamped it down, and drilled our screws into the pocket hole to attach them to the legs.
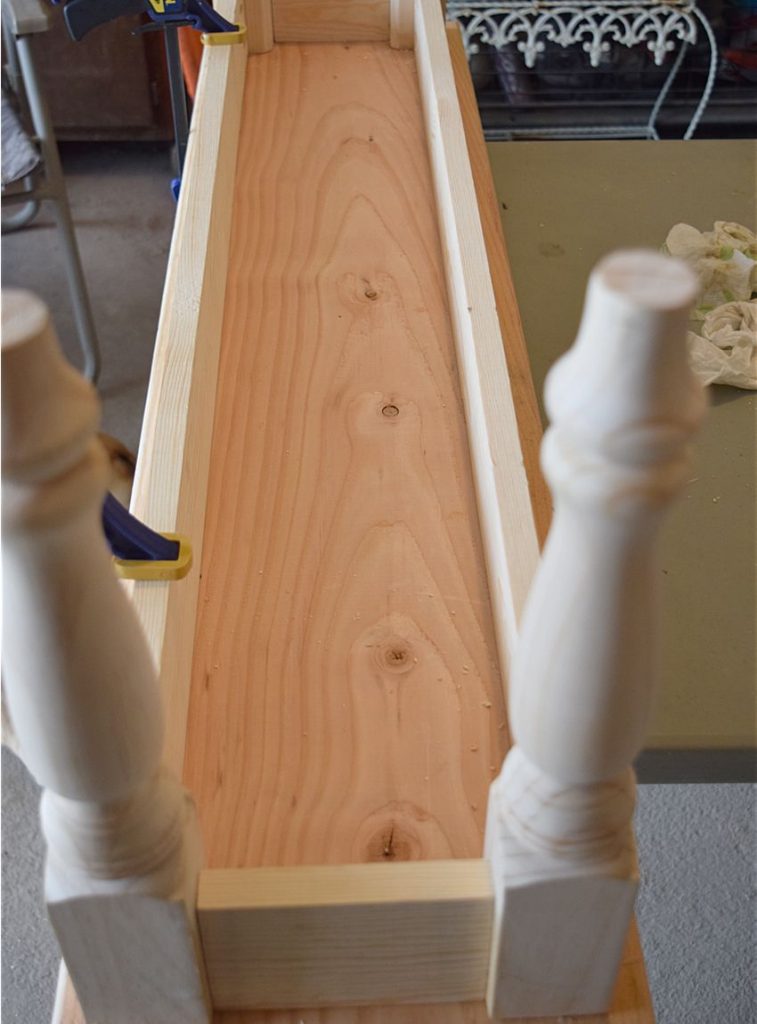
So here is what we SHOULD have done. It would have been easier to measure, cut and attach your apron boards to the legs first. And then attach the entire bottom portion to the seat top. That would have left no way to utilize the screws that were already in the legs, but we should have used pocket holes and glue to attach the apron and legs to the seat top. That would have been A LOT easier! So do that instead if your making your own bench!
Once our bench was assembled, Vicki applied pre-stain and then stain to the entire piece. Once that was dry, I then painted the bench the same white color as my dining room table I had already re-done. Then some light distressing before the final step of sealing the bench was all that was left.
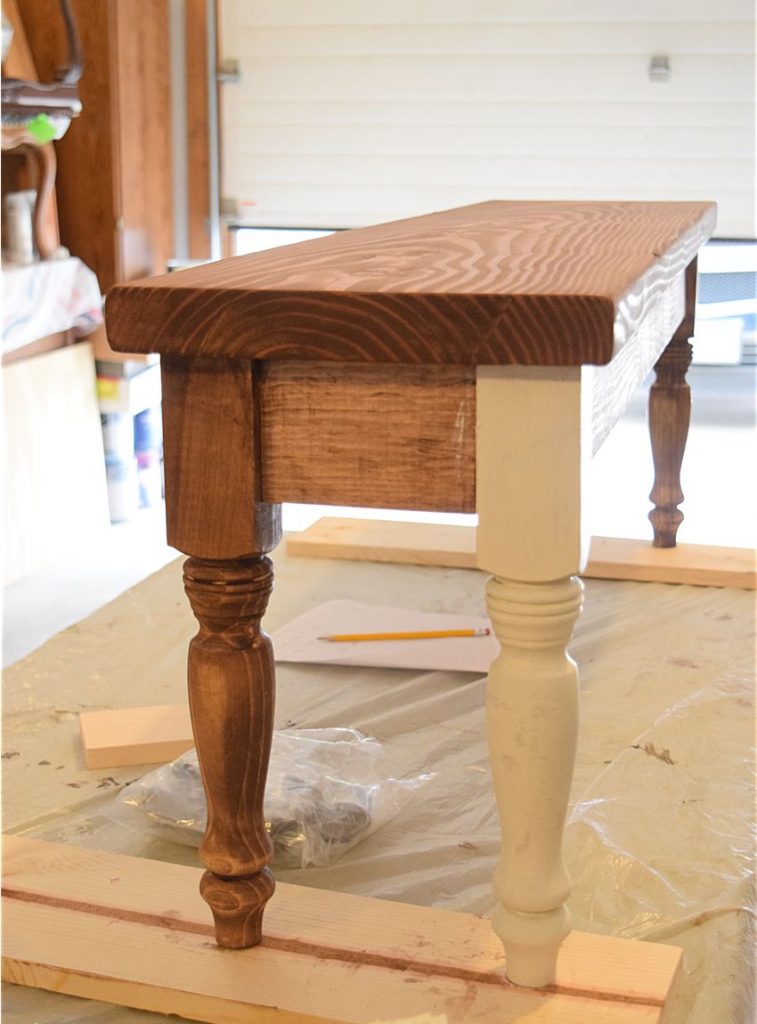
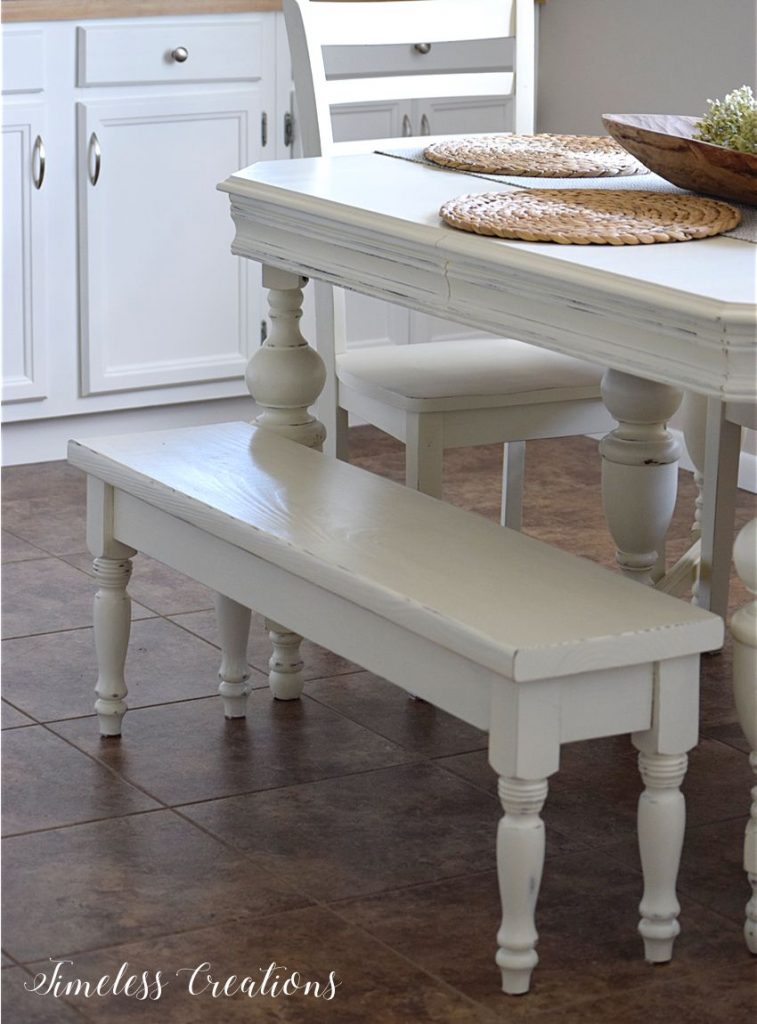
And there we now have a new farmhouse bench to go with our new kitchen! Even though we made a couple mistakes along the way and my pregnant self got very frusterated – our bench turned out beautiful and I am so proud to say we made it from scratch!
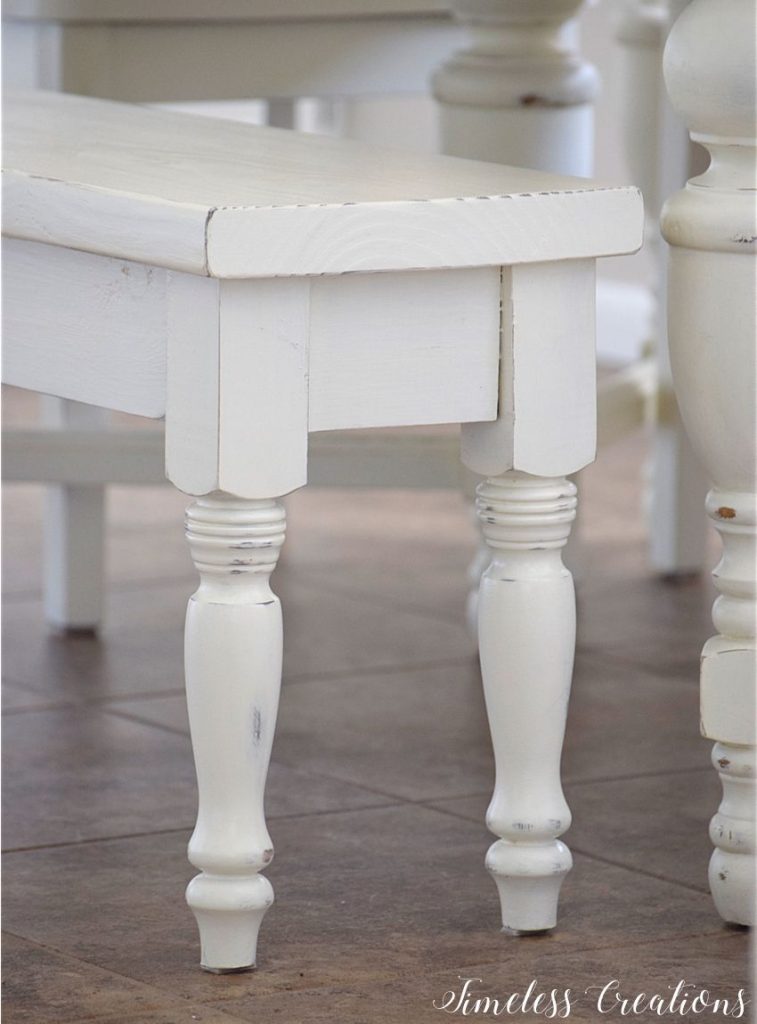
Thanks to my husband for figuring out what to do when one leg didn’t screw in correctly and we had to drill new holes on one end. Like we needed another thing to go wrong! We ended up just cutting the seat top down an inch or two so the legs would still be in proportion to where we wanted them to sit.
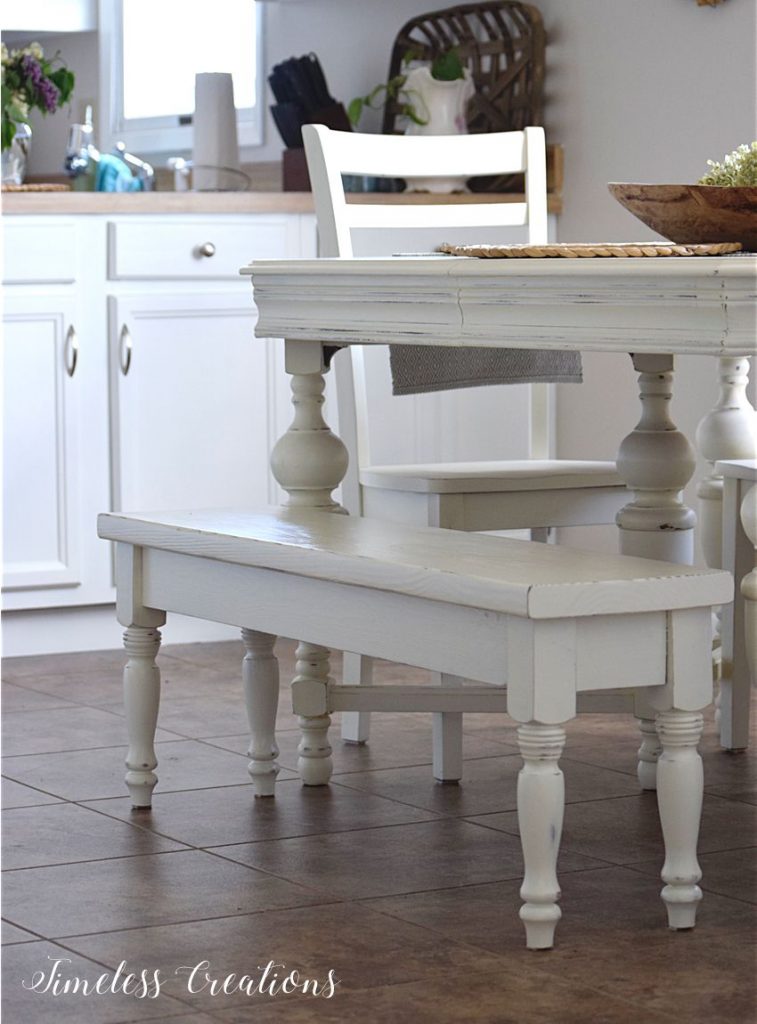
One other tip! Make sure to buy all of your legs from the same batch! I bought one leg from the store and they then had to order me more since I grabbed the last one. The three legs I ordered were about a quarter inch longer than the original leg I bought! They were the exact same legs, just a little bit longer! So again, my husband saved the day and cut that darn quarter inch off the three legs so it wouldn’t wobble!
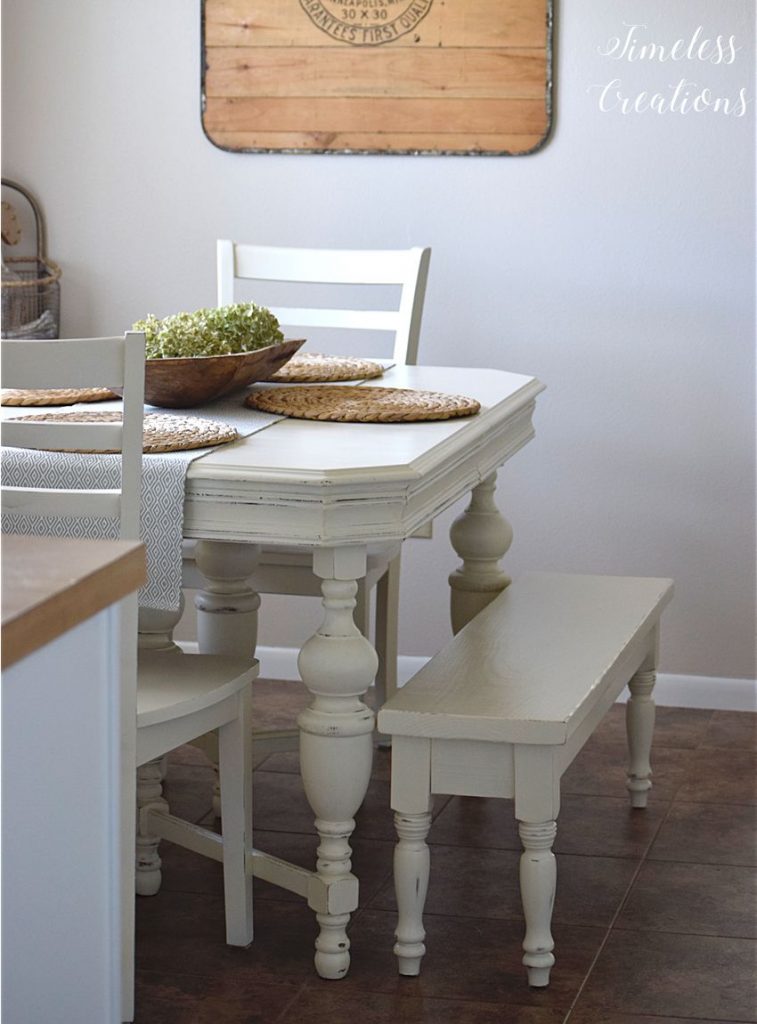
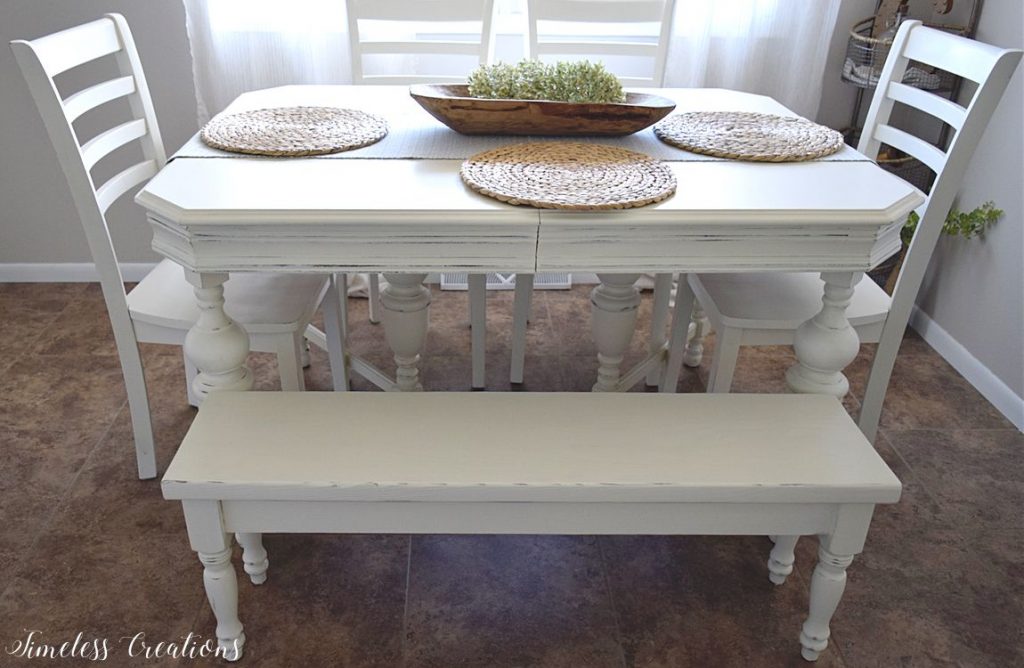
And just look at that finished set! The entire thing was pieced together but then painted and distressed to look like it all came together. The chairs were just a random find but work amazingly with the table and bench! I am absolutely in love with it 🙂



- Farmhouse Kitchen Makeover-One Room Challenge
- An Al Fresco Tablescape
- Matching Entryway Decor





I have been looking for an easy diy bench, can’t wait to try this.
Great that you are wanting to make your own! Now you know what NOT to do, haha!!
Your homemade bench turned out great — Kudos to you for your woodworking skills. The distressed, painted finish is perfect with your painted farmhouse kitchen table. Great job!
Haha! Thank you Mimi! We are definitely learning!
Great job Kristen – your whole dining set looks fantastic! xx
Thank you so much Kate! 3 different pieces that end up fitting together perfectly!
Great post, and your bench looks beautiful! Found you on 21 Rosemary Lane’s Share Your Style party, by the way.
This is a gorgeous bench. It would have cost hundred to buy and likely made out of low quality wood. This is such a better option. Thanks for the tutorial. Pinning
Thank you so much for your kind words Leanna, and for pinning! We are loving it 🙂
The bench looks amazing, despite all of the mistakes. 🙂
Thank you Emy! It ended up turning out well!
The bench looks amazing. You did a great job.
Thank you so much!
Your farmhouse bench is amazing – awesome job!
Thank you so much Marie!
Great tutorial Ladies! I so need to make these for my kitchen table, Pinning this for myself later! Thanks for sharing your instructions at #FridaysFurnitureFix always love having you! Hope your holiday weekend was fab!
Thank you so much Brenda! We appreciate you stopping by with your kind words 🙂 The long weekend was needed! Hope you had a great one too!
Hi! I’m one of the co-hosts from the Welcome Home Wednesday link up. I love this DIY bench. I’m looking for farmhouse decor, too so I think i’ll get my husband to make this soon. Thank you for sharing!
Thank you so much Leslie for your kind words and for visiting! Good luck making a bench! It was so fun and very satisfying to have DIY’ed it 🙂
This came out great! I need to make one for my new farmhouse table!! You have inspired me!! & Thank you so much for linking up to “the Gathering Place” link party!! we love that you joined us our first week!!
Thank you so much Kellie! Your party is now on our list to link up with every week! So glad we found it!
How cute is this bench!! Something simple to make as well that is definitely achievable. Thank you for sharing 🙂
Thank you so much Lindsay! It turned out great even through the funny problems we encountered!
I am loving this bench, I have been thinking on making one for outside. You just cinched it!
Thank you Christine!