Make this pretty sweater pumpkin, fall wreath with this easy tutorial.
Happy Fall ya’ll! Now that it’s September I can officially say it! This is definitely my favorite season and we have been doing all kinds of crafting and decorating to get ready. The cool weather is just beginning here in the midwest so we want to give you something to do to get you even more in the fall spirit 😉
I have seen a lot of different tutorials about how to make fabric pumpkins and love the texture they bring to a space. I definitely needed more decorations for my house so I decided to try my hand at them. I found a nice fabric pumpkin tutorial from Kristi at her beautiful blog “Making it in the Mountains” and somewhat followed that.
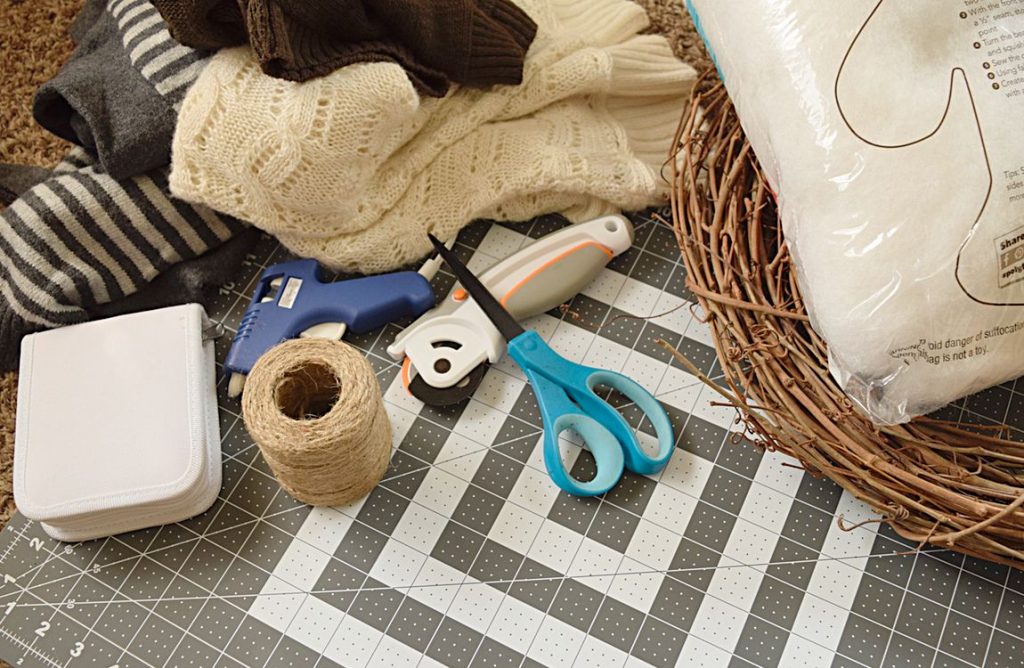
I found three different sweaters in a box of clothes to get rid of at Vicki’s and snatched them for my pumpkins. I started by gathering all of the craft supplies I needed.
For your convenience in locating products we have used, this article contains affiliate links. All products are items we use ourselves or genuinely recommend. If you make a purchase after clicking, we will earn a small commission at no additional cost to you. For our full disclosure go to our “Disclosures” page.
- Fabric cutter (This is my favorite.)
- Cutting mat
- Sewing kit (I have one like this, but any needle and thread will work)
- Glue gun and glue sticks
- Filler
- Grapevine wreath form
I started by cutting my sweaters down. I wanted different sizes of pumpkins to go on my wreath, but I really hate measuring…so I just guessed! I made my largest pumpkin by cutting off the bottom of the white sweater and then used the end of the sleeves of the other sweaters for the smaller pumpkins.
To start your pumpkin, turn your circle of fabric inside out, thread your needle and knot one end. Then begin weaving your needle in and out around the edge.
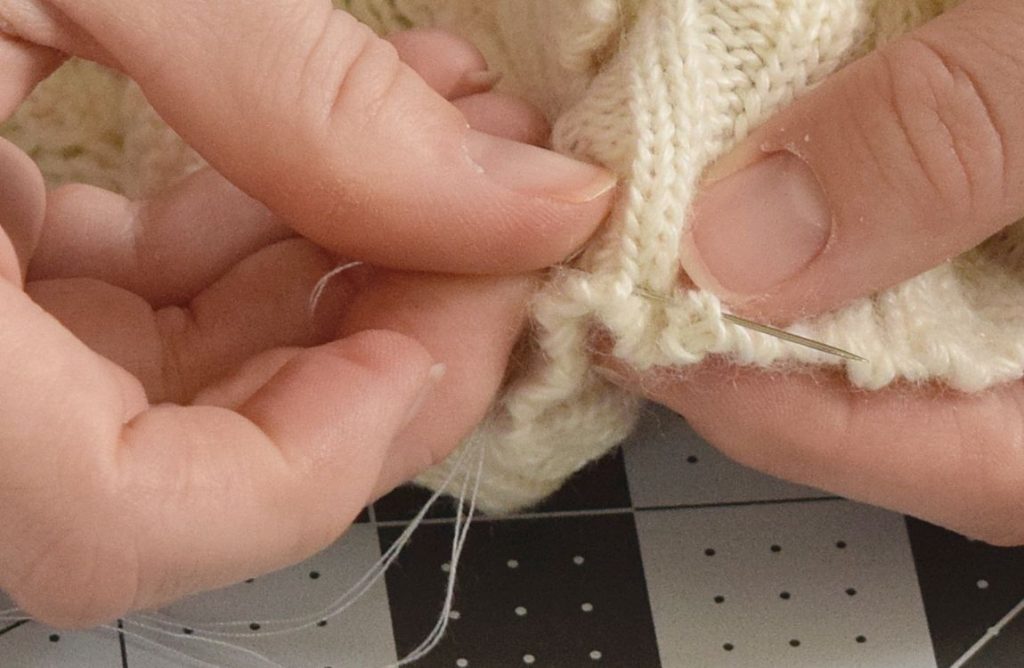
Pull the thread tight.This will bring the edge together. As you go around the thread will close that circle smaller and smaller.
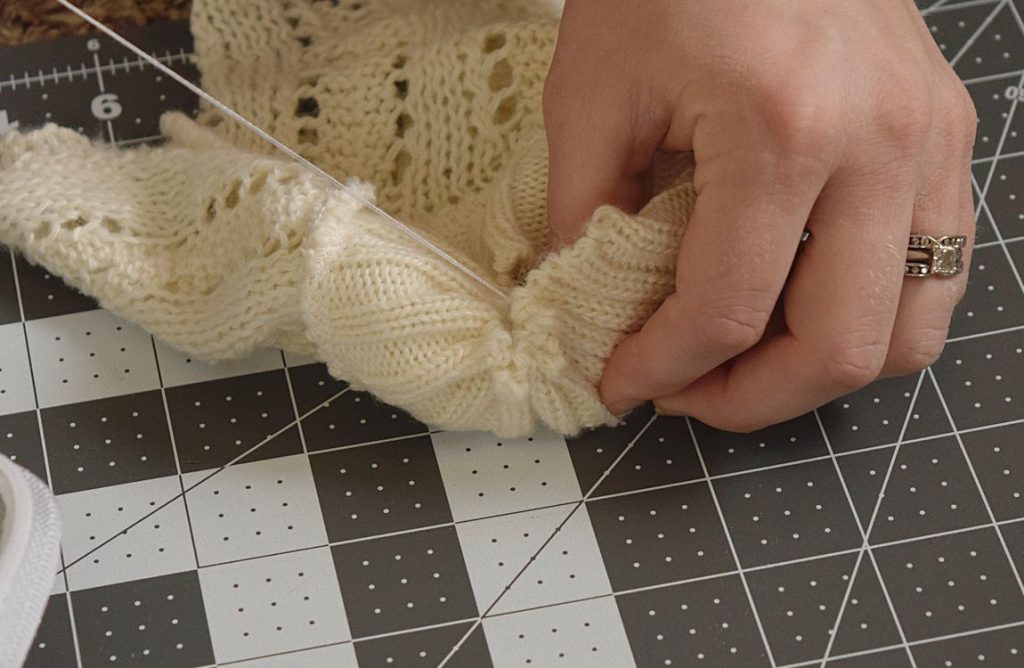
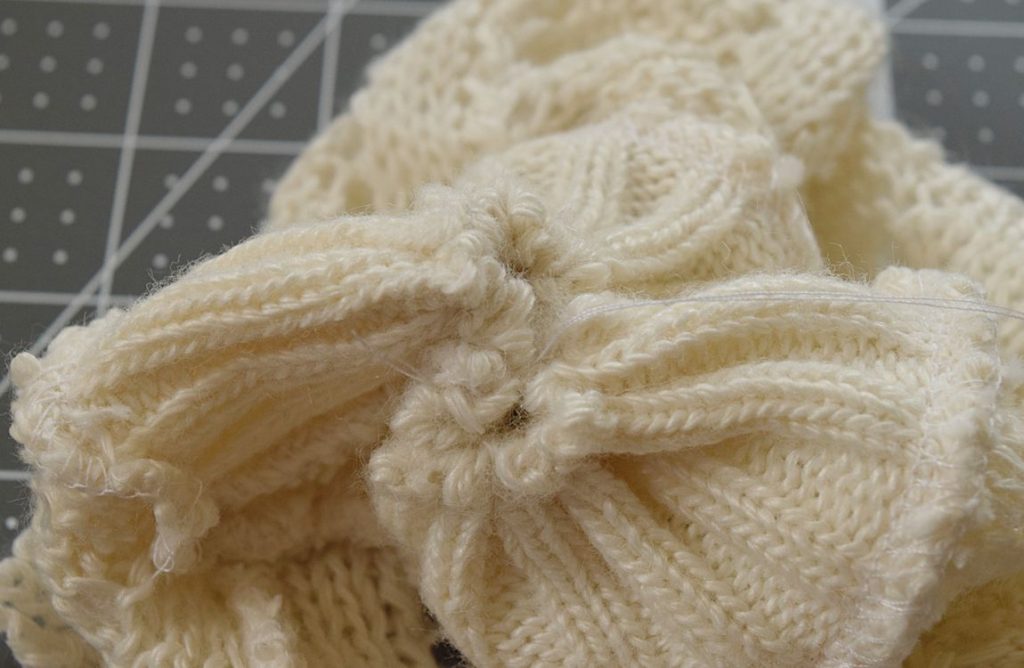
Keep going all the way around the edge and then close the circle by threading from one side to the other.
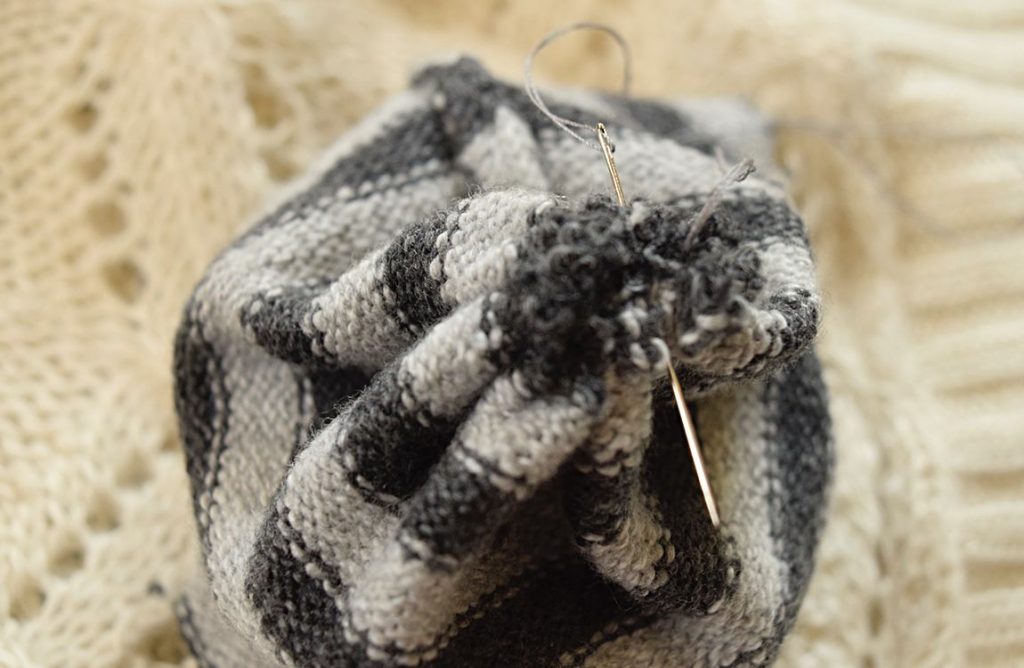
Before pulling tightly through put your needle around and through the thread to knot the end.
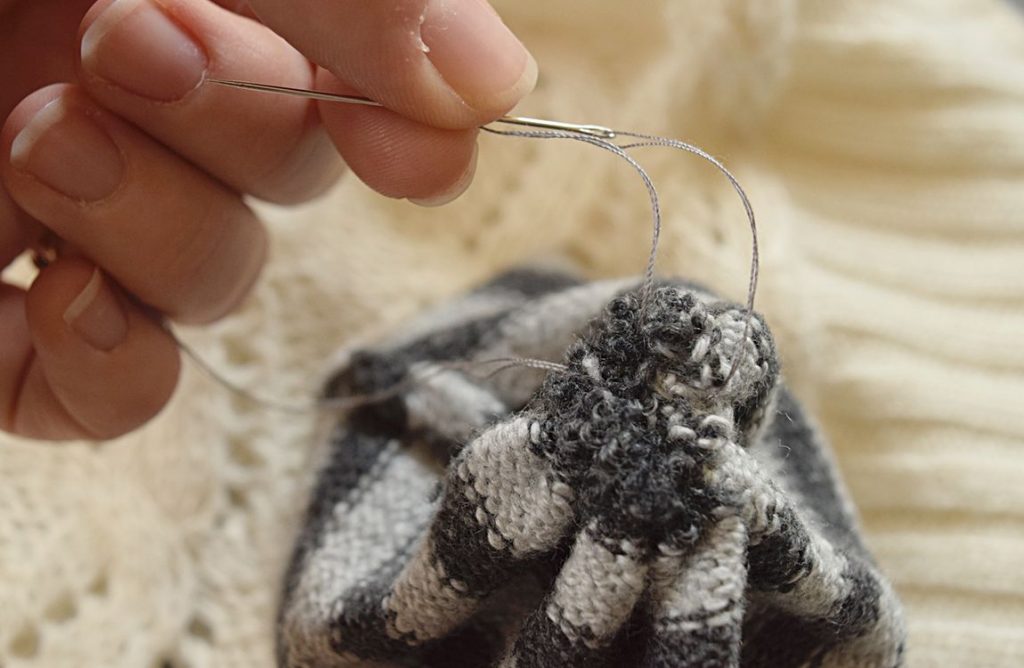
Do this knotting technique about 3-4 times to close.
Then you can turn your fabric back, and stuff the middle with the filler or any other stuffing you have.
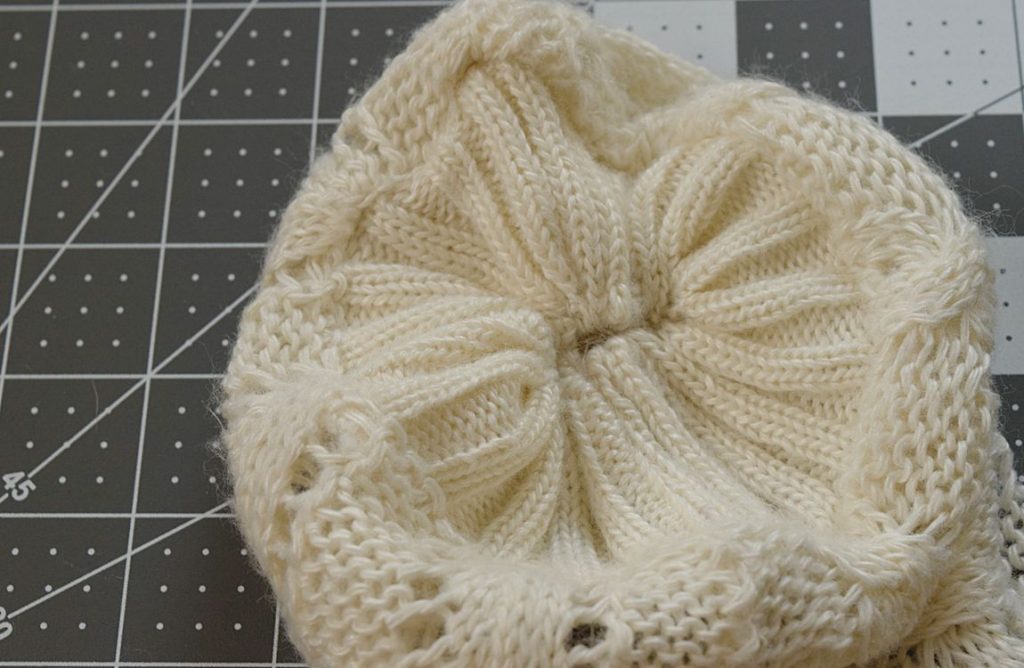
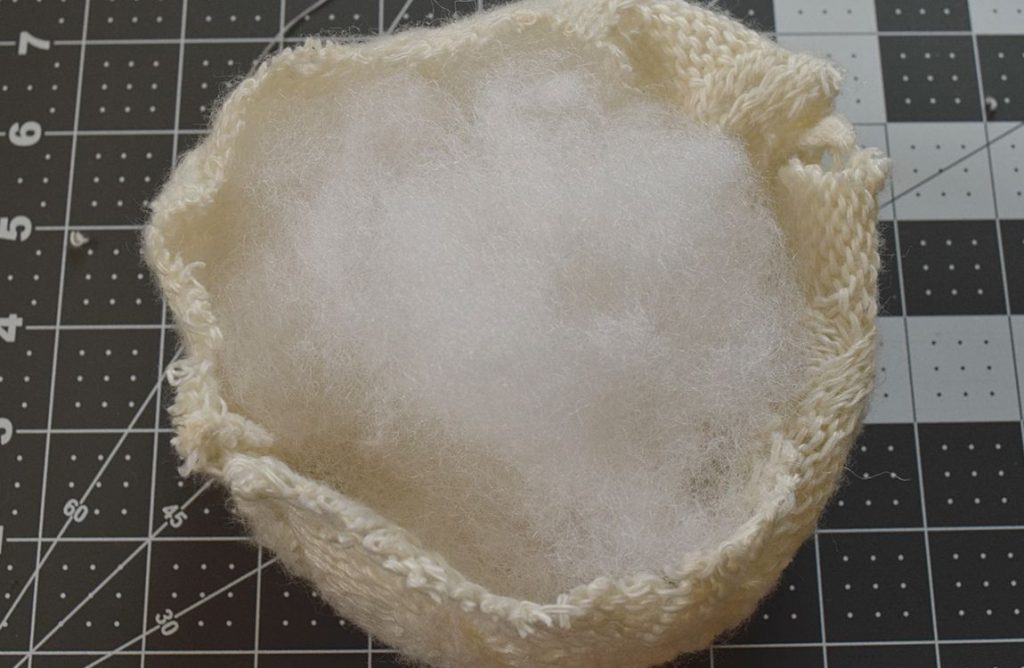
Then all you do is take your needle and thread and close the top part of the pumpkin the same way as the bottom, weaving in and out all the way around. When you get to the end, I closed one side with the knotting technique and then left a small opening for the stem.
The stems of these pumpkins are from sticks I found outside! All that was needed to attach these was some hot glue on one end.
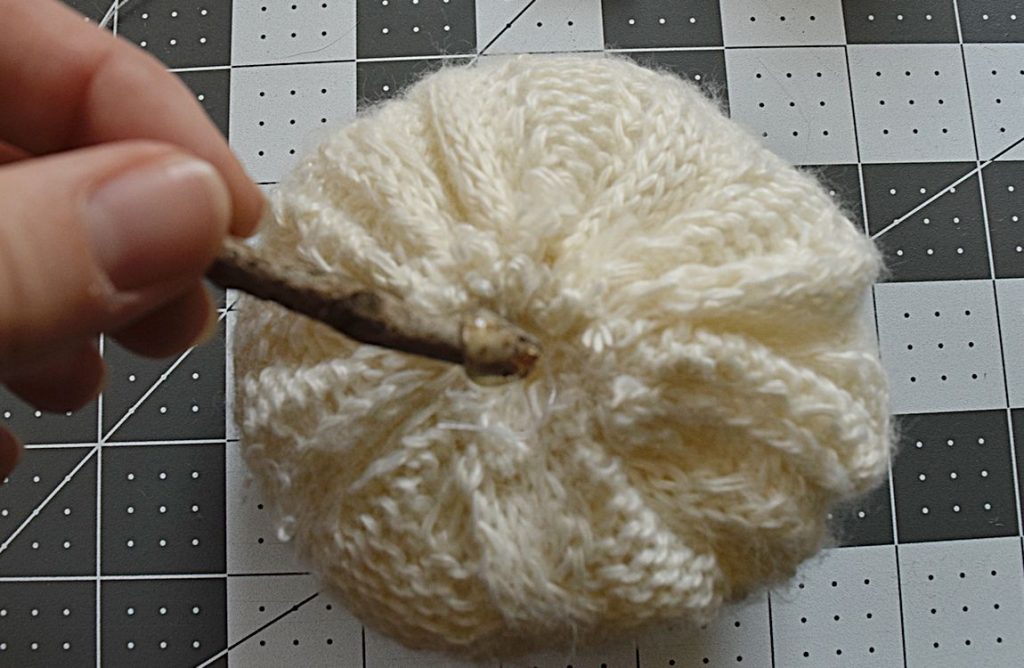
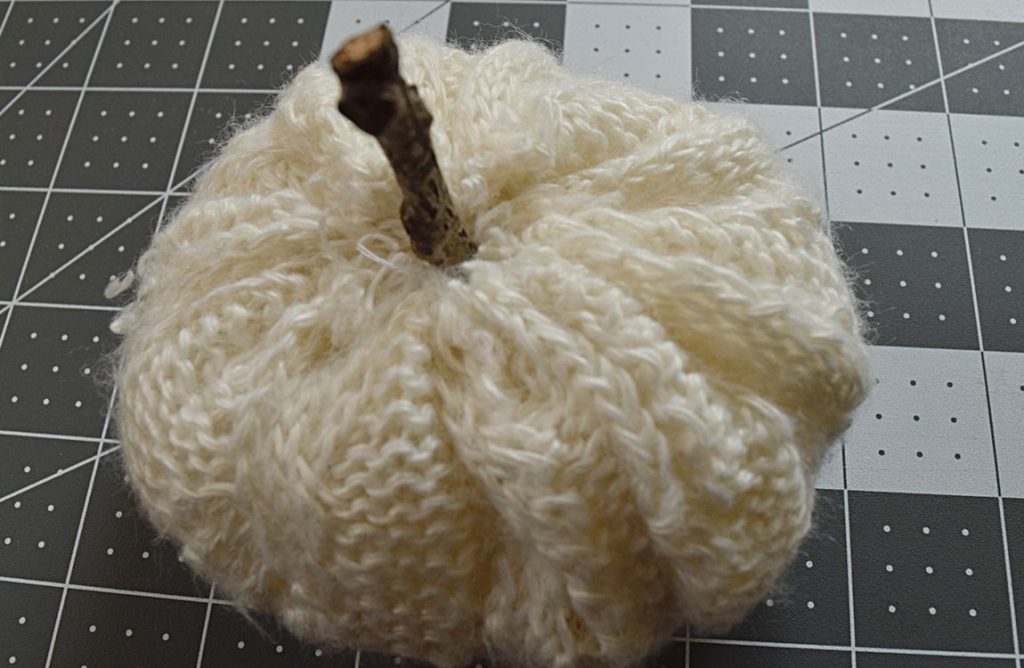
Next, we just needed to add the pumpkins to our wreath form. Once again, hot glue did the trick! I glued 5 pumpkins to the wreath, since an odd number when arranging usually looks the best.
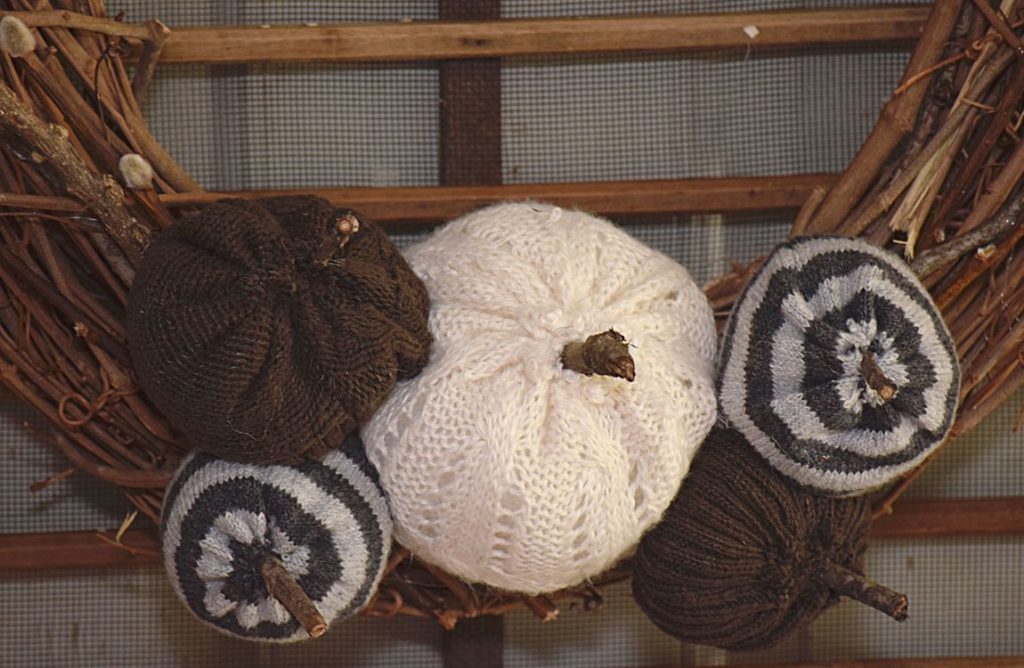
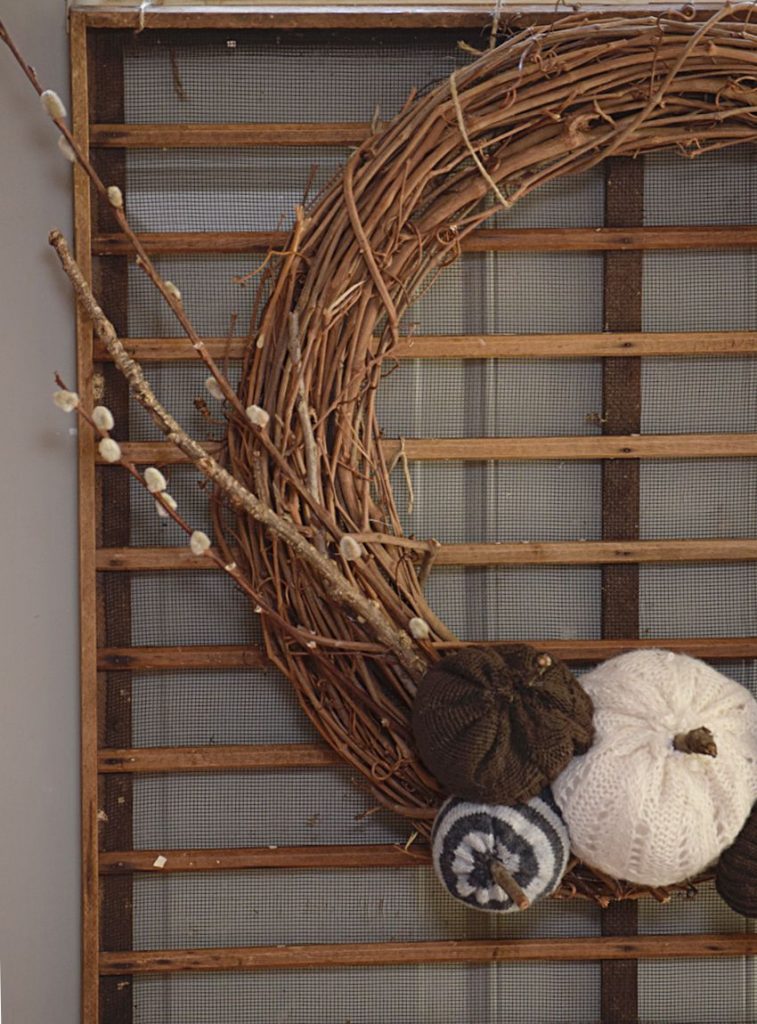
I also added a few of the leftover sticks and a couple pussy willows on each side just to add a little extra ‘oomph’.
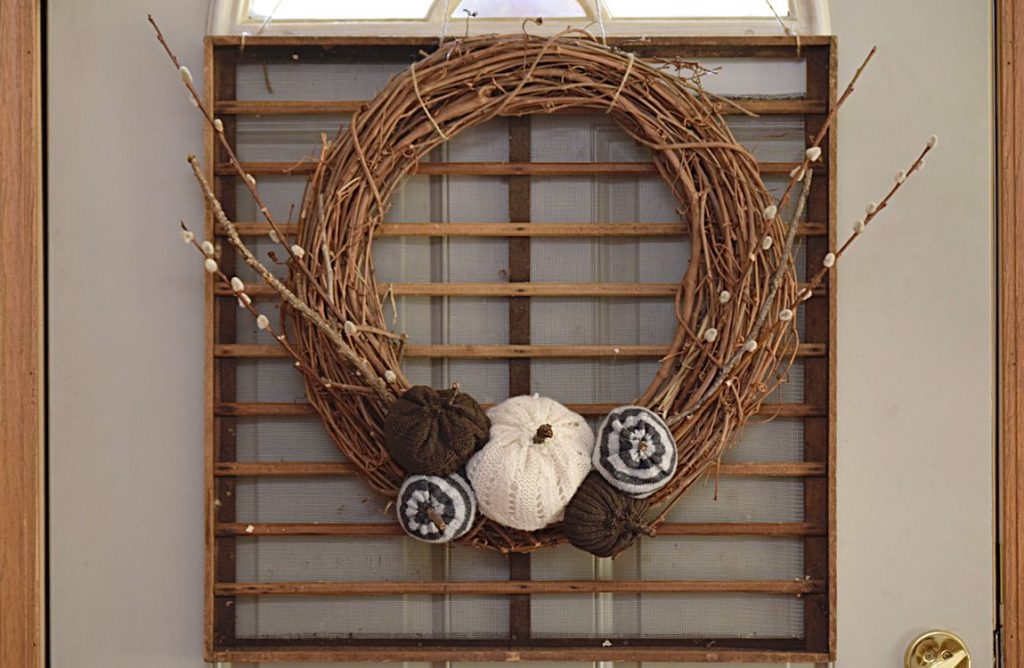
And your wreath is done!
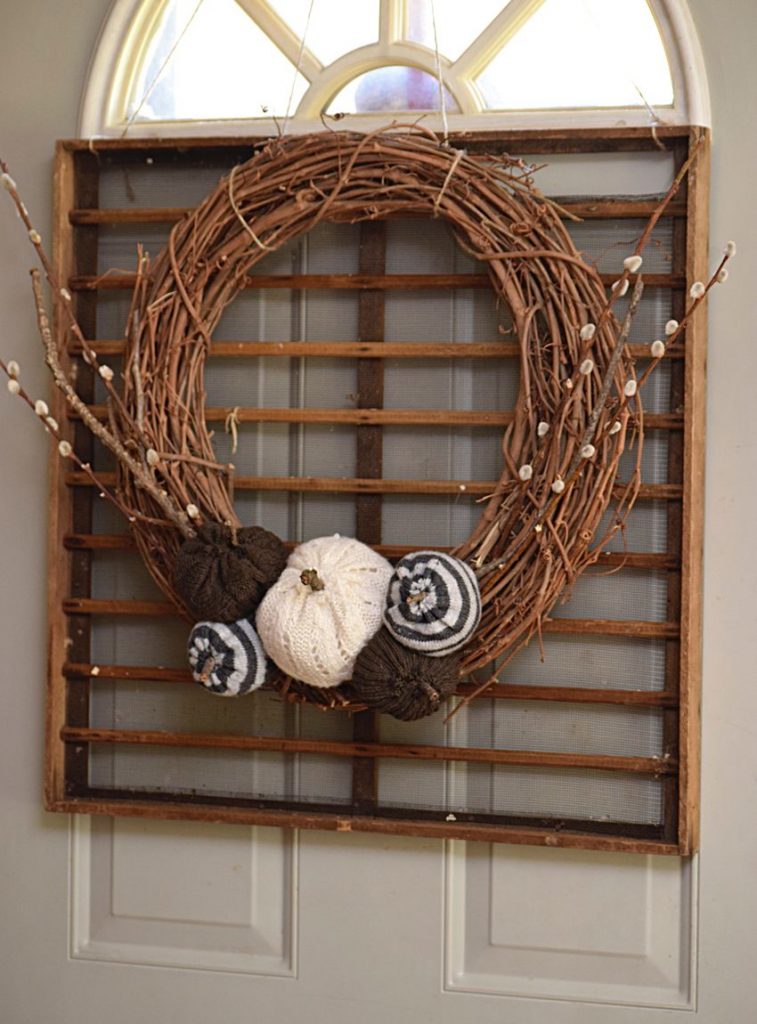
I added mine to this beautiful little egg tray I picked up at Gold Rush Days in August. I immediately thought a wreath over this tray would be amazing as soon as I saw it! I wish I had a cuter door to hang my wreath on, but there isn’t much I can do with a rental… And I keep it on the inside because I like to look at the pretty decor all the time!
Happy Fall Decorating!


Linking to: To Grandma’s House We Go, Thoughts of Home on Thursdays, Dishing It and Digging It, The Creative Gallery



I love this, such a creative idea using sweaters to create the pumpkins. It gives it such a cozy and inviting look!
Thank you Alysha for visiting and for your kind words. We were so happy we could just use these old sweaters for crafting! They definitely do make the wreath very cozy feeling.
This is the cutest wreath ever! Love the sweater pumpkins, they are perfect and so adorable on the wreath!
Thank you so much Katrin! So glad you loved our wreath 🙂
This is so cute and easy enough for me to make with no sewing skills!
Oh yes, you don’t need sewing skills to make these pumpkins! Good luck!
I love these little sweater pumpkins, I made a bowl of them all from the same cream sweater. They look really cute on the wreath in the different wool. The wreath is really fun. Love it
The sweater pumpkins are so cute! Especially the white one is so nice and fluffy!
I love sweater pumpkins. I think I had the same sweater and made a pumpkin out of it. Too cute. Thanks for linking to Monday Social. I hope you will be back.
We love sweater pumpkins too! We will definitely be back for your party, no worries 🙂
This wreath is just beautiful. I am not a seamstress by any means but I think I could do this little pumpkins. So adorable.
I am not a seamstress either! It is very easy 🙂 Thanks for visiting!
This is a very lovely wreath! Thank you for sharing it at The Crafty Corner. I hope to see you again [this Wednesday] at the next party 🙂
Thank you Antonella!
Loving this idea! So pretty and instantly cozy. Featuring tonight at our link party, pinning, and sharing on FB. 🙂